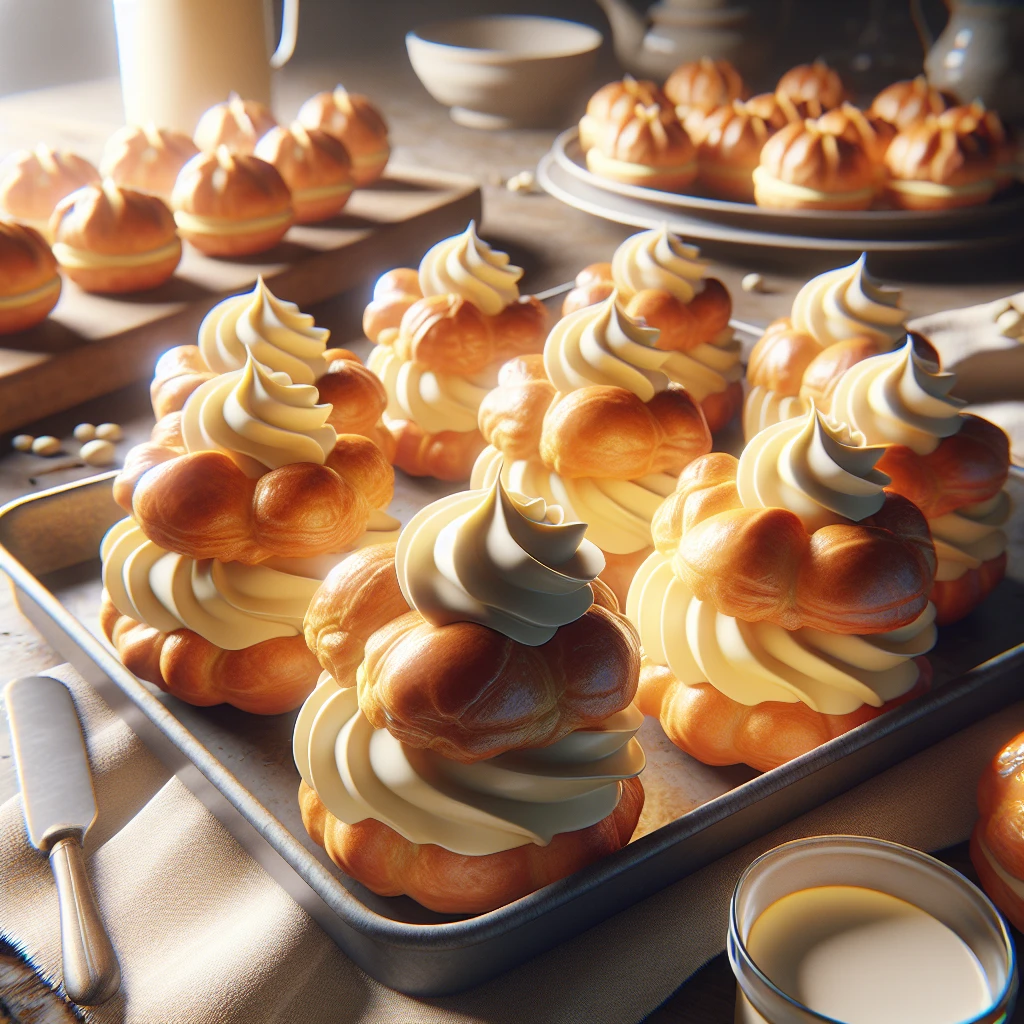
Timeless Cream Puff Delight
Welcome to a delightful journey of creating Timeless Cream Puff Delight! This classic French pastry combines light, airy puffs with rich, creamy fillings, making it perfect for any occasion. Let's dive into this irresistible treat that’s sure to impress your family and friends.
This post may contain affiliate links. As an Amazon Associate, we earn from qualifying purchases.
Ingredients for Timeless Cream Puff Delight
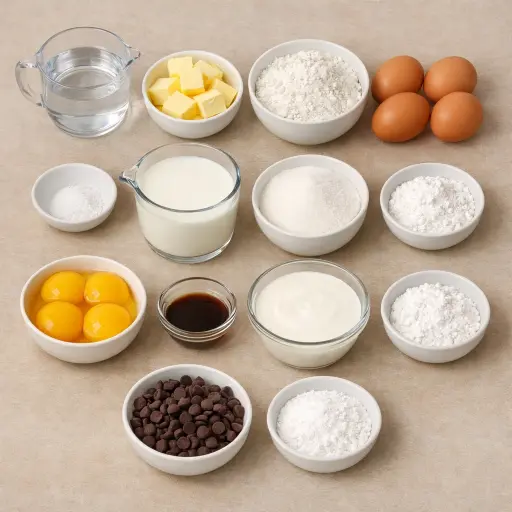
The magic behind cream puffs starts with the butter, which adds richness and helps create the dough's structure. All-purpose flour is essential for forming the dough, which puffs up beautifully when baked. The eggs are crucial for providing moisture, structure, and that lovely golden color. A pinch of salt enhances all the flavors.
The milk is the base for our custard, offering a creamy texture. Granulated sugar sweetens the custard, while cornstarch thickens it without clumping. Egg yolks provide richness and a silky smooth texture. A dash of vanilla extract adds a warm, aromatic note to the custard.
For the topping, heavy cream is whipped into a light, airy cloud, complemented by a touch of powdered sugar for sweetness. Finally, semisweet chocolate chips are melted for a luscious drizzle that adds a touch of decadence to each puff.
Why This Timeless Cream Puff Delight Works
In the saucepan, water and butter boil together, then flour goes in all at once. With steady stirring, the flour soaks up the hot liquid and swells. After a minute, it clumps into a smooth ball and dries out a bit. That cooked dough is strong enough to trap steam later. Once it cools slightly, eggs go in one by one. The dough loosens, turns shiny, and becomes stretchy, so it can puff instead of spread. In the oven, the water inside the dough turns to steam and pushes the dough up, while the eggs set and hold the hollow shape.
For the filling, warm milk slowly heats the egg yolks, sugar, and cornstarch. As it cooks, the cornstarch swells and the yolks firm up, so the custard turns thick and stays in place inside the puffs. Chilled custard firms even more. Whipped cream adds lightness on top, and melted chocolate sets into a thin shell, giving a soft, airy center with a slight snap on the outside.
Timeless Cream Puff Delight Tips & Tricks
- Ensure your oven is fully preheated to achieve the perfect rise in your cream puffs.
- Use room temperature eggs for easier mixing into the dough.
- If your custard seems lumpy, strain it through a fine mesh sieve for a smoother texture.
- To save time, prepare the custard a day ahead and refrigerate.
Mistakes To Avoid
Letting the dough stay too hot when the eggs go in can wreck the puffs. The eggs start to cook in little bits instead of blending in, so the dough turns lumpy and greasy. In the oven, these puffs don’t rise well and come out flat and heavy instead of hollow.
Adding all the eggs at once instead of one at a time often makes the dough too runny. The mixture never reaches that thick, pipeable stage and spreads into puddles on the baking sheet. The baked puffs then come out wide and thin, with barely any space inside for filling.
Opening the oven door in the first 15–20 minutes can cause the puffs to collapse. The sudden drop in heat stops them from setting, so the shells deflate and dry into hard, chewy discs instead of light shells.
Skipping the plastic wrap directly on the surface of the custard lets a thick skin form. When it is stirred later, that skin breaks into little rubbery bits, so the filling turns grainy instead of smooth and creamy.
Equipment Used:
Medium saucepan, Baking sheet, Mixing bowls, Whisk, Piping bag or spoon
Ingredients
- 1 cup water
- 1/2 cup unsalted butter
- 1 cup all-purpose flour
- 4 large eggs
- 1/4 tsp salt
- 2 cups whole milk
- 1/2 cup granulated sugar
- 1/4 cup cornstarch
- 4 large egg yolks
- 1 tsp vanilla extract
- 1 cup heavy cream
- 2 tbsp powdered sugar
- 1/4 cup semisweet chocolate chips
Step-by-step Instructions
- 1. Preheat your oven to 400°F (200°C) and line a baking sheet with parchment paper.
- 2. In a medium saucepan, combine the water and butter over medium heat. Once the butter has melted, add the flour and salt. Stir vigorously until the mixture forms a ball and pulls away from the sides of the pan.
- 3. Transfer the dough to a bowl and let it cool for 5 minutes. Then, beat in the eggs one at a time until smooth and glossy.
- 4. Spoon or pipe small mounds onto the prepared baking sheet.
- 5. Bake for 20-25 minutes until golden brown and puffed. Allow to cool completely.
- 6. For the custard, heat the milk in a saucepan until it begins to steam.
- 7. In a separate bowl, whisk together sugar, cornstarch, and egg yolks. Gradually pour in the hot milk while whisking continuously.
- 8. Return the mixture to the saucepan and cook over medium heat until it thickens. Remove from heat and stir in vanilla extract.
- 9. Cover with plastic wrap and refrigerate until set.
- 10. Whip heavy cream with powdered sugar until stiff peaks form.
- 11. Slice the cooled puffs in half and fill with custard. Top with whipped cream.
- 12. Melt chocolate chips and drizzle over the cream puffs before serving.
Trending Now

Old-Fashioned Bread Pudding
Discover the classic charm of Old-Fashioned Bread Pudding - a timeless dessert com...
View Recipe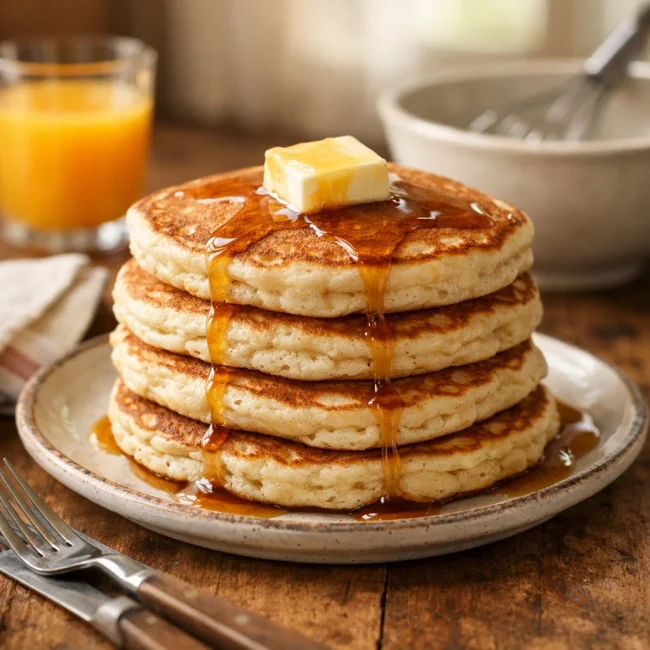
Traditional Fluffy Pancakes
Discover the perfect start to your morning with our Traditional Fluffy Pancakes, a...
View Recipe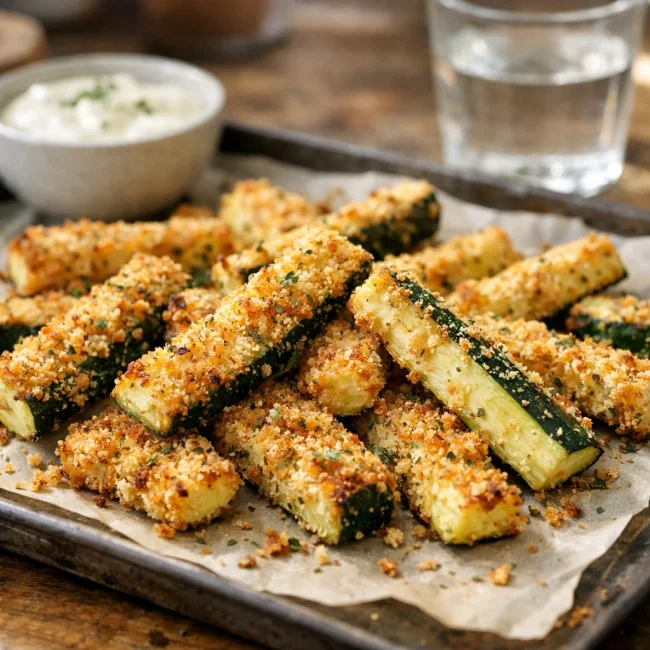
Zucchini Fries
Crispy oven-baked zucchini fries with a golden crust, perfect for a healthy snack ...
View Recipe
Traditional Cucumber Salad
This refreshing cucumber salad balances tangy vinegar and sweet sugar for a classi...
View RecipeFrequently Asked Questions
- Can I make the cream puffs ahead of time?
- Yes, you can bake the puffs a day in advance and store them in an airtight container. Fill them with custard and cream just before serving for the best texture.
- What if I don't have a piping bag?
- You can use a zip-top bag with a corner snipped off or simply use a spoon to drop the dough onto the baking sheet.
- How do I store leftovers?
- Store filled cream puffs in the refrigerator for up to two days. Be aware that they may soften over time.
Serving Ideas for Timeless Cream Puff Delight
These cream puffs are a showstopper on their own, but you can serve them alongside fresh berries for a pop of color and flavor. A light dusting of powdered sugar just before serving adds an elegant touch. For a special occasion, pair them with a glass of champagne or a delicate dessert wine.
More Desserts Recipes

Rustic Vanilla Peach Cobbler
This rustic vanilla peach cobbler combines a rich, buttery crust with the sweet, v...
View Recipe
Traditional Lemon Curd
A classic, tangy lemon curd that is perfect for enhancing desserts, breakfast dish...
View Recipe
Traditional Cream Cheese Pie
A delightful and timeless dessert, Traditional Cream Cheese Pie offers a rich and ...
View Recipe
Timeless Cream Puff Delight
Indulge in a delectable Timeless Cream Puff Delight, a classic dessert featuring a...
View Recipe