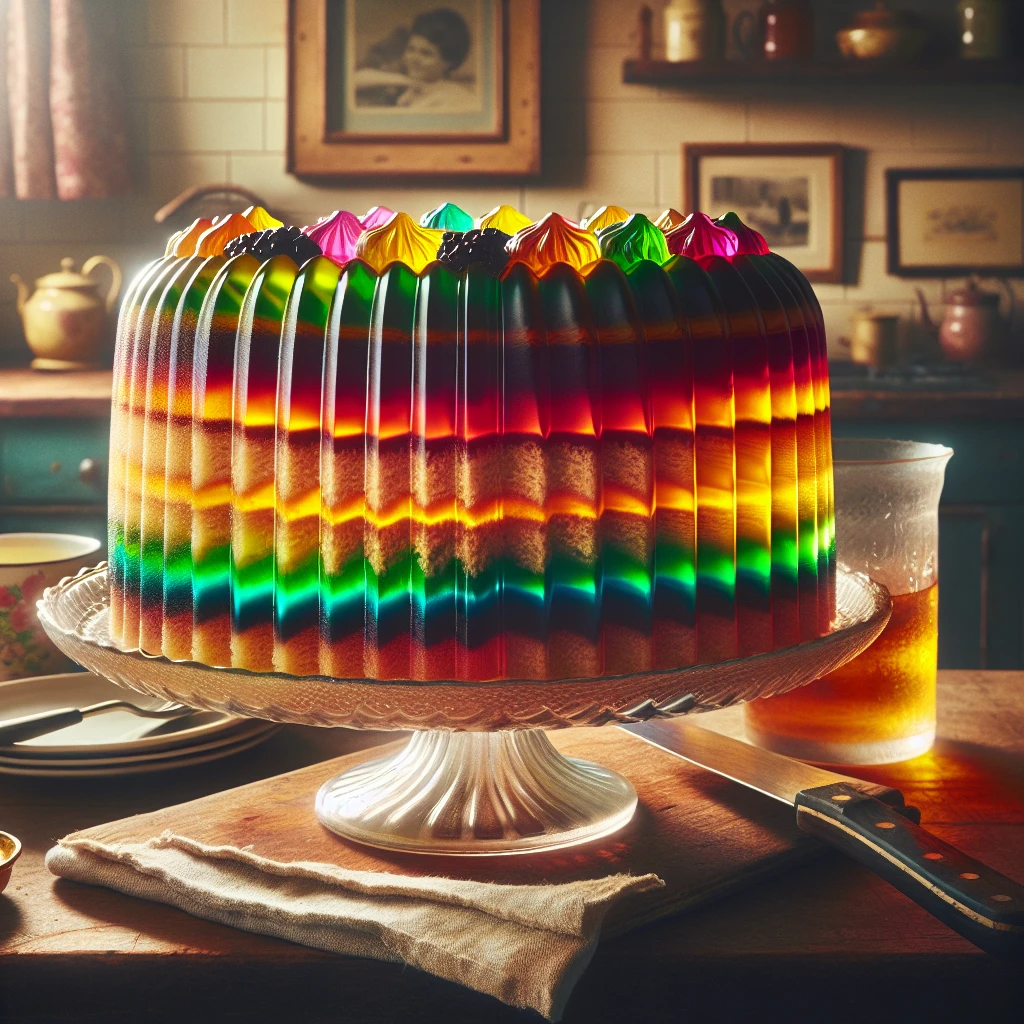
Vintage Gelatin Infused Cake
This Vintage Gelatin Infused Cake is a delightful throwback to simpler times, combining the nostalgia of classic desserts with a modern twist. It's perfect for gatherings, offering a vibrant burst of strawberry flavor in every bite.
This post may contain affiliate links. As an Amazon Associate, we earn from qualifying purchases.
Ingredients for Vintage Gelatin Infused Cake

The foundation of this cake is a white cake mix, providing a neutral base that lets the strawberry flavor shine. Water, vegetable oil, and eggs are the classic trio for creating a moist, tender crumb. The star ingredient is the strawberry flavored gelatin, which infuses the cake with its signature taste and color. Boiling water dissolves the gelatin, while cold water helps set it. Topping it all off, whipped topping adds a creamy, sweet finish, and fresh strawberries offer a juicy, decorative touch if you choose to use them.
Why This Vintage Gelatin Infused Cake Works
In the oven, the boxed cake mix bakes into a light, even sponge with lots of tiny air pockets inside. Those little pockets are important later. As the cake cools a bit, the structure sets, but it still stays soft enough for a fork to poke through without crumbling apart.
When the hot strawberry gelatin is mixed with cold water, it goes from a loose, hot liquid to something that will firm up once it chills. After the fork holes are made, that warm gelatin runs down into the cake instead of just sitting on top. It soaks into those air pockets and the crumb, then starts to set in the fridge. Over time, the cake holds stripes of firm, jiggly gelatin inside a soft, fluffy base, so every bite is moist all the way through, not just on the edges.
Once the whipped topping goes on, it covers the chilled cake in a smooth, creamy layer. The cold cake, set gelatin, and soft topping all stay together in neat slices and don’t fall apart when cut.
Vintage Gelatin Infused Cake Tips & Tricks
- Use a fork to poke holes in the cake; this helps the gelatin absorb better.
- If short on time, use a cake cooling rack to speed up the cooling process.
- Chill your whipped topping slightly before spreading for a smoother finish.
Mistakes To Avoid
Pouring the gelatin over a hot or very warm cake makes the liquid run straight through and pool at the bottom instead of soaking into the crumb. The top stays almost plain while the bottom turns soggy and dense. Slices end up with a wet layer underneath and hardly any pretty stripes of color inside.
Cutting into the cake before the gelatin has fully set in the fridge often leads to messy, collapsing pieces. The liquid is still moving around inside, so the cake crumbles and the plate fills with pink puddles instead of neat squares.
Letting the cake cool completely to room temperature for a long time before poking and adding gelatin can cause another issue. The crumb dries out a bit and the holes don’t take in as much liquid, so the gelatin mostly sits on top and forms a rubbery layer instead of soaking down.
Using frozen or still-icy whipped topping on the cake makes spreading hard and rough. The topping doesn’t go on smooth, can tear the top of the cake, and later thaws into a loose, weepy layer instead of a fluffy blanket.
Equipment Used:
Ingredients
- 1 box (15.25 oz) white cake mix
- 1 cup water
- 1/3 cup vegetable oil
- 3 large eggs
- 1 package (3 oz) strawberry flavored gelatin
- 1 cup boiling water
- 1/2 cup cold water
- 1 container (8 oz) whipped topping, thawed
- Fresh strawberries, for garnish (optional)
Step-by-step Instructions
- 1. Preheat oven to 350°F and grease a 9x13-inch baking dish.
- 2. Prepare the cake mix according to package instructions using water, oil, and eggs. Pour the batter into the prepared baking dish.
- 3. Bake for 30-35 minutes until a toothpick inserted into the center comes out clean. Allow the cake to cool for 15 minutes.
- 4. Dissolve the strawberry gelatin in 1 cup of boiling water. Add 1/2 cup of cold water and stir well.
- 5. Using a fork, poke holes all over the surface of the cooled cake, about 1 inch apart.
- 6. Slowly pour the gelatin mixture evenly over the cake, ensuring it seeps into the holes.
- 7. Refrigerate the cake for at least 2 hours or until the gelatin is set.
- 8. Spread the whipped topping over the cake and garnish with fresh strawberries if desired.
- 9. Slice and serve chilled.
Trending Now
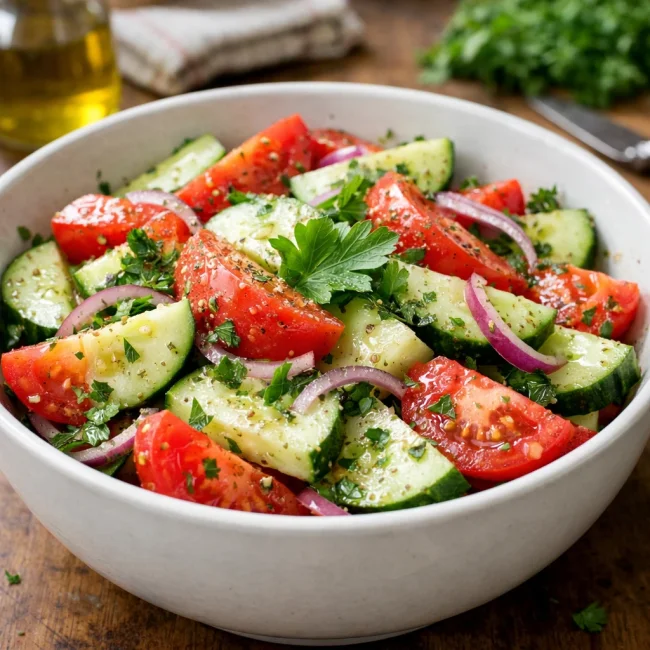
Traditional Cucumber and Tomato Salad
A refreshing and simple salad combining crisp cucumbers and juicy tomatoes, season...
View Recipe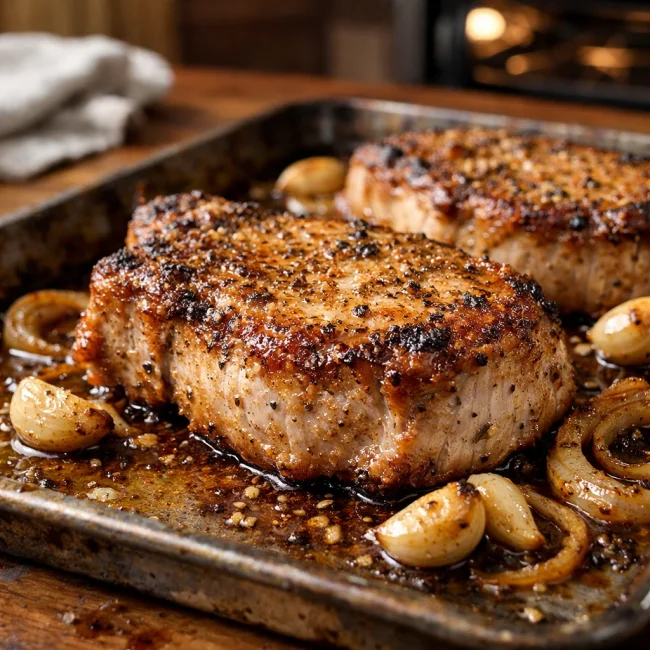
Oven-Baked Pork Chops
Enjoy a delightful dinner with these tender and juicy oven-baked pork chops, seaso...
View Recipe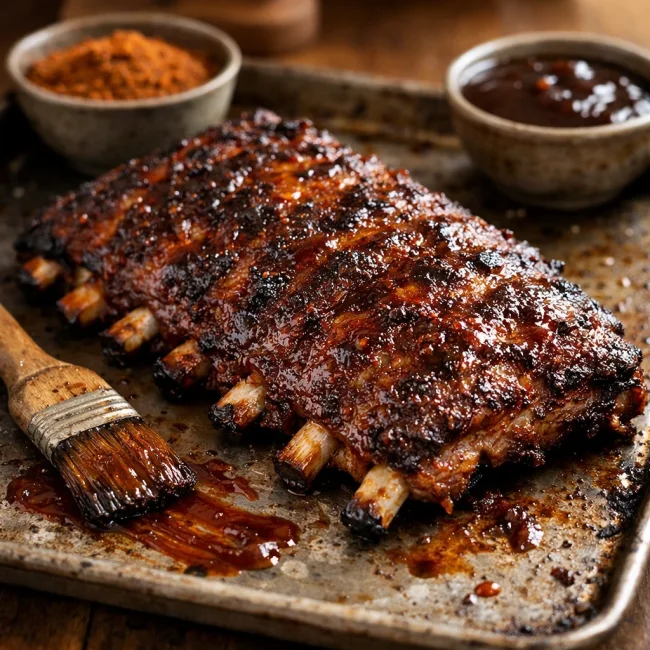
Oven-Roasted Baby Back Ribs
Savor the classic, finger-licking deliciousness of perfectly oven-roasted baby bac...
View Recipe
Classic Cucumber Salad
A refreshing and light cucumber salad featuring crisp cucumbers and a tangy vinaig...
View RecipeFrequently Asked Questions
- Can I use a different flavor of gelatin?
- Absolutely! Feel free to experiment with other flavors like raspberry or lemon for a new twist.
- What if I don't have a white cake mix?
- You can use a yellow cake mix as a substitute, though the flavor will be slightly different.
- How long will the cake last?
- Stored in the refrigerator, this cake should stay fresh for about 3-4 days.
Serving Ideas for Vintage Gelatin Infused Cake
This cake pairs wonderfully with a scoop of vanilla ice cream or a dollop of fresh cream. For a festive touch, serve it with a glass of sparkling lemonade or a fruity tea. It's also a lovely addition to a summer picnic or barbecue.
More Desserts Recipes

Rustic Vanilla Peach Cobbler
This rustic vanilla peach cobbler combines a rich, buttery crust with the sweet, v...
View Recipe
Traditional Lemon Curd
A classic, tangy lemon curd that is perfect for enhancing desserts, breakfast dish...
View Recipe
Traditional Cream Cheese Pie
A delightful and timeless dessert, Traditional Cream Cheese Pie offers a rich and ...
View Recipe
Timeless Cream Puff Delight
Indulge in a delectable Timeless Cream Puff Delight, a classic dessert featuring a...
View Recipe