Traditional Syrup
This Traditional Syrup recipe is your go-to for adding a touch of sweetness to just about anything. It's a kitchen staple that's incredibly simple to make yet endlessly versatile.

This post may contain affiliate links. As an Amazon Associate, we earn from qualifying purchases.
Ingredients for Traditional Syrup
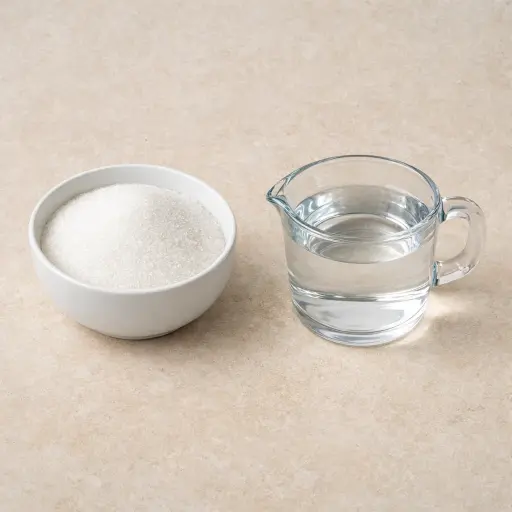
Sugar is the star of this syrup, providing the sweetness that will enhance your teas, coffees, and more. Water acts as the vehicle to dissolve the sugar and turn it into a syrupy consistency.
Why This Traditional Syrup Works
As the sugar and water heat together, the sugar starts to break down into tiny pieces that the water can hold. At first the liquid looks cloudy and grainy because the sugar crystals are still floating around. With steady heat and stirring, those crystals slowly disappear into the water. The liquid becomes clear and smooth, which shows that the sugar is fully dissolved and spread evenly.
During this time, the water keeps the sugar from burning. The mixture never gets thick in the pan; it just stays like hot water, only now it is full of dissolved sugar. Once the pan comes off the heat, the syrup needs time to cool so the sugar and water can settle into a stable mix. After it cools, the syrup stays clear and pourable, and the sugar does not sink or form chunks. That even mix is what lets the syrup sweeten drinks and desserts the same way from the first spoonful to the last.
Traditional Syrup Tips & Tricks
- If you’re short on time, use hot water to speed up the dissolving process.
- To prevent crystallization, add a teaspoon of corn syrup or a few drops of lemon juice to the mixture.
Mistakes To Avoid
Letting the syrup boil hard for a long time turns it into a thicker, sticky syrup that can start to darken. The sugar begins to cook past the simple syrup stage, so it can taste slightly burnt and will set up too thick once cooled, making it hard to pour or mix into drinks.
Starting with very high heat often makes the sugar on the bottom of the pan melt and brown before the rest of the water heats up. This creates uneven color and small bitter, hard bits in the syrup instead of a clear, smooth liquid.
Skipping the stirring while the sugar is dissolving can leave grains stuck to the bottom and sides of the pan. Those undissolved crystals can cause the finished syrup to feel gritty instead of completely smooth.
Pouring the syrup into a bottle while it is still hot can cause steam to build up inside the container. This trapped moisture can drip back into the syrup and sometimes leads to cloudiness and faster spoilage instead of a clean, clear syrup.
Equipment Used:
Ingredients
- 1 cup granulated sugar
- 1 cup water
Step-by-step Instructions
- 1. Combine sugar and water in a saucepan.
- 2. Heat the mixture over medium heat, stirring constantly.
- 3. Continue to heat until the sugar is fully dissolved and the mixture is clear.
- 4. Remove from heat and let it cool to room temperature.
- 5. Once cooled, transfer to a sterile bottle for storage.
Trending Now
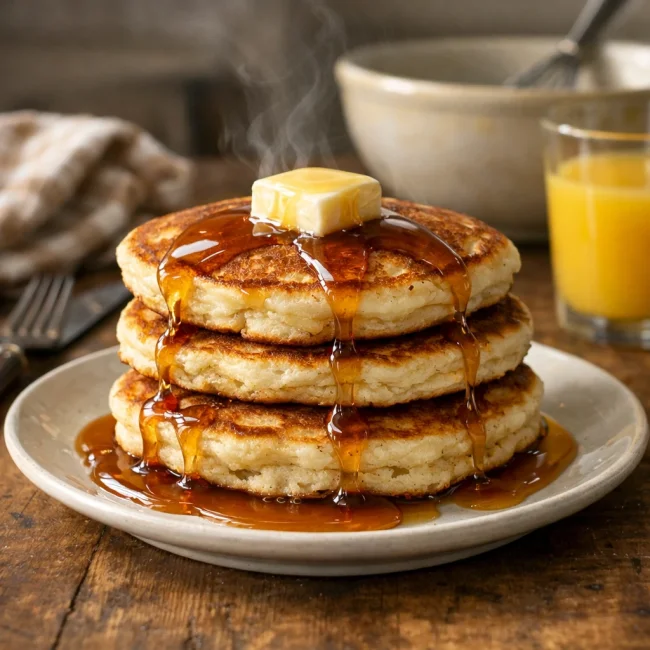
Old-Fashioned Pancakes
Relish in the simplicity and comfort of homemade old-fashioned pancakes, perfect f...
View Recipe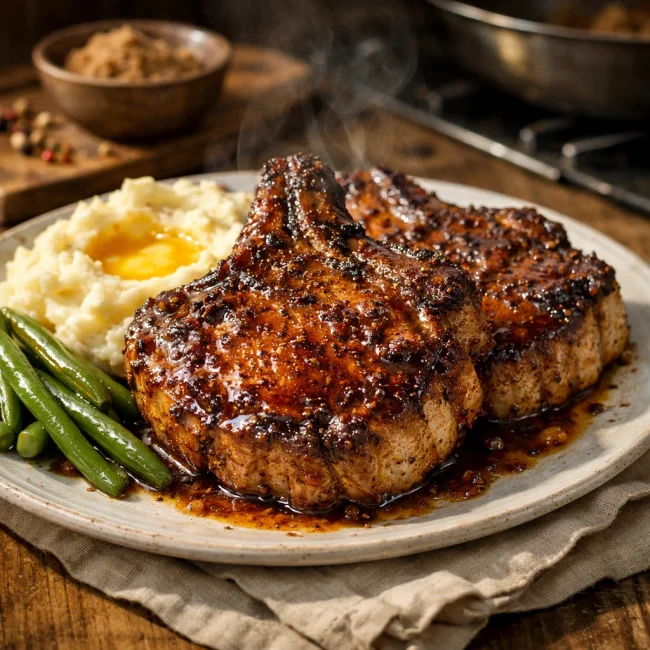
Spiced Brown Sugar Pork Chops
A delightful twist on traditional pork chops, featuring a brown sugar glaze mixed ...
View Recipe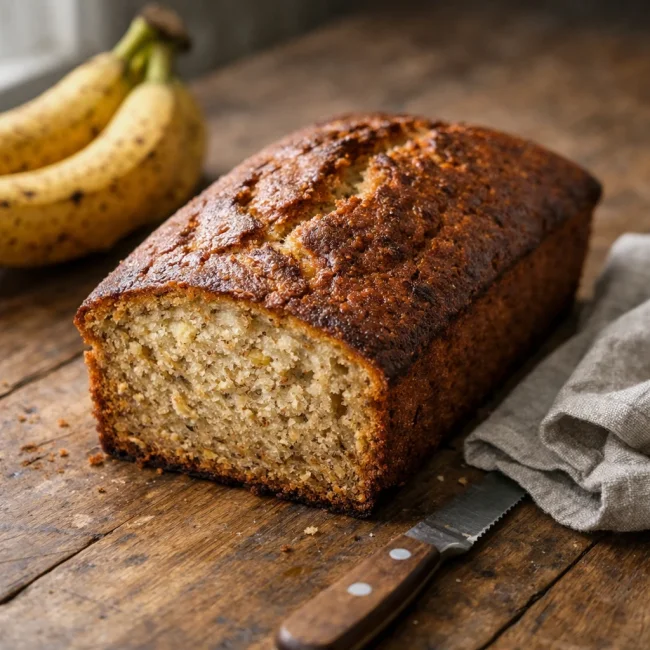
Moist Banana Loaf
Discover the timeless charm of our Moist Banana Loaf, a luscious and tender treat ...
View Recipe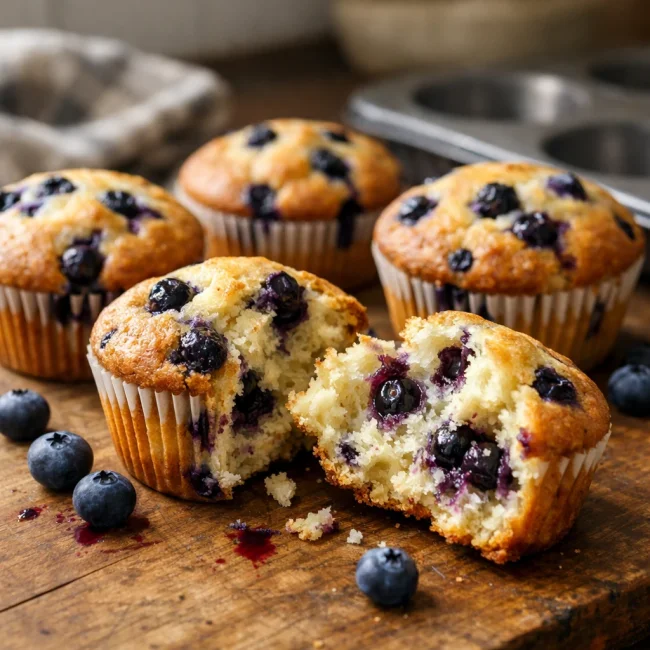
Classic Blueberry Muffins
Deliciously moist and fluffy, these classic blueberry muffins are bursting with fr...
View RecipeFrequently Asked Questions
- How long does the syrup last?
- When stored in the refrigerator, it can last up to a month.
- Can I use brown sugar instead?
- Yes, but it will add a molasses flavor and a darker color to the syrup.
Serving Ideas for Traditional Syrup
This syrup is perfect for sweetening iced teas, lemonades, or cocktails. For a delicious breakfast, drizzle it over pancakes or waffles. You can also use it to moisten cakes or as a base for salad dressings.
More Beverages Recipes
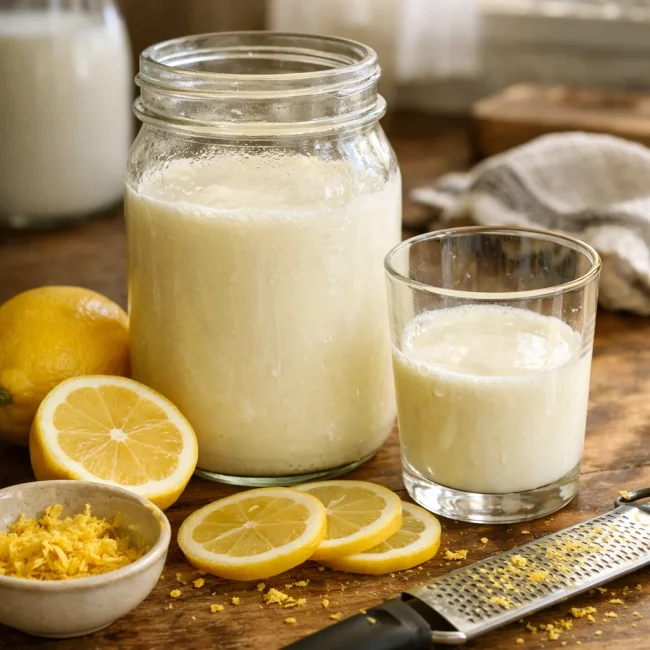
Tangy Lemon Buttermilk
Discover the unique twist of homemade buttermilk with a zesty lemon infusion. Perf...
View Recipe
Timeless Bloody Mary
Discover the classic Timeless Bloody Mary, a zesty and savory cocktail perfect for...
View Recipe
Traditional Martini
A timeless cocktail that exemplifies elegance and simplicity, combining gin with a...
View Recipe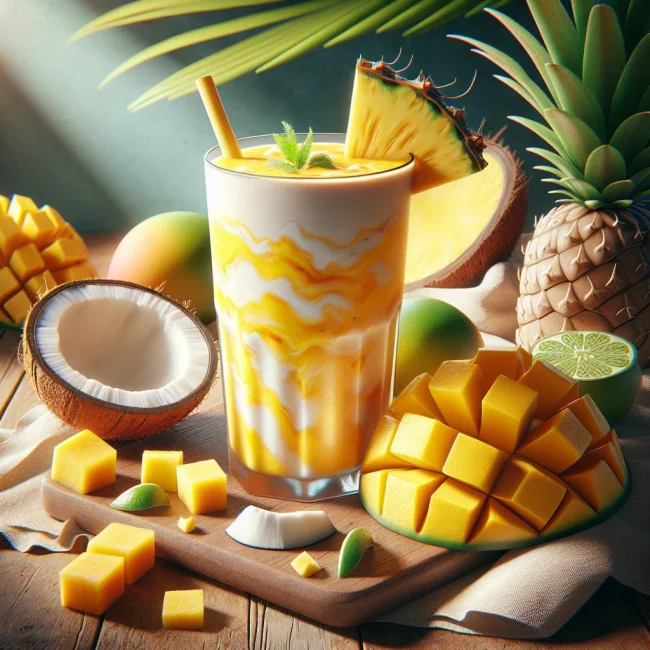
Island Breeze Smoothie
Delight in the refreshing taste of the Island Breeze Smoothie, a vibrant blend of ...
View Recipe