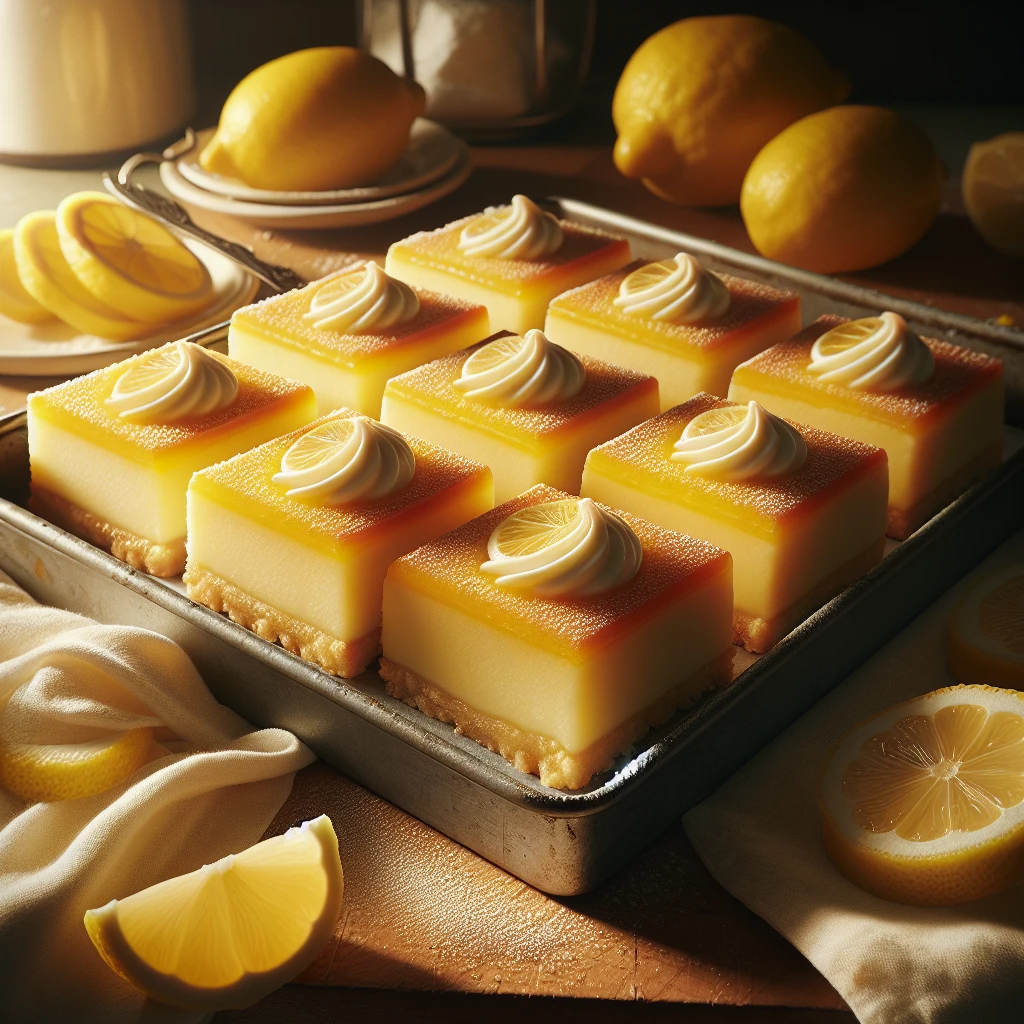
Traditional Lemon Cream Delight
This Traditional Lemon Cream Delight takes you back to the classics with its perfect balance of tangy lemon and creamy texture. It's a dessert that feels both nostalgic and refreshingly new — ideal for a sunny afternoon or a light after-dinner treat.
This post may contain affiliate links. As an Amazon Associate, we earn from qualifying purchases.
Ingredients for Traditional Lemon Cream Delight
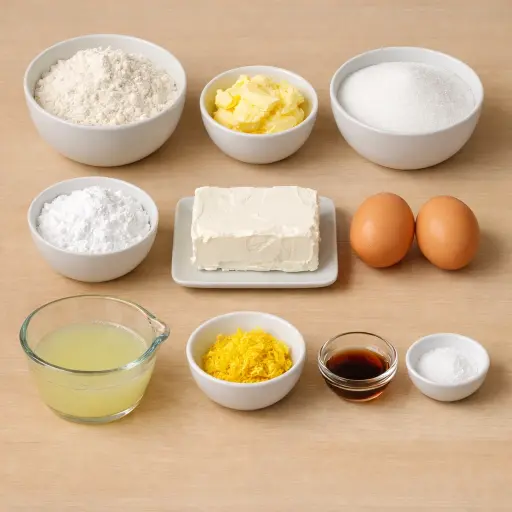
The foundation of this dessert is the crust, where all-purpose flour brings structure and unsalted butter adds richness. A touch of powdered sugar keeps it sweet but not overly so. For the creamy filling, cream cheese sets the stage with its smooth and tangy profile, while granulated sugar sweetens the mix just right. Eggs are essential for binding, and fresh lemon juice along with lemon zest gives it that vibrant zing. A hint of vanilla extract adds warmth, and a dash of salt balances the flavors beautifully.
Why This Traditional Lemon Cream Delight Works
In the oven, the crust bakes first so the flour, butter, and powdered sugar can set into a firm base. The butter melts and soaks into the flour, then the heat dries it out a bit. That’s why it comes out lightly crisp and strong enough to hold the soft lemon layer on top without going soggy right away.
While the crust is baking, the cream cheese, sugar, eggs, and lemon are beaten until smooth. As the second bake happens, the eggs slowly firm up and lock the cream cheese and lemon juice into a creamy, custard-like layer. The sugar melts into that mixture, so it stays smooth instead of grainy. Around the edges, the filling bakes a little more and starts to look slightly golden, which means it has set.
After baking, the pan needs time to cool and chill. During this time, the filling finishes firming up and the butter in the crust hardens again. That cooling time is what turns the soft, warm lemon layer into clean slices that hold together but still feel creamy when eaten.
Traditional Lemon Cream Delight Tips & Tricks
- For the best flavor, use freshly squeezed lemon juice — it makes a big difference.
- Chill the bars thoroughly before cutting to get clean slices.
- If you prefer a thicker crust, you can increase the crust ingredients by 50%.
Mistakes To Avoid
Pouring the cream cheese mixture onto a hot crust straight from the oven can cause trouble. The heat starts cooking the bottom of the filling before the top even hits the oven, so it can bake unevenly and end up with a rubbery layer on the bottom and a softer layer on top.
Overbaking the second time in the oven often leads to a dry, cracked top. The filling keeps firming up as it cools, so leaving it in too long makes the bars stiff and chalky instead of creamy, and the edges can turn tough.
Using cream cheese that is still cold from the fridge makes the batter lumpy. Cold chunks don’t blend smoothly with the sugar and eggs, so they leave little curdled bits in the baked bars instead of a smooth, even texture.
Skipping the chill time in the fridge means the filling never fully sets. The bars may slice messy and soft, the layers slide around, and the pieces won’t hold a clean shape when lifted from the pan.
Equipment Used:
Ingredients
- 1 cup all-purpose flour
- 1/2 cup unsalted butter, softened
- 1/4 cup powdered sugar
- 1 cup granulated sugar
- 8 oz cream cheese, softened
- 2 large eggs
- 1/4 cup fresh lemon juice
- 1 tbsp lemon zest
- 1/2 tsp vanilla extract
- 1/4 tsp salt
Step-by-step Instructions
- 1. Preheat oven to 350°F (175°C). Grease an 8x8 inch baking pan.
- 2. In a mixing bowl, combine flour, softened butter, and powdered sugar to form a crumbly mixture.
- 3. Press the mixture evenly into the bottom of the prepared baking pan to form the crust.
- 4. Bake the crust for 15 minutes or until lightly golden.
- 5. While the crust is baking, blend the cream cheese and granulated sugar in a medium bowl until smooth and creamy.
- 6. Add eggs, lemon juice, lemon zest, vanilla extract, and salt to the cream cheese mixture. Beat until well combined.
- 7. Pour the cream cheese mixture over the baked crust and spread evenly.
- 8. Return to the oven and bake for another 20-25 minutes or until the filling is set and slightly golden around the edges.
- 9. Allow to cool at room temperature, then refrigerate for at least 2 hours before slicing into bars and serving.
Trending Now
Old-Fashioned Pancakes
Relish in the simplicity and comfort of homemade old-fashioned pancakes, perfect f...
View Recipe
Spiced Brown Sugar Pork Chops
A delightful twist on traditional pork chops, featuring a brown sugar glaze mixed ...
View Recipe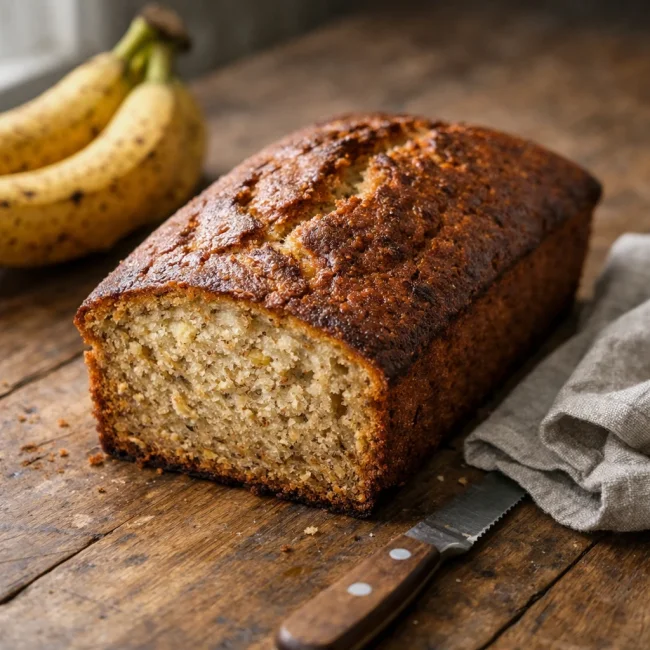
Moist Banana Loaf
Discover the timeless charm of our Moist Banana Loaf, a luscious and tender treat ...
View Recipe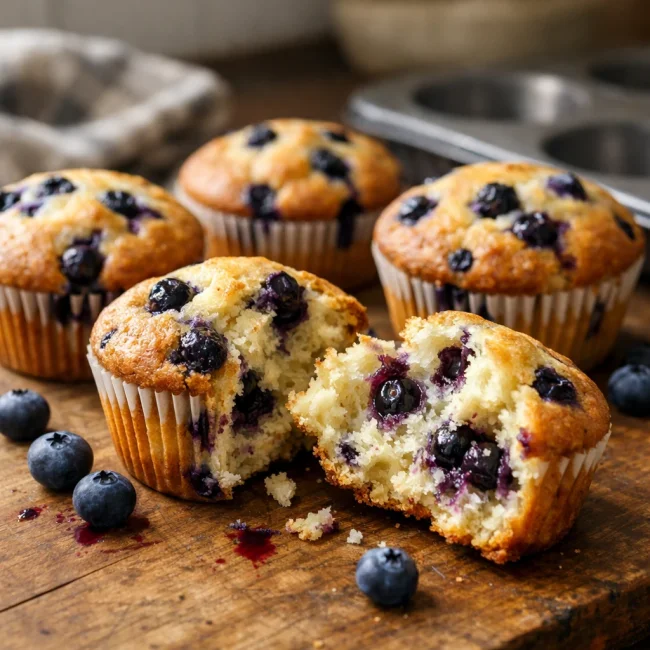
Classic Blueberry Muffins
Deliciously moist and fluffy, these classic blueberry muffins are bursting with fr...
View RecipeFrequently Asked Questions
- Can I use bottled lemon juice?
- Freshly squeezed is best for optimal flavor, but bottled will work in a pinch.
- How long do these bars keep?
- They can be stored in an airtight container in the refrigerator for up to 5 days.
- Can I freeze the bars?
- Yes, wrap them tightly in plastic wrap and freeze for up to 2 months. Thaw in the fridge before serving.
Serving Ideas for Traditional Lemon Cream Delight
These bars pair beautifully with a scoop of vanilla ice cream for a decadent dessert. For a more sophisticated touch, serve with a dollop of whipped cream and a sprig of mint. They also shine as a standalone treat alongside a glass of chilled white wine.
More Desserts Recipes

Rustic Vanilla Peach Cobbler
This rustic vanilla peach cobbler combines a rich, buttery crust with the sweet, v...
View Recipe
Traditional Lemon Curd
A classic, tangy lemon curd that is perfect for enhancing desserts, breakfast dish...
View Recipe
Traditional Cream Cheese Pie
A delightful and timeless dessert, Traditional Cream Cheese Pie offers a rich and ...
View Recipe
Timeless Cream Puff Delight
Indulge in a delectable Timeless Cream Puff Delight, a classic dessert featuring a...
View Recipe