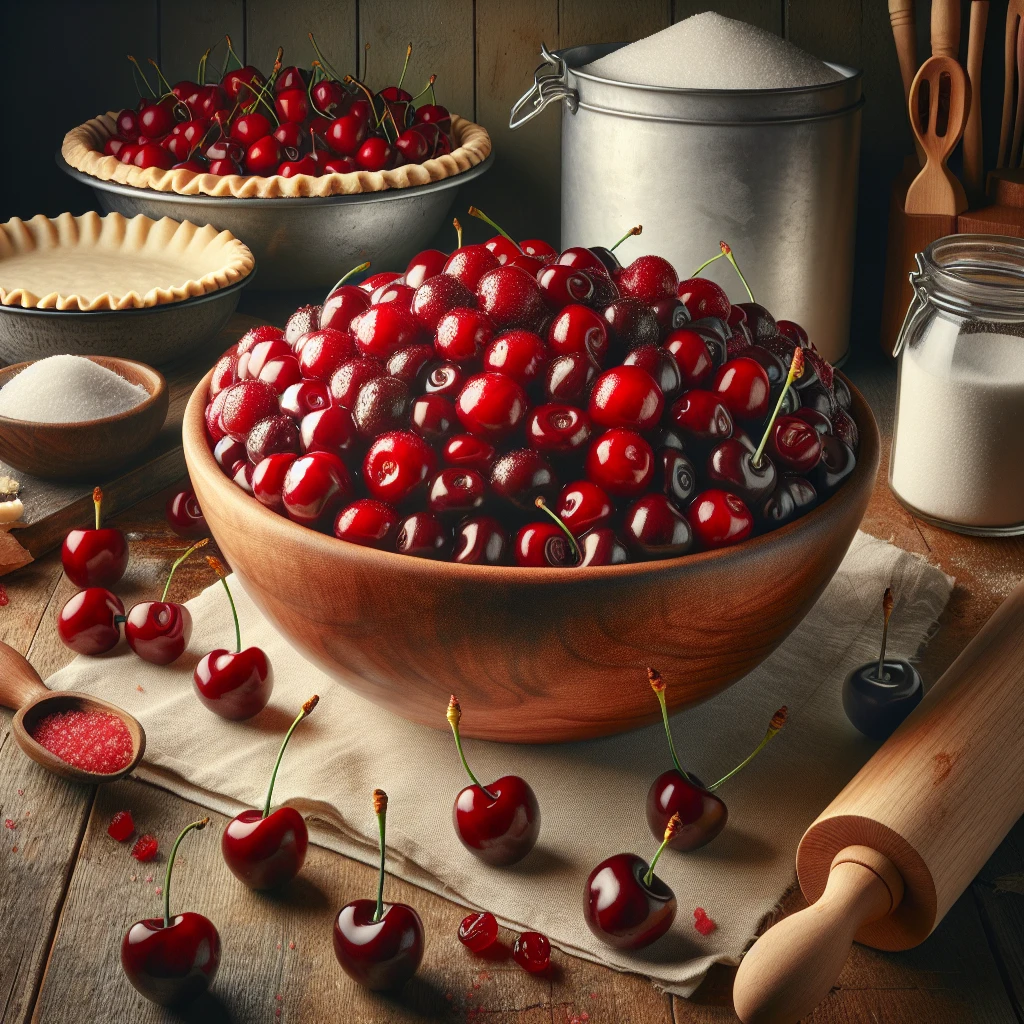
Traditional Cherry Pie Filling
There's something timeless about a homemade cherry pie, especially when the filling is made from scratch. This traditional cherry pie filling is a celebration of tart cherries, bringing a burst of fruity flavor that’s both nostalgic and utterly satisfying.
This post may contain affiliate links. As an Amazon Associate, we earn from qualifying purchases.
Ingredients for Traditional Cherry Pie Filling
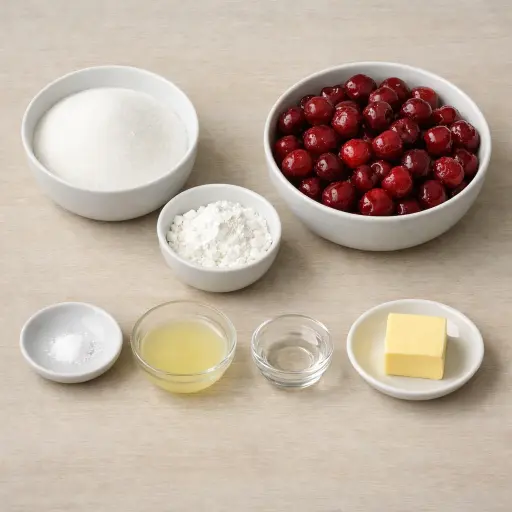
Granulated sugar provides the sweet counterpoint to the tartness of the cherries, making the filling perfectly balanced. Cornstarch is our thickener here, ensuring the filling holds together beautifully without being runny. A pinch of salt enhances all the flavors, bringing out the natural sweetness. The hero of our dish, tart cherries, offers that classic pie flavor you're looking for. A hint of lemon juice adds brightness and prevents the fruit from browning. Just a touch of almond extract complements the cherries with a subtle nutty aroma, while a dab of unsalted butter enriches the filling with a smooth, glossy finish.
Why This Traditional Cherry Pie Filling Works
Sugar, cornstarch, and salt coat the cherries before any heat hits them, so the cherry juice has something to grab onto right away. As it warms up on the stove, the cherries start to let out their juice. That loose juice mixes with the cornstarch and slowly turns from cloudy and thin to clear and thick. After a few minutes of bubbling, the liquid around the cherries becomes more like a glossy gel instead of watery syrup, so the filling can sit in a pie crust without running all over the place.
While everything simmers, the cherries soften but still hold their shape because the thickened juice cushions them instead of boiling them to mush. Lemon juice keeps the color bright and the taste sharp, so the filling doesn’t taste flat or too sweet. Right at the end, butter melts into the hot filling and smooths out the texture, so it cools into a soft, sliceable cherry layer that stays put when the pie is cut.
Traditional Cherry Pie Filling Tips & Tricks
- If using frozen cherries, let them thaw and drain the excess liquid before adding them to the saucepan.
- Avoid overcooking: Once the filling thickens and bubbles, reduce the heat promptly to prevent it from becoming gummy.
- For a smoother texture, mash some of the cherries with a fork while cooking.
Mistakes To Avoid
Letting the filling cook too long on medium or high heat makes the cherries break down too much and burst completely. The mixture turns into more of a jam than a pie filling, and the fruit pieces almost disappear, so the pie ends up with a flat, mushy texture instead of soft chunks of cherry.
When the cornstarch, sugar, and salt are not mixed together first, the cornstarch often clumps as soon as the wet cherries go in. Those lumps don’t fully dissolve while cooking, so the finished filling can have gummy, pasty bits instead of a smooth, even thickness.
Adding the almond extract and butter while the filling is still boiling hot over the burner causes some of the aroma to cook off and the butter to separate on top. The fat then doesn’t blend in properly, and the cooled filling can look a little greasy on the surface instead of glossy and silky.
Skipping the full cooling time means the filling stays loose and runny when it goes into a pie shell. In the oven it bubbles up and leaks, and after baking the slices don’t hold their shape and slide apart on the plate.
Equipment Used:
Ingredients
- 1 cup granulated sugar
- 1/4 cup cornstarch
- 1/8 teaspoon salt
- 4 cups pitted tart cherries (fresh or frozen)
- 1 tablespoon lemon juice
- 1/4 teaspoon almond extract
- 1 tablespoon unsalted butter
Step-by-step Instructions
- 1. In a medium saucepan, combine sugar, cornstarch, and salt.
- 2. Stir in pitted cherries and lemon juice, mixing until cherries are well coated.
- 3. Over medium heat, cook the mixture, stirring frequently, until it thickens and begins to bubble.
- 4. Reduce heat and let it simmer for about 5 minutes, continuing to stir occasionally.
- 5. Remove from the heat and stir in almond extract and butter until fully incorporated.
- 6. Allow the filling to cool completely before using it in your pie or storing it.
Trending Now
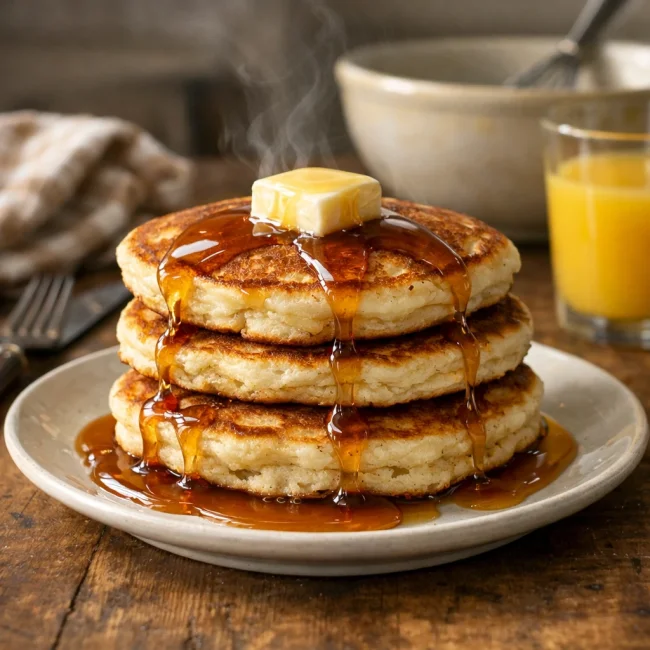
Old-Fashioned Pancakes
Relish in the simplicity and comfort of homemade old-fashioned pancakes, perfect f...
View Recipe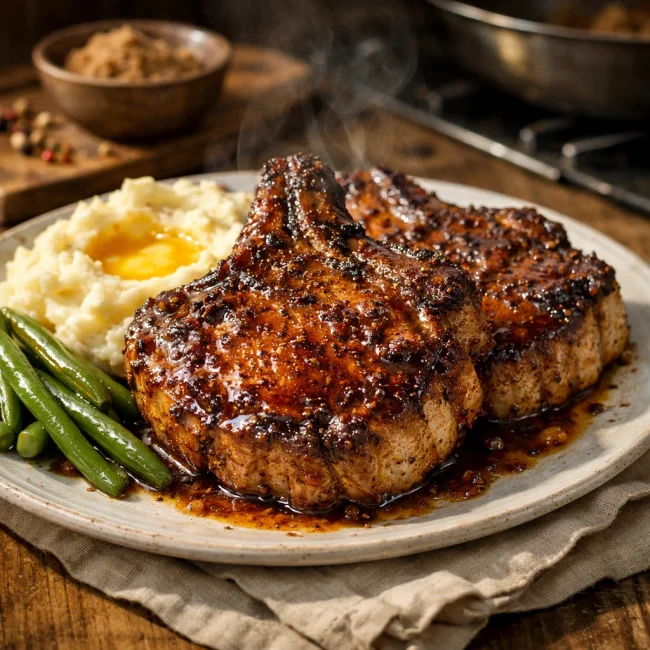
Spiced Brown Sugar Pork Chops
A delightful twist on traditional pork chops, featuring a brown sugar glaze mixed ...
View Recipe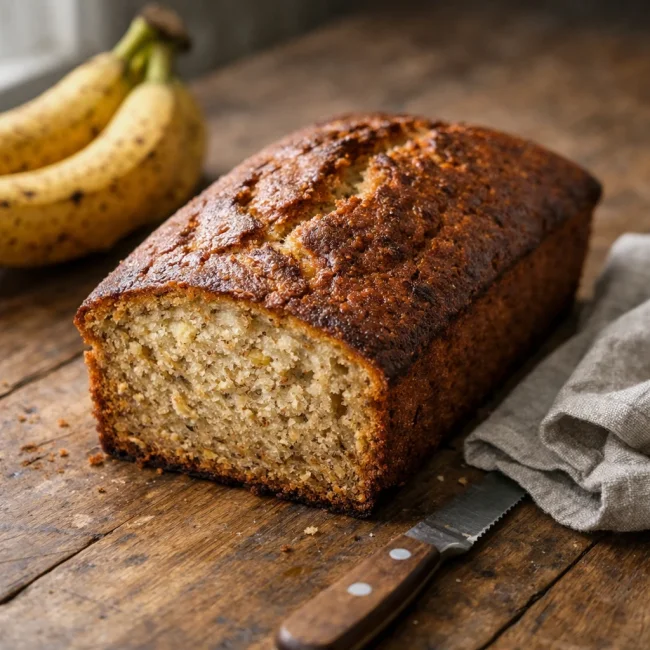
Moist Banana Loaf
Discover the timeless charm of our Moist Banana Loaf, a luscious and tender treat ...
View Recipe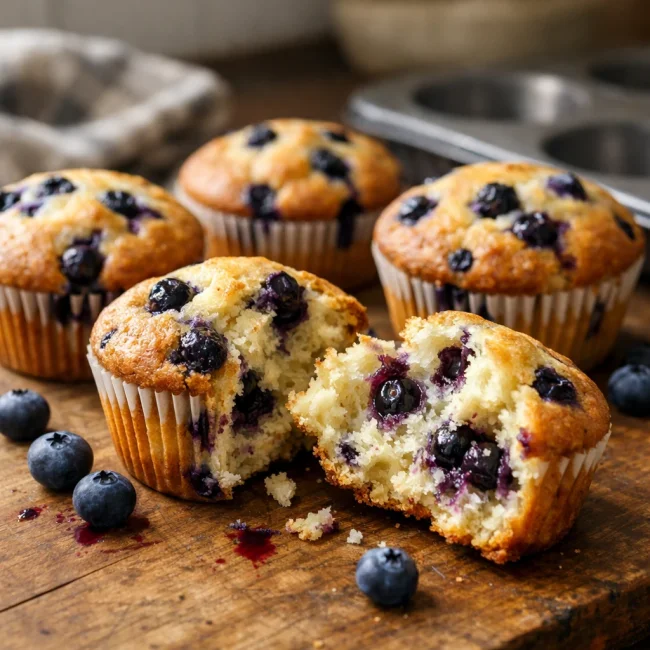
Classic Blueberry Muffins
Deliciously moist and fluffy, these classic blueberry muffins are bursting with fr...
View RecipeFrequently Asked Questions
- Can I use sweet cherries instead of tart cherries?
- Yes, but you may want to reduce the sugar slightly to avoid an overly sweet filling.
- How long can I store this filling?
- It can be refrigerated in an airtight container for up to a week or frozen for up to 3 months.
Serving Ideas for Traditional Cherry Pie Filling
This cherry pie filling is a classic, but don’t stop at pies! Try it as a topping for vanilla ice cream or layer it into a parfait with whipped cream and crushed cookies. It’s also fantastic spooned over pancakes or waffles for a special breakfast treat.
More Desserts Recipes

Rustic Vanilla Peach Cobbler
This rustic vanilla peach cobbler combines a rich, buttery crust with the sweet, v...
View Recipe
Traditional Lemon Curd
A classic, tangy lemon curd that is perfect for enhancing desserts, breakfast dish...
View Recipe
Traditional Cream Cheese Pie
A delightful and timeless dessert, Traditional Cream Cheese Pie offers a rich and ...
View Recipe
Timeless Cream Puff Delight
Indulge in a delectable Timeless Cream Puff Delight, a classic dessert featuring a...
View Recipe