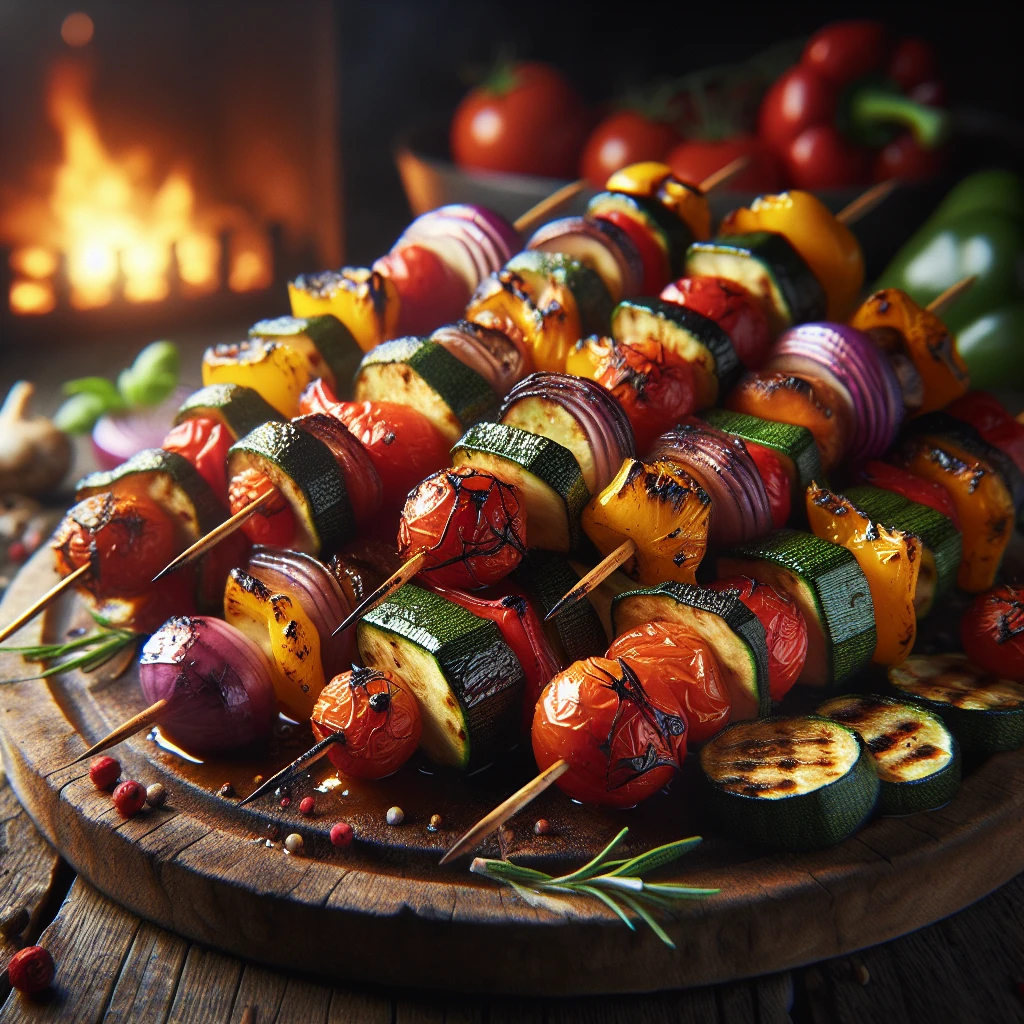
Fire-Roasted Vegetable Skewers
If you’re looking to capture the essence of a campfire gathering with a dish that’s as colorful as it is flavorful, Fire-Roasted Vegetable Skewers are your go-to recipe. These skewers bring together a medley of vegetables, kissed by smoke and flame, for a perfectly charred, nutrient-packed dish that's ready for any outdoor adventure.
This post may contain affiliate links. As an Amazon Associate, we earn from qualifying purchases.
Ingredients for Fire-Roasted Vegetable Skewers
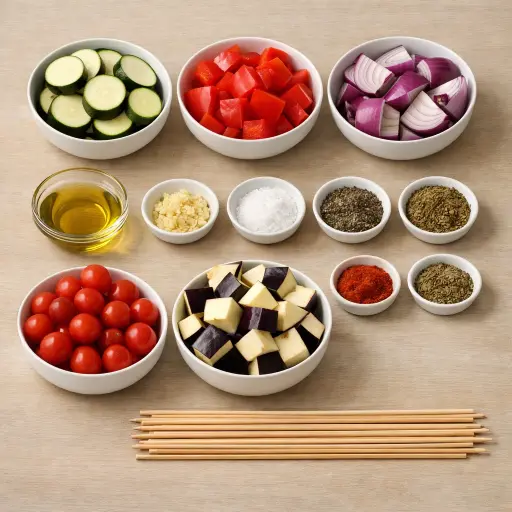
Zucchinis add a mild, slightly sweet flavor and hold up well to grilling. Red bell peppers bring a burst of color and a sweet, subtle crunch. Red onion offers a hint of sharpness and softens beautifully when grilled. Cherry tomatoes become juicy and sweet when roasted, adding a pop of freshness. Eggplant absorbs the marinade and turns wonderfully tender with a smoky undertone. The olive oil ensures everything is coated evenly and doesn’t stick, while garlic, sea salt, black pepper, smoked paprika, and dried oregano infuse the vegetables with savory depth and a hint of spice.
Why This Fire-Roasted Vegetable Skewers Works
During cooking, the hot campfire coals dry the outside of the vegetables first. The surface starts to brown and char a little, while the inside of the zucchini, eggplant, and peppers slowly soften. As they soften, their juices move toward the center, so they stay moist instead of drying out and shriveling.
As the oil and spices warm up on the vegetables, the oil spreads into all the little cracks and edges. The garlic, smoked paprika, and oregano cling to the outside, so every side of each piece tastes seasoned. The cherry tomatoes heat up fast and their skins wrinkle and split, so their juice soaks the nearby vegetables on the skewer.
By turning the skewers over the fire, no side sits in the heat too long. One side browns while the other side rests, which keeps the vegetables tender instead of burnt. In the end, the vegetables hold their shape on the skewers, but bite through easily and taste sweeter and smokier from the time over the coals.
Fire-Roasted Vegetable Skewers Tips & Tricks
- If you prefer a little heat, try adding a pinch of cayenne pepper to the marinade.
- Use metal skewers to avoid the soaking step if you often find yourself short on time.
- For even cooking, cut vegetables uniformly so they grill at the same rate.
Mistakes To Avoid
Letting the fire run too hot can scorch the outside of the vegetables while the insides stay hard, especially the eggplant and onion. The skewers look dark and blistered, but the centers stay firm and a bit raw, so the texture ends up uneven from bite to bite.
Skipping the soak for wooden skewers often leads to the sticks burning or even snapping over the fire. Once the wood chars, the vegetables can slide off into the coals or hang at odd angles, so parts burn while other pieces barely cook.
Cutting the vegetables in very different sizes makes them cook at totally different speeds. Small tomato halves and thin zucchini rounds collapse and fall apart while big chunks of onion and eggplant are still tough and underdone.
Crowding too many pieces tightly on each skewer keeps the heat from reaching all sides. The outside edges may char, but the pieces in the middle steam and stay soft and pale instead of getting those firm, lightly charred edges.
Equipment Used:
Ingredients
- 2 medium zucchinis, sliced into 1/2-inch rounds
- 2 red bell peppers, cut into 1-inch squares
- 1 large red onion, cut into wedges
- 8 oz cherry tomatoes
- 1 medium eggplant, cut into 1-inch cubes
- 3 tbsp olive oil
- 2 cloves garlic, minced
- 1 tsp sea salt
- 1/2 tsp black pepper
- 1/2 tsp smoked paprika
- 1/2 tsp dried oregano
- Wooden or metal skewers
Step-by-step Instructions
- 1. Soak wooden skewers in water for 30 minutes if using to prevent burning.
- 2. In a large bowl, combine olive oil, garlic, sea salt, black pepper, smoked paprika, and dried oregano.
- 3. Add the zucchinis, red bell peppers, red onion, cherry tomatoes, and eggplant to the bowl and toss to coat evenly.
- 4. Preheat the campfire until the coals are hot and glowing.
- 5. Thread the vegetables onto the skewers, alternating types for a colorful display.
- 6. Place skewers over the campfire on a grilling grate or hold them over the flames, turning occasionally, for about 10-15 minutes or until vegetables are tender and lightly charred.
- 7. Serve immediately and enjoy the vibrant flavors of the fire-roasted vegetables.
Trending Now
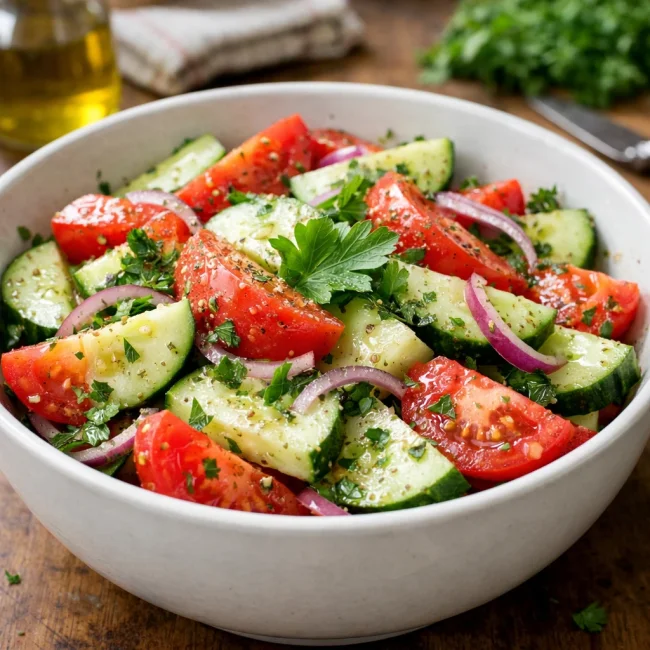
Traditional Cucumber and Tomato Salad
A refreshing and simple salad combining crisp cucumbers and juicy tomatoes, season...
View Recipe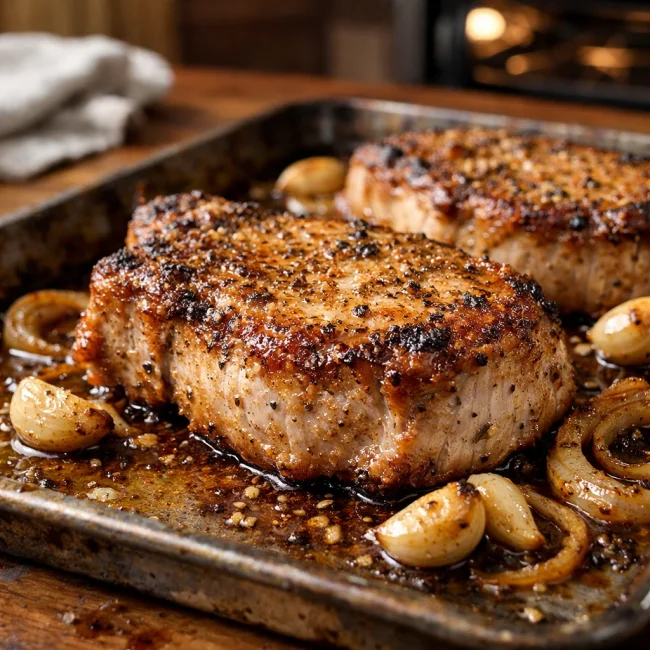
Oven-Baked Pork Chops
Enjoy a delightful dinner with these tender and juicy oven-baked pork chops, seaso...
View Recipe
Oven-Roasted Baby Back Ribs
Savor the classic, finger-licking deliciousness of perfectly oven-roasted baby bac...
View Recipe
Classic Cucumber Salad
A refreshing and light cucumber salad featuring crisp cucumbers and a tangy vinaig...
View RecipeFrequently Asked Questions
- Can I prepare the skewers ahead of time?
- Yes! You can marinate the vegetables and thread them onto skewers a few hours before cooking. Just keep them refrigerated until you’re ready to grill.
- What if I don’t have access to a campfire?
- No worries! You can use a grill or even a grill pan on the stovetop to achieve similar results.
Serving Ideas for Fire-Roasted Vegetable Skewers
Pair these skewers with a light quinoa salad or a side of couscous for a complete meal. They also work well as a hearty side dish to grilled fish or chicken, enhancing the smoky flavors of the main course.
More Grilling & BBQ Recipes

Citrus Herb Grilled Salmon
Discover the burst of flavors in our Citrus Herb Grilled Salmon recipe. This delig...
View Recipe
Smoky Maple Bourbon Baby Back Ribs
Savor the taste of summer with our Smoky Maple Bourbon Baby Back Ribs recipe, infu...
View Recipe
Oven-Baked BBQ Ribs
Enjoy tender ribs with a smoky BBQ sauce, slow-cooked in the oven for that fall-of...
View Recipe
Cilantro Mint Chimichurri
A zesty variation of the classic chimichurri, featuring vibrant cilantro and refre...
View Recipe