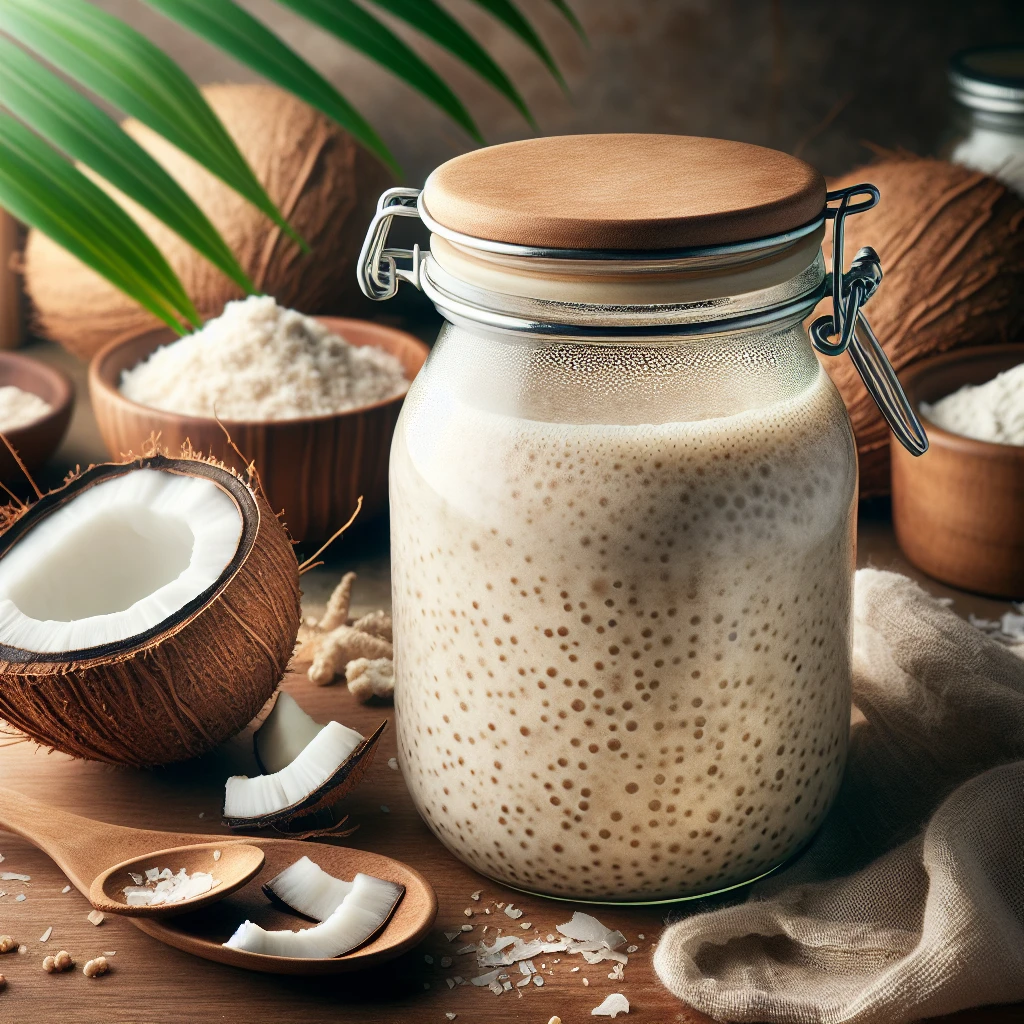
Tropical Coconut Sourdough Starter
Welcome to a fresh twist on traditional sourdough! This Tropical Coconut Sourdough Starter blends the warm, nutty flavor of coconut with a hint of sweet and tangy pineapple. Perfect for adding a tropical vibe to your homemade bread.
This post may contain affiliate links. As an Amazon Associate, we earn from qualifying purchases.
Ingredients for Tropical Coconut Sourdough Starter

Whole wheat flour is the backbone of your starter, providing the necessary carbohydrates for fermentation. Warm water hydrates the flour and helps activate the wild yeast in the air. Unsweetened shredded coconut adds a nutty depth and texture to the starter. Honey offers a touch of sweetness and acts as food for the yeast. Finally, pineapple juice contributes a sweet-tangy flavor and helps create an acidic environment ideal for sourdough.
Why This Tropical Coconut Sourdough Starter Works
On the first days, the whole wheat flour, warm water, pineapple juice, and honey sit together and stay a little loose and sticky. Wild yeast and bacteria in the flour and in the air start to eat the honey and the natural sugars in the juice. As they feed, they give off gas, so small bubbles begin to show up in the starter. The pineapple juice keeps the mix a bit more sour at the start, which lets the good microbes grow while the unwanted ones fade out.
As days go by, each feeding with more flour and warm water gives the growing yeast fresh food. Discarding some starter keeps the bowl from getting too full and keeps the mix from becoming heavy and sluggish. The shredded coconut soaks in water and softens, and its natural sugars slowly feed the yeast too. Over time the starter thickens, traps gas better, and starts to rise higher after each feeding. By day 5, it can double in size in a few hours, which shows it is strong enough to lift bread dough.
Tropical Coconut Sourdough Starter Tips & Tricks
- Use filtered water if your tap water is heavily chlorinated, as chlorine can inhibit yeast activity.
- Keep your starter in a warm spot; around 70°F to 75°F is ideal.
- If your kitchen is cooler, the starter may take longer to become active.
- Always use clean utensils and containers to prevent bad bacteria from spoiling your starter.
Mistakes To Avoid
Using water that is much hotter than 110°F can quietly kill off the wild yeast before it even gets going. The starter then just sits there, smelling like wet flour and coconut, with no bubbles and no rise, no matter how many days it is fed.
Skipping the discard on Days 3 and 4 often leads to a heavy, sluggish starter. The bowl fills with too much old, weak mixture, so the fresh flour and water get drowned out and the starter struggles to rise and stays pasty and flat.
Adding sweetened coconut instead of unsweetened changes how the starter ferments. Extra sugar pulls in the wrong kind of microbes, so the mix can turn sticky, overly foamy on top, and sometimes smell sharp and off instead of pleasantly yeasty.
Letting the starter sit in a very cold kitchen slows everything down. The mixture may barely bubble and never double in size on Day 5, so it looks thick and dull and doesn’t have the strength to lift any bread dough.
Equipment Used:
Ingredients
- 2 cups whole wheat flour
- 1.5 cups warm water (110°F)
- 1 cup unsweetened shredded coconut
- 1 tablespoon honey
- 1/4 cup pineapple juice
Step-by-step Instructions
- Day 1: In a large glass bowl, combine 1 cup of whole wheat flour, 1/2 cup of warm water, and 1/4 cup of pineapple juice. Stir until smooth.
- Add 1/2 cup of unsweetened shredded coconut and mix well. Cover the bowl with a clean cloth and leave at room temperature for 24 hours.
- Day 2: Add 1/2 cup of whole wheat flour and 1/4 cup of warm water. Mix until combined. Cover and let sit for another 24 hours.
- Day 3: Discard half of the starter mixture. Add another 1/2 cup of whole wheat flour and 1/4 cup of warm water. Stir and cover.
- Day 4: Repeat the discarding and feeding process as on Day 3. You should start seeing bubbles and a yeasty smell.
- Day 5: Feed the starter with 1/2 cup of whole wheat flour and 1/2 cup of warm water. Mix, cover, and let it rest until it doubles in size, usually 4 to 6 hours. Your starter is now ready to use.
Trending Now
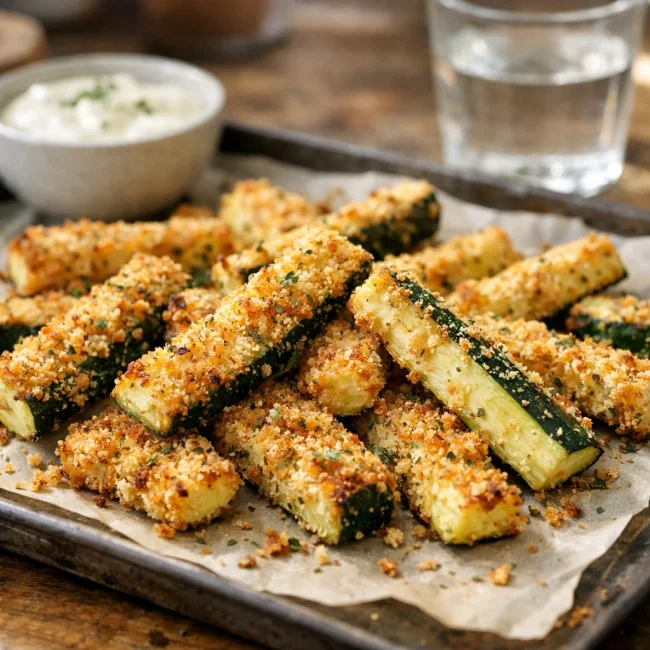
Zucchini Fries
Crispy oven-baked zucchini fries with a golden crust, perfect for a healthy snack ...
View Recipe
Old-Fashioned Bread Pudding
Discover the classic charm of Old-Fashioned Bread Pudding - a timeless dessert com...
View Recipe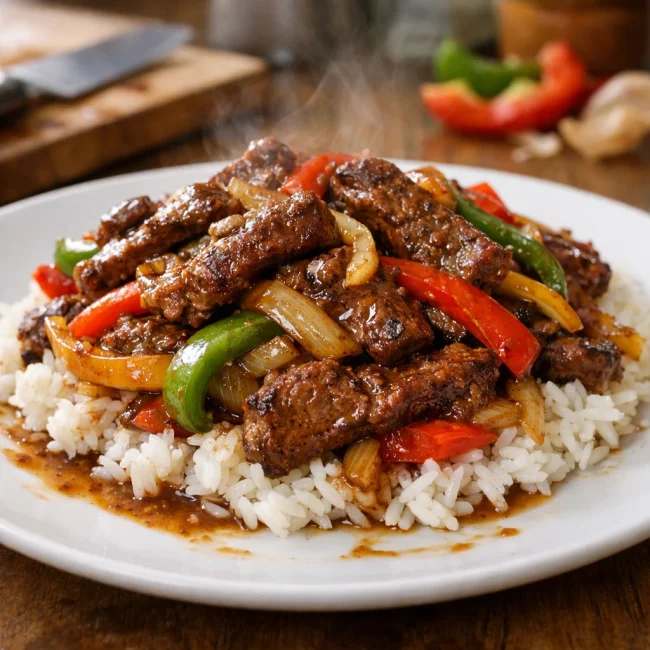
Traditional Pepper Steak
A timeless savory dish, Traditional Pepper Steak features juicy beef strips cooked...
View Recipe
Traditional Fluffy Pancakes
Discover the perfect start to your morning with our Traditional Fluffy Pancakes, a...
View RecipeFrequently Asked Questions
- Can I use all-purpose flour instead of whole wheat?
- Yes, you can, but whole wheat flour provides more nutrients for the yeast, which helps in fermentation.
- Why do I need to discard half of the starter?
- Discarding prevents the starter from becoming too large and unmanageable, and it helps maintain the right balance of yeast and bacteria.
- How do I know if my starter is ready?
- Look for a bubbly texture and a sour, yeasty smell. It should also double in size within 4 to 6 hours after feeding.
Serving Ideas for Tropical Coconut Sourdough Starter
This tropical starter is fantastic for making island-inspired bread. Try using it in a coconut and pineapple infused loaf, perfect for a summer picnic or a sweet breakfast toast. It pairs wonderfully with a light spread of cream cheese and a sprinkle of toasted coconut.
More Breads & Baked Goods Recipes

Traditional Italian Easter Bread
Savor the delightful taste of a classic Italian Easter bread, a sweet, soft, and s...
View Recipe
Old-Fashioned Pineapple Bread
A delightful and flavorful bread infused with juicy pineapple, perfect for breakfa...
View Recipe
Old-Fashioned Blueberry Muffins
Transport yourself to simpler times with these delightful old-fashioned blueberry ...
View Recipe
Strawberry Basil Scones
These tender scones combine the sweetness of fresh strawberries with a hint of pep...
View Recipe