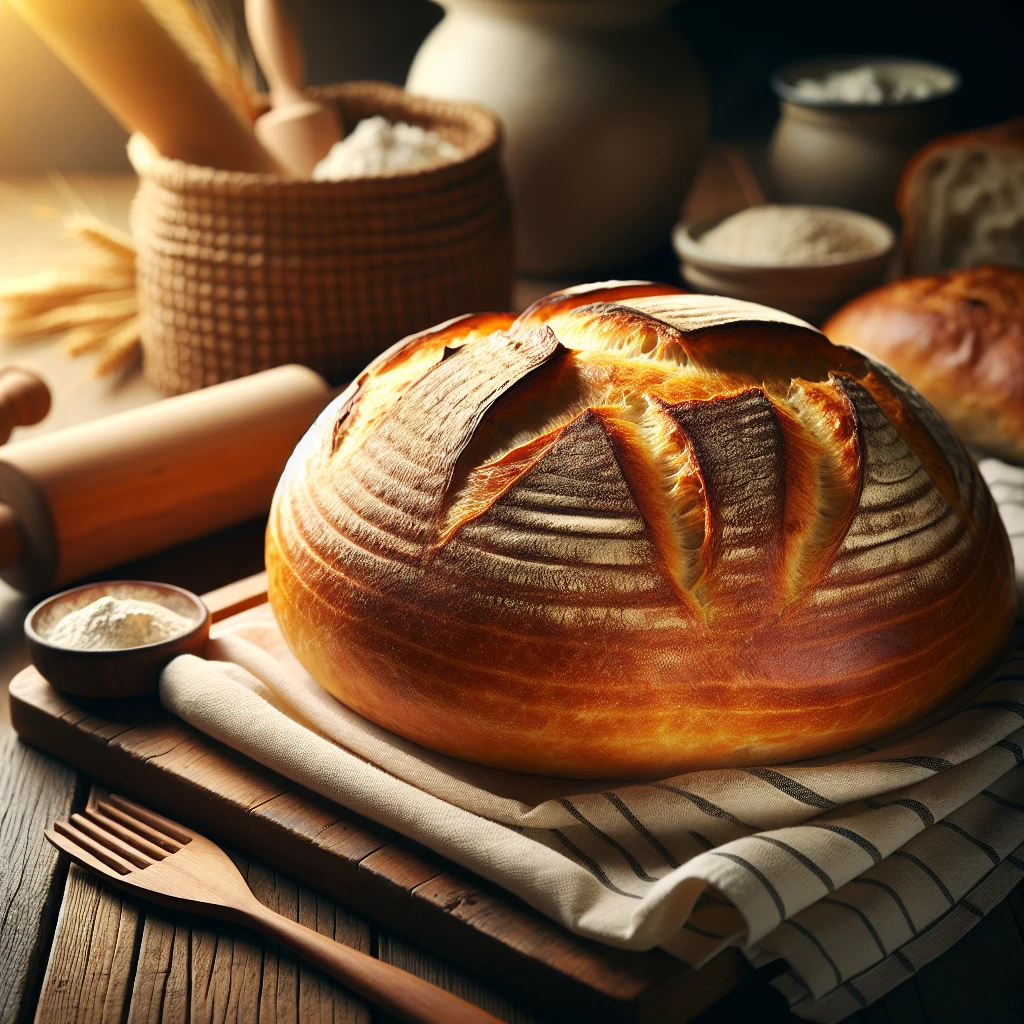
Traditional Yeast Bread
There's something undeniably satisfying about making your own bread from scratch. This traditional yeast bread recipe is straightforward, making it perfect for both beginners and seasoned bakers looking for a reliable go-to loaf.
This post may contain affiliate links. As an Amazon Associate, we earn from qualifying purchases.
Ingredients for Traditional Yeast Bread
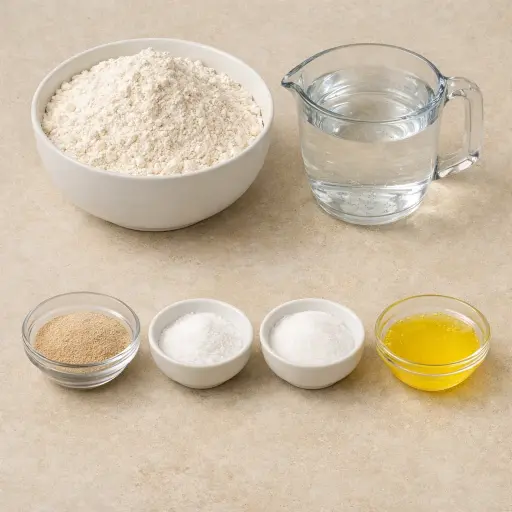
The backbone of any good bread is its flour. Here, all-purpose flour provides structure, making it ideal for a soft, everyday loaf. The warm water activates the yeast and helps develop the dough. Speaking of which, active dry yeast is what gives the bread its rise, transforming it from dough to a beautifully risen loaf. The salt enhances the flavor, preventing the bread from tasting bland. A touch of sugar not only feeds the yeast but also adds a subtle sweetness, enhancing the overall flavor. Finally, unsalted butter adds richness and tenderness to the crumb.
Why This Traditional Yeast Bread Works
Warm water, sugar, and yeast sit together first so the yeast can wake up and start bubbling. As it foams, tiny gas bubbles begin forming. Those bubbles are what later puff up the dough. When flour goes in, the water soaks into the flour and the dough starts to hold together. With kneading, the dough stretches and tightens. Long strands form inside, so the dough can trap those gas bubbles instead of letting them escape.
During the first rise, the yeast slowly eats the sugar and some of the flour and makes more gas. That gas stays inside the stretchy dough, so the ball of dough swells and gets airy. Butter coats some of the flour and keeps the bread from drying out, so the crumb stays soft instead of tough. In the oven, the heat makes the gas expand fast, then the dough sets in place. By the time it finishes baking, the outside has browned and firmed up, while the inside stays soft, springy, and easy to slice.
Traditional Yeast Bread Tips & Tricks
- If your kitchen is cold, let the dough rise in an oven that's been slightly warmed and then turned off.
- Use a thermometer to ensure your water is around 110°F to avoid killing the yeast.
- Kneading by hand is therapeutic, but a stand mixer with a dough hook can save time and effort.
Mistakes To Avoid
Letting the water get too hot kills the yeast before it even starts. The mixture never gets foamy, so the dough rises very little and the finished loaf comes out short, heavy, and tight instead of light and airy.
Adding all the flour at once often leaves dry pockets that never fully hydrate. The dough ends up stiff and hard to knead, which makes the gluten uneven and gives the bread a tough, uneven crumb with random dense spots.
Cutting the kneading time short keeps the dough from getting stretchy and smooth. In the oven, this underworked dough can’t trap gas well, so the loaf rises poorly and bakes up flat with a crumb that tears instead of slices cleanly.
Letting the dough rise in a cold spot slows the yeast so much that the dough barely puffs up. The baker may still move on with the recipe, and the bread comes out squat, pale, and close-textured instead of tall and soft.
Slicing the bread while it is still hot lets the steam rush out too fast. The inside turns gummy and compresses under the knife, so the slices look squashed and the crumb feels wet and sticky.
Equipment Used:
Ingredients
- 4 cups all-purpose flour
- 1 1/2 cups warm water (110°F)
- 2 1/4 tsp active dry yeast (1 packet)
- 2 tsp salt
- 1 tbsp sugar
- 2 tbsp unsalted butter, melted
Step-by-step Instructions
- 1. Dissolve sugar in warm water in a large mixing bowl and sprinkle yeast on top, allowing it to activate and become frothy for about 5 minutes.
- 2. Add melted butter, salt, and half of the flour to the yeast mixture, stirring until smooth.
- 3. Gradually incorporate the remaining flour until a dough forms.
- 4. Knead the dough on a lightly floured surface for about 8 minutes until smooth and elastic.
- 5. Place the dough in a greased bowl, cover with a damp cloth, and let it rise in a warm place until doubled in size, approximately 1 to 1.5 hours.
- 6. Punch down the risen dough, shape it into a loaf, and place in a greased loaf pan.
- 7. Cover and let rise again for about 30-45 minutes until the dough reaches the top of the pan.
- 8. Preheat the oven to 375°F (190°C).
- 9. Bake for 30-35 minutes until the bread is golden brown and sounds hollow when tapped.
- 10. Remove from the oven and let cool on a wire rack before slicing.
Trending Now
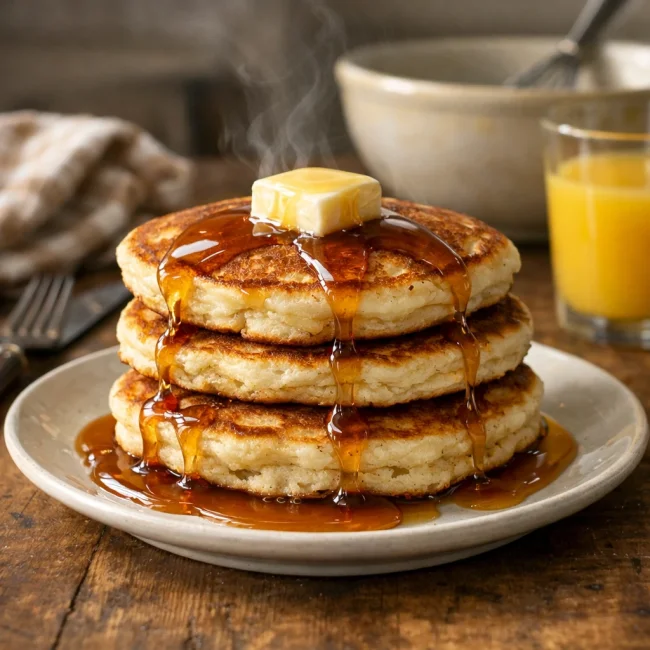
Old-Fashioned Pancakes
Relish in the simplicity and comfort of homemade old-fashioned pancakes, perfect f...
View Recipe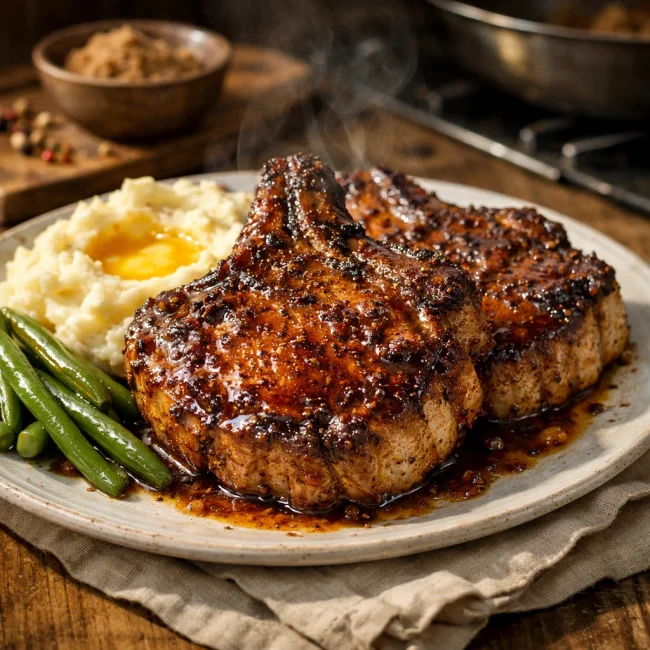
Spiced Brown Sugar Pork Chops
A delightful twist on traditional pork chops, featuring a brown sugar glaze mixed ...
View Recipe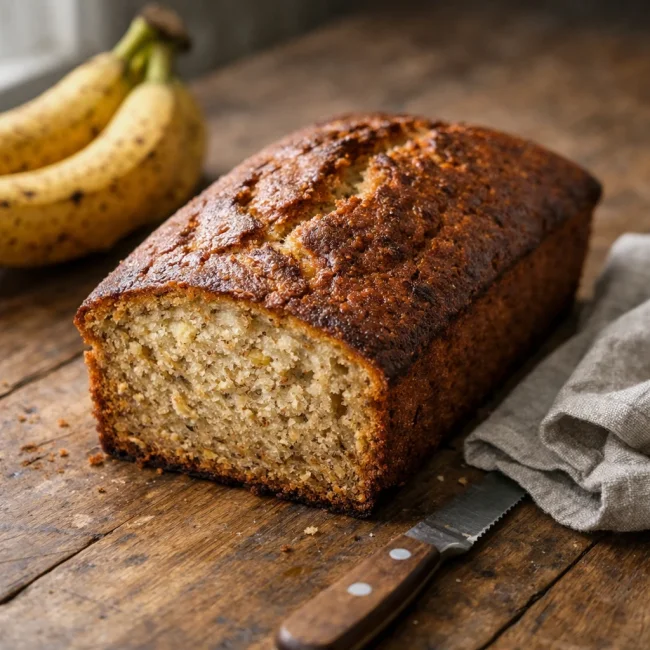
Moist Banana Loaf
Discover the timeless charm of our Moist Banana Loaf, a luscious and tender treat ...
View Recipe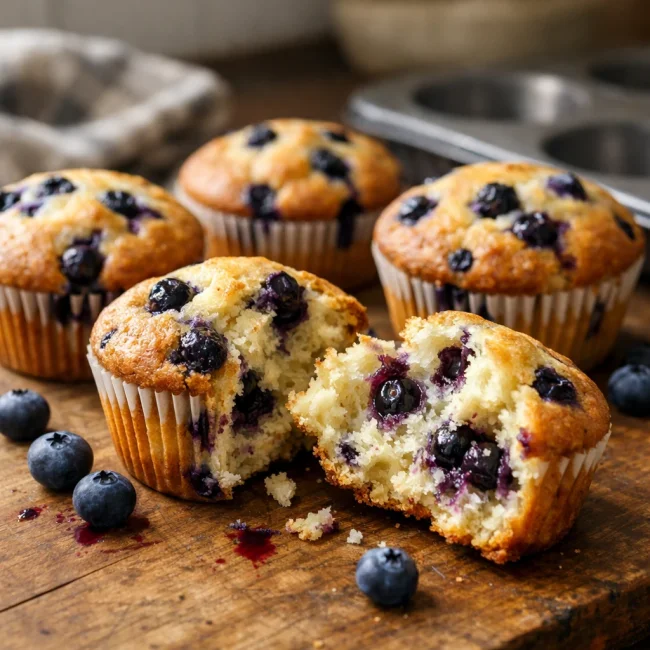
Classic Blueberry Muffins
Deliciously moist and fluffy, these classic blueberry muffins are bursting with fr...
View RecipeFrequently Asked Questions
- Can I use instant yeast instead of active dry yeast?
- Yes, you can use instant yeast. Just skip the activation step and mix it directly with the flour.
- How do I store leftover bread?
- Store it in a bread box or an airtight container at room temperature for up to three days. For longer storage, freeze it in slices.
- My bread didn't rise. What went wrong?
- Ensure your yeast is fresh and the water temperature is right. Too hot water can kill yeast, preventing it from rising.
Serving Ideas for Traditional Yeast Bread
This bread is delightful for sandwiches or toasted with your favorite spread. Try it with a hearty soup or stew for a comforting meal. It also makes excellent French toast!
More Breads & Baked Goods Recipes

Traditional Italian Easter Bread
Savor the delightful taste of a classic Italian Easter bread, a sweet, soft, and s...
View Recipe
Old-Fashioned Pineapple Bread
A delightful and flavorful bread infused with juicy pineapple, perfect for breakfa...
View Recipe
Old-Fashioned Blueberry Muffins
Transport yourself to simpler times with these delightful old-fashioned blueberry ...
View Recipe
Strawberry Basil Scones
These tender scones combine the sweetness of fresh strawberries with a hint of pep...
View Recipe