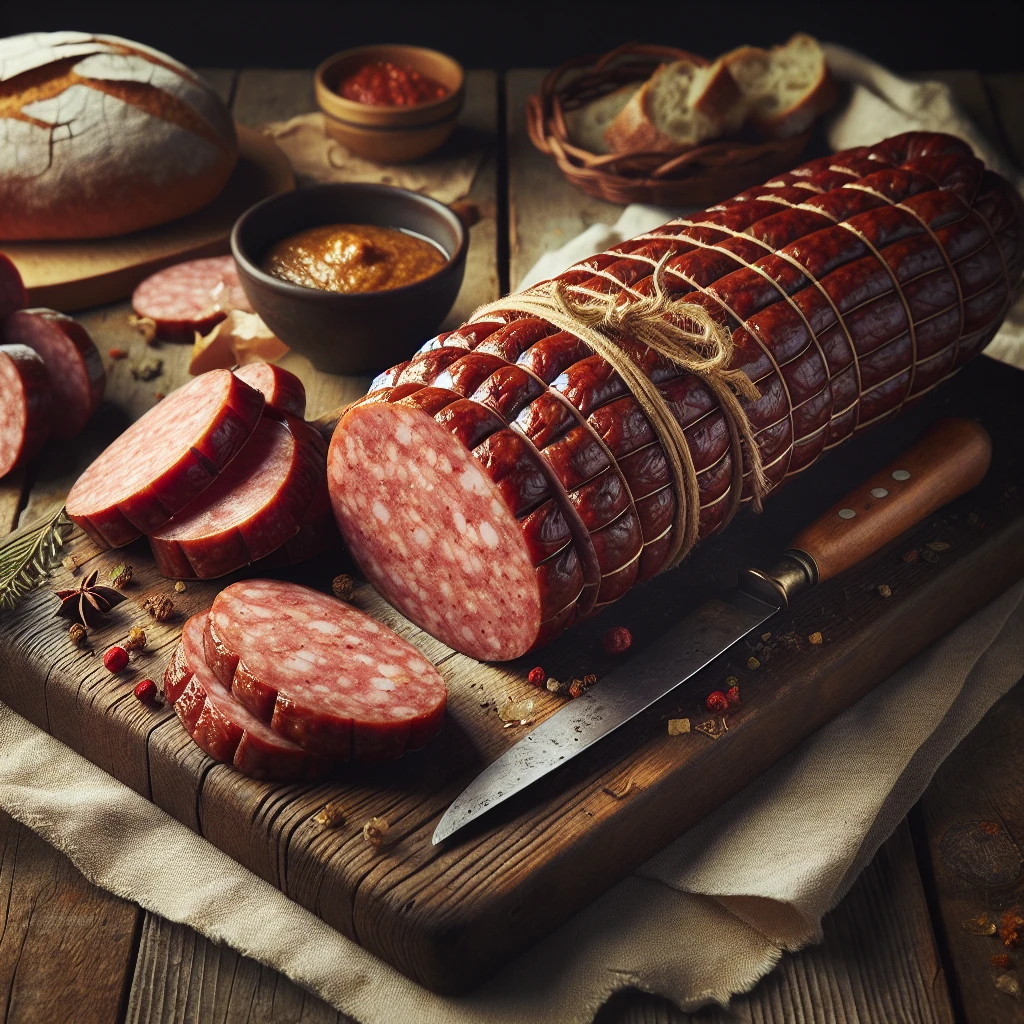
Traditional Summer Sausage
Summer sausage is a classic, savory delight that's perfect for any time of the year, although it's often enjoyed during the warmer months. This traditional recipe offers a rich, smoky flavor with a blend of spices that make it a standout addition to any charcuterie board or picnic spread.
This post may contain affiliate links. As an Amazon Associate, we earn from qualifying purchases.
Ingredients for Traditional Summer Sausage
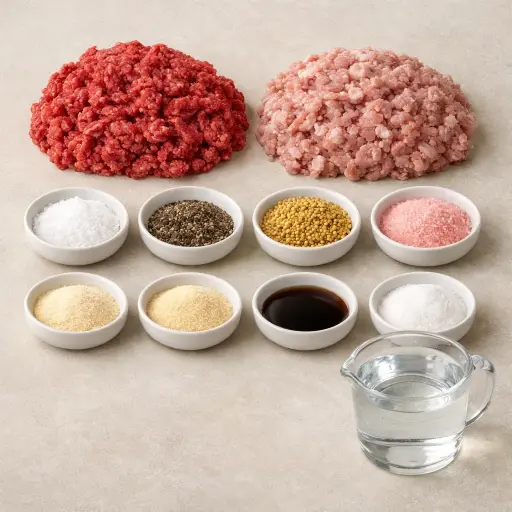
Ground beef and ground pork form the hearty base of this sausage, offering a balance of flavors and richness. The salt and black pepper bring out the meaty taste while the mustard seeds add a subtle tang. Garlic powder and onion powder provide aromatic depth. The liquid smoke infuses a barbecue-like smokiness without the need for a smoker. Curing salt is critical not just for preservation but also for that characteristic sausage color and texture. Lastly, a touch of sugar rounds out the flavors, and cold water helps bind it all together.
Why This Traditional Summer Sausage Works
During the long chill in the fridge, the salt and curing salt start working their way through the ground beef and pork. The meat tightens up a bit and holds together better, so it slices cleanly later instead of crumbling. Sugar and spices spread through the meat during this time too, so every bite tastes the same all the way through.
In the oven, the low heat slowly firms up the meat logs without drying them out. Fat from the pork melts gently and moves through the beef, so the sausage stays moist instead of turning tough. Wrapped foil keeps that moisture close to the meat, almost like it is steaming inside its own juices while it cooks.
By the time the logs cool, the proteins have set into a solid, even texture. Cooling lets the fat settle back into the sausage instead of running out. Once unwrapped and sliced, the sausage holds its shape, cuts smoothly, and has that dense, sliceable texture people expect from summer sausage.
Traditional Summer Sausage Tips & Tricks
- If you have a sausage stuffer, you can use it for more traditional casing.
- For a spicier kick, add a pinch of cayenne pepper to the mix.
- Ensure your hands are slightly damp when forming logs to prevent sticking.
Mistakes To Avoid
Skipping or reducing the curing salt changes how the sausage sets in the oven. The meat can stay soft and gray instead of turning firm and sliceable, and it may not keep well in the fridge.
Letting the meat mixture sit for only a few hours instead of the full 24 means the cure and seasonings don’t spread evenly. Some slices end up dense and firm while others stay mushy and wet in the center.
Packing the logs loosely or not shaping them tightly in the foil leaves air pockets. During baking, fat and juices collect in those gaps, so the sausage can come out with holes, crumbly edges, and uneven texture.
Baking hotter than 200°F to “speed it up” often causes the outside to dry and tighten before the inside is fully set. The result is a tough outer ring with a soft, almost ground-meat center that doesn’t slice cleanly.
Unwrapping and slicing while still warm lets a lot of juice run out. The sausage then cools drier and more crumbly, and the slices can break apart instead of holding neat rounds.
Equipment Used:
Mixing bowl, Refrigerator, Oven, Baking sheet, Aluminum foil
Ingredients
- 2 lbs ground beef
- 1 lb ground pork
- 2 tablespoons salt
- 1 tablespoon black pepper
- 1 tablespoon mustard seeds
- 1 teaspoon garlic powder
- 1 teaspoon onion powder
- 1 teaspoon liquid smoke
- 1 tablespoon curing salt
- 1 tablespoon sugar
- 1 cup cold water
Step-by-step Instructions
- 1. In a large bowl, combine ground beef and ground pork.
- 2. Add salt, pepper, mustard seeds, garlic powder, onion powder, liquid smoke, curing salt, and sugar to the meat mixture.
- 3. Pour in cold water and mix thoroughly until all ingredients are well incorporated.
- 4. Cover the bowl with plastic wrap and refrigerate for 24 hours to let flavors meld and cure.
- 5. Preheat your oven to 200°F (93°C).
- 6. Shape the meat mixture into logs approximately 2 inches in diameter and wrap tightly with aluminum foil.
- 7. Place the wrapped logs on a baking sheet and bake in the preheated oven for 4 hours.
- 8. Remove from the oven and let cool completely before unwrapping and slicing.
Trending Now

Old-Fashioned Pancakes
Relish in the simplicity and comfort of homemade old-fashioned pancakes, perfect f...
View Recipe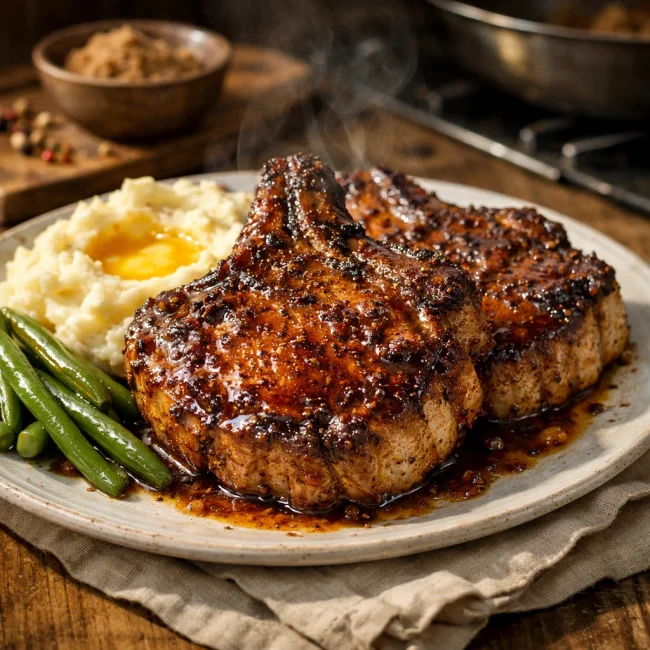
Spiced Brown Sugar Pork Chops
A delightful twist on traditional pork chops, featuring a brown sugar glaze mixed ...
View Recipe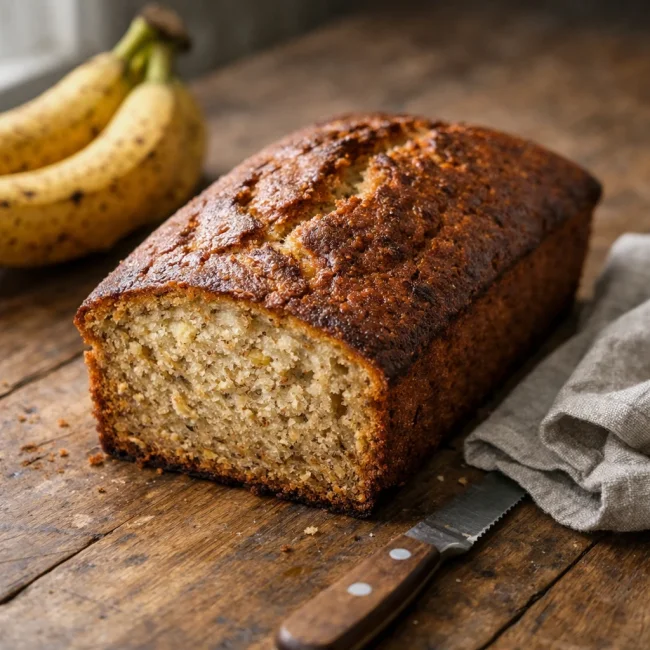
Moist Banana Loaf
Discover the timeless charm of our Moist Banana Loaf, a luscious and tender treat ...
View Recipe
Classic Blueberry Muffins
Deliciously moist and fluffy, these classic blueberry muffins are bursting with fr...
View RecipeFrequently Asked Questions
- How long can I store homemade summer sausage?
- Once cooled and unwrapped, store your sausage in the refrigerator for up to 3 weeks. You can also freeze it for longer storage.
- Can I use all beef or all pork?
- Yes, you can adjust the meat ratio to your preference, but the mix of beef and pork gives the best flavor and texture balance.
Serving Ideas for Traditional Summer Sausage
Summer sausage is wonderfully versatile. Pair it with sharp cheddar, pickles, and crackers for a classic snack board. It's great diced into salads, or as a flavorful addition to your favorite pasta dish. For a picnic-ready sandwich, layer it with fresh greens and a tangy mustard on a crusty roll.
More Appetizers Recipes

Traditional Sausage Rolls
A timeless recipe for savory sausage rolls, perfect for parties or as a hearty sna...
View Recipe
Classic Dill Pickle Dip
A refreshing dill pickle dip perfect for parties and gatherings, featuring a cream...
View Recipe
Savory Bites on Sticks
Savory Bites on Sticks are delightful and colorful appetizers perfect for any soci...
View Recipe
Traditional Black Bean Salsa
Experience a burst of fresh flavors with this classic Black Bean Salsa, perfect fo...
View Recipe