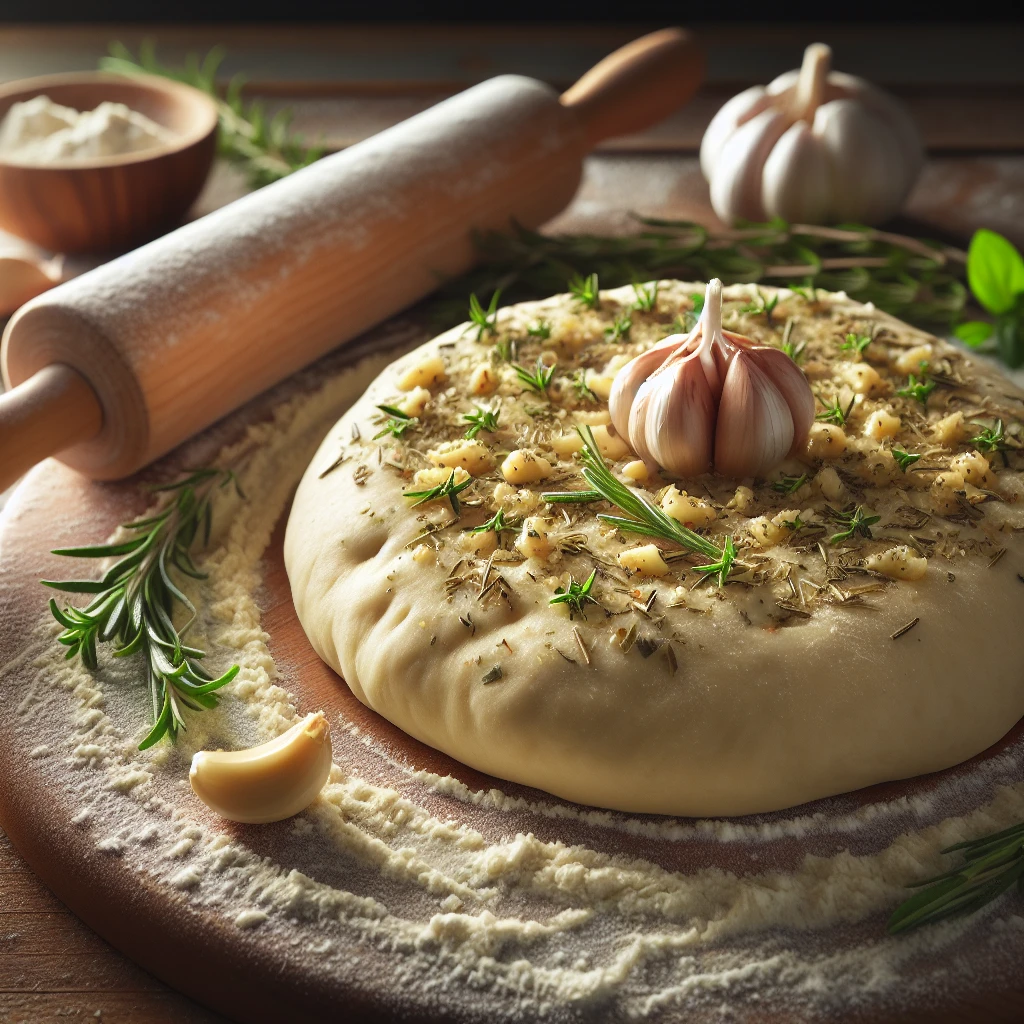
Herbed Garlic Pizza Dough
If you’re a pizza lover who enjoys experimenting in the kitchen, this Herbed Garlic Pizza Dough recipe will be a game-changer for you. Infused with the bold flavors of garlic and Italian herbs, it’s a tasty twist on the traditional pizza dough that will elevate your homemade pizzas to a whole new level.
This post may contain affiliate links. As an Amazon Associate, we earn from qualifying purchases.
Ingredients for Herbed Garlic Pizza Dough
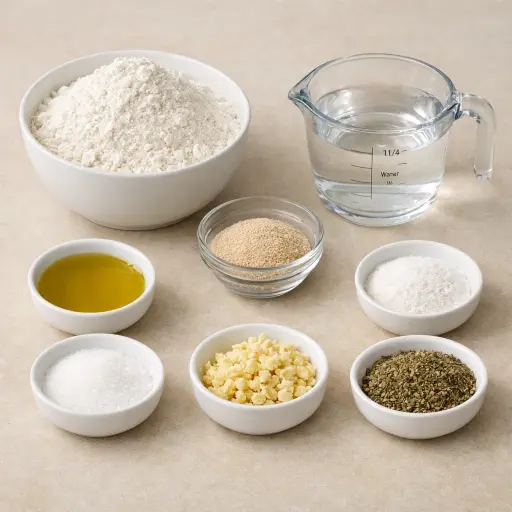
Flour is the foundation of your dough, providing structure and texture. We use all-purpose flour for a balance of chewiness and crispiness. Active dry yeast is our leavening agent, helping the dough rise and become airy. Warm water activates the yeast, ensuring it begins to work its magic. Olive oil adds richness and helps to keep the dough moist. Salt enhances the flavors of the dough and toppings. Sugar feeds the yeast, helping it to activate more quickly. Garlic adds a robust, savory note that permeates the dough. Dried Italian herb mix brings a bouquet of flavors, making every bite taste like a bit of Italy.
Why This Herbed Garlic Pizza Dough Works
At the start, the warm water, sugar, and yeast wake the yeast up so it starts to bubble. As it sits, the yeast begins to feed on the sugar and gives off tiny gas bubbles. Those bubbles are what later puff up the dough. When the yeast mixture goes into the bowl with the flour, salt, garlic, and herbs, the water soaks into the flour and the dough starts to form.
During kneading, the flour and water stretch into long strands that hold together like a net. That stretchy net traps the gas from the yeast, so the dough can rise instead of spreading out. The olive oil coats that structure just enough so the dough stays soft and easy to stretch, not dry or tough.
As the dough rests and rises, the gas pockets grow and the dough becomes lighter and airier. In the hot oven, those pockets expand even more and then set in place, so the crust bakes up chewy with little bubbles, while the garlic and herbs are spread all through each bite.
Herbed Garlic Pizza Dough Tips & Tricks
- If your yeast doesn’t foam, it might be old or the water might be too hot. Start over for best results.
- Kneading is crucial for gluten development, which gives your dough its chewy texture—don't skimp on this step!
- For an extra crispy crust, preheat your pizza stone or baking sheet in the oven.
Mistakes To Avoid
Using water that’s too hot for the yeast kills it, so the mixture never gets frothy and active. The dough then stays dense and tight, doesn’t rise in the bowl, and bakes into a hard, flat crust instead of puffing in the oven.
Adding the salt straight into the warm yeast water can slow the yeast down before it even starts. The dough may rise very slowly or only partway, so the baked crust comes out heavy in the center with a gummy bite.
Letting the dough rise in a cold room often means it barely doubles in size, even after a long wait. The gluten doesn’t relax enough, so the dough fights back while rolling and bakes into a tough, chewy base instead of a light one.
Overloading the dough with extra flour during kneading makes it feel easier to handle but dries it out. In the oven, this dough doesn’t get those nice bubbles and instead turns into a stiff, cracker-like crust.
Equipment Used:
Mixing bowl, Measuring cups, Measuring spoons, Rolling pin, Oven
Ingredients
- 3 1/2 cups all-purpose flour
- 1 packet (2 1/4 tsp) active dry yeast
- 1 1/4 cups warm water (110°F)
- 2 tbsp olive oil
- 2 tsp salt
- 1 tbsp sugar
- 3 cloves garlic, minced
- 2 tbsp dried Italian herb mix (oregano, basil, thyme, rosemary)
Step-by-step Instructions
- 1. Activate the yeast by dissolving sugar in warm water and adding the yeast.
- 2. Let the mixture sit for 5-10 minutes until it becomes frothy.
- 3. In a large bowl, combine flour, salt, minced garlic, and dried herbs.
- 4. Pour in the yeast mixture and olive oil into the dry ingredients.
- 5. Mix until the dough comes together, then knead on a floured surface for 8-10 minutes until smooth and elastic.
- 6. Place the dough in a lightly oiled bowl, cover with a damp cloth, and let it rise in a warm area for about 1-2 hours, or until doubled in size.
- 7. Punch down the dough and divide it into desired portion sizes for your pizza.
- 8. Preheat your oven to 475°F (245°C) and roll out the dough to your desired thickness.
- 9. Add your favorite toppings and bake for 12-15 minutes, or until the crust is golden brown.
Trending Now
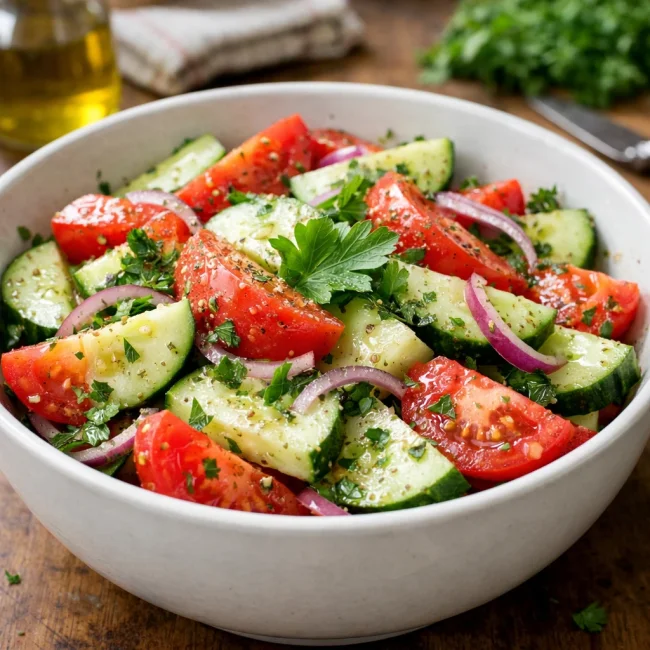
Traditional Cucumber and Tomato Salad
A refreshing and simple salad combining crisp cucumbers and juicy tomatoes, season...
View Recipe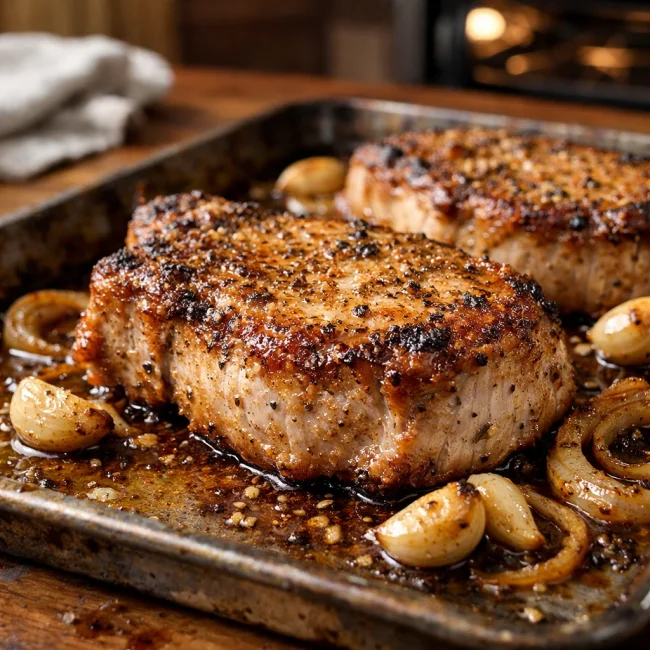
Oven-Baked Pork Chops
Enjoy a delightful dinner with these tender and juicy oven-baked pork chops, seaso...
View Recipe
Oven-Roasted Baby Back Ribs
Savor the classic, finger-licking deliciousness of perfectly oven-roasted baby bac...
View Recipe
Classic Cucumber Salad
A refreshing and light cucumber salad featuring crisp cucumbers and a tangy vinaig...
View RecipeFrequently Asked Questions
- Can I make the dough ahead of time?
- Yes! You can refrigerate the dough after the first rise for up to 48 hours. Just bring it to room temperature before rolling out.
- Can I freeze the dough?
- Definitely. After dividing it into portions, wrap tightly and freeze for up to 3 months. Thaw overnight in the refrigerator before using.
Serving Ideas for Herbed Garlic Pizza Dough
This herbed garlic pizza dough pairs beautifully with a simple Margherita topping—fresh mozzarella, tomatoes, and basil. Or, go bold with toppings like spicy sausage and peppers. A crisp, green salad with a light vinaigrette would complement the rich flavors nicely.
More Breads & Baked Goods Recipes

Traditional Italian Easter Bread
Savor the delightful taste of a classic Italian Easter bread, a sweet, soft, and s...
View Recipe
Old-Fashioned Pineapple Bread
A delightful and flavorful bread infused with juicy pineapple, perfect for breakfa...
View Recipe
Strawberry Basil Scones
These tender scones combine the sweetness of fresh strawberries with a hint of pep...
View Recipe
Old-Fashioned Blueberry Muffins
Transport yourself to simpler times with these delightful old-fashioned blueberry ...
View Recipe