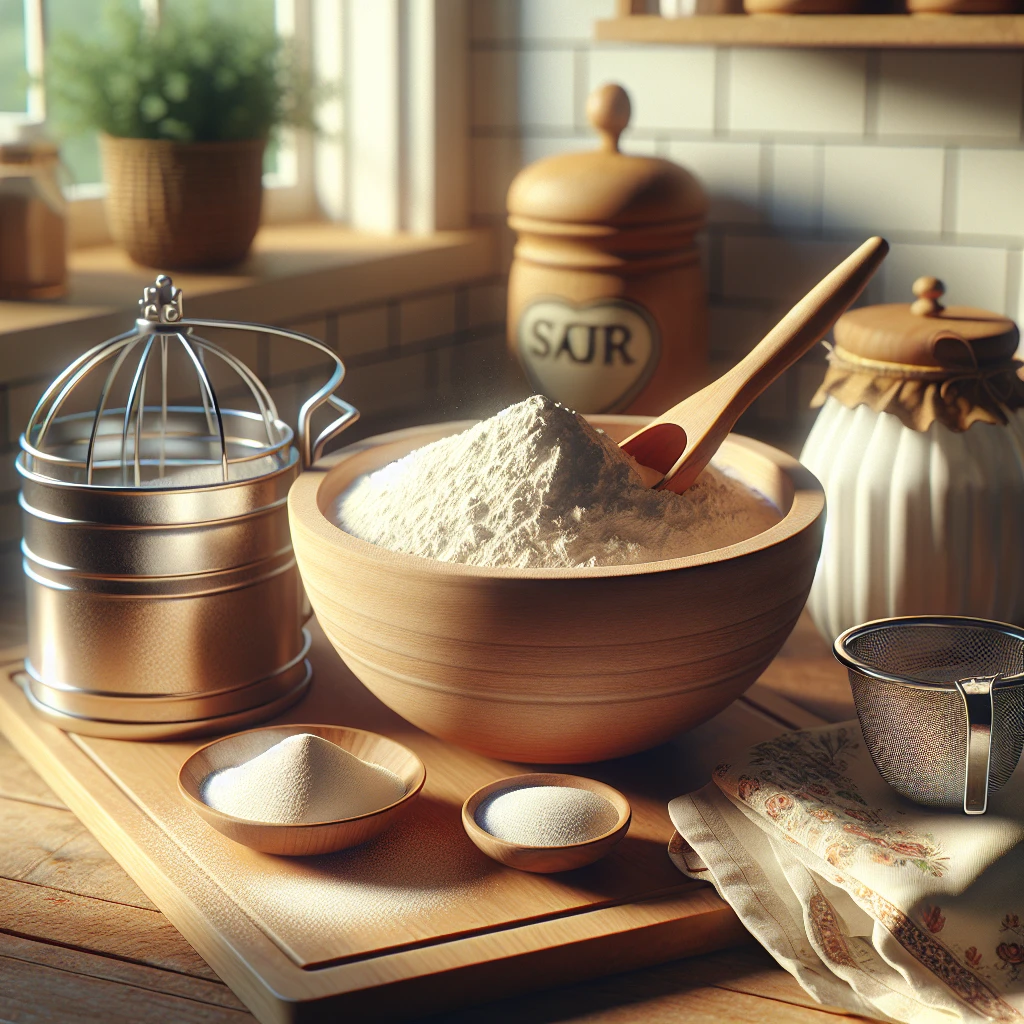
DIY Self-Rising Flour
If you've ever found yourself halfway through a recipe only to realize you're out of self-rising flour, you're in luck! This DIY Self-Rising Flour recipe is a lifesaver and can be whipped up in minutes with ingredients you likely already have at home.
This post may contain affiliate links. As an Amazon Associate, we earn from qualifying purchases.
Ingredients for DIY Self-Rising Flour
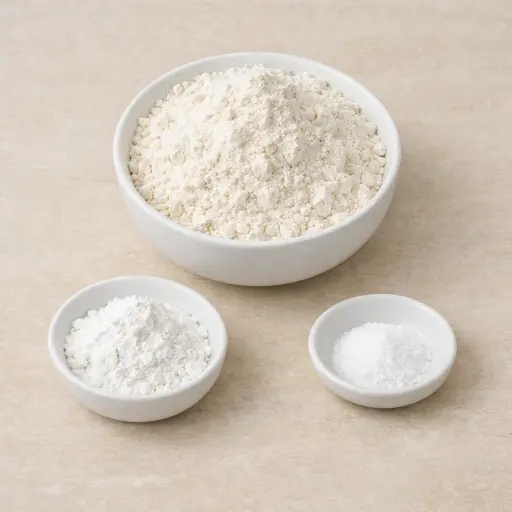
The base of this recipe is all-purpose flour. It's the foundation that provides structure to your baked goods. Next, we have baking powder, which is the leavening agent that helps your dough rise without needing yeast. Finally, a touch of salt enhances the flavor and balances out the recipe's sweetness or savory notes.
Why This DIY Self-Rising Flour Works
Self-rising flour is really just regular flour with the lift already mixed in. When the baking powder and salt are whisked into the all-purpose flour, the tiny grains of baking powder spread all through the bowl instead of sitting in one spot. That way, later on, when the flour goes into a batter or dough, every scoop carries the same amount of lift and seasoning.
During baking, the baking powder in that flour starts to react as it hits moisture and heat. Little gas bubbles form all through the batter, and because the baking powder was mixed in so well, those bubbles spread out evenly. The flour around those bubbles sets in the oven and holds them in place, so cakes, biscuits, or pancakes rise evenly instead of puffing in random spots. Sifting at the end breaks up any clumps, so there are no pockets of plain flour or strong baking powder, just a smooth mix that rises the same way every time.
DIY Self-Rising Flour Tips & Tricks
- If you need a larger batch, simply scale up the ingredients while keeping the same ratios.
- Always double-check your baking powder's freshness — expired baking powder won't give you the rise you need.
- For gluten-free baking, substitute with a gluten-free all-purpose flour blend.
Mistakes To Avoid
Using the wrong kind of flour throws this off right away. Cake flour or bread flour absorb liquid differently, so any batter or dough made with this mix can turn out either too loose and sticky or too stiff and dry, even when the recipe amounts are followed.
Mis-measuring the baking powder is a common problem. Too much baking powder makes baked goods rise fast and then collapse, leaving a sunken, crumbly middle; too little and they barely rise at all, staying flat and dense.
Skipping the thorough whisking step leaves streaks of plain flour and pockets of strong baking powder. In the oven, some bites puff more than others, so a cake or biscuits can bake up with uneven height and random bitter, chalky spots.
Ignoring the sifting step often means small clumps of baking powder stay hidden in the mix. Those lumps don’t fully break down in the batter, so they bake into hard, salty-bitter specks scattered through the final bake.
Storing the flour mix in a container that isn’t fully airtight slowly weakens the baking powder. Over time the mix looks fine, but cakes and biscuits made from it rise less and come out low and heavy.
Equipment Used:
Ingredients
- 2 cups all-purpose flour
- 1 tablespoon baking powder
- 1/2 teaspoon salt
Step-by-step Instructions
- 1. Measure out the all-purpose flour and place it in a large mixing bowl.
- 2. Add the baking powder and salt to the flour.
- 3. Use a whisk to thoroughly combine all the ingredients, ensuring the baking powder and salt are evenly distributed throughout the flour.
- 4. Sift the mixture to remove any lumps and to ensure an even blend.
- 5. Store the self-rising flour in an airtight container for future use.
Trending Now
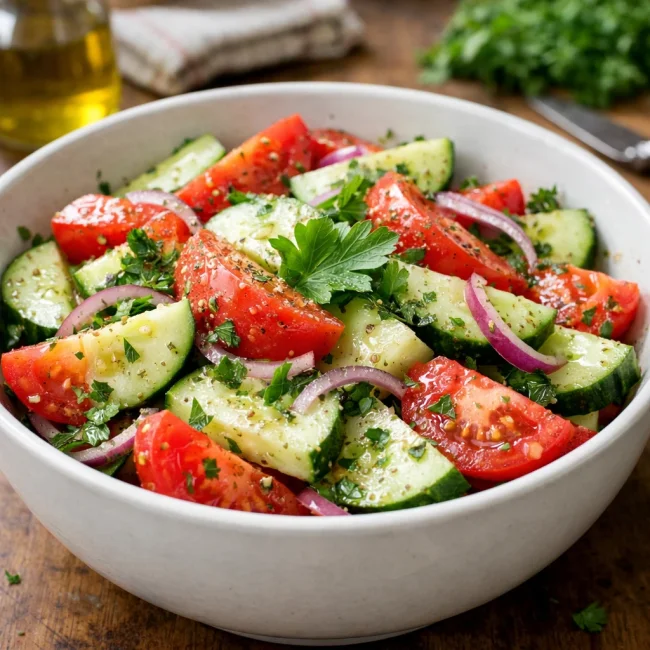
Traditional Cucumber and Tomato Salad
A refreshing and simple salad combining crisp cucumbers and juicy tomatoes, season...
View Recipe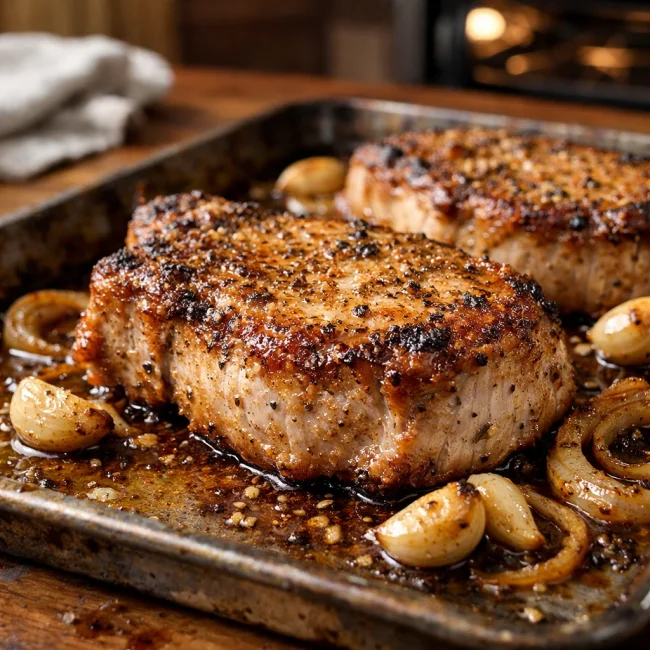
Oven-Baked Pork Chops
Enjoy a delightful dinner with these tender and juicy oven-baked pork chops, seaso...
View Recipe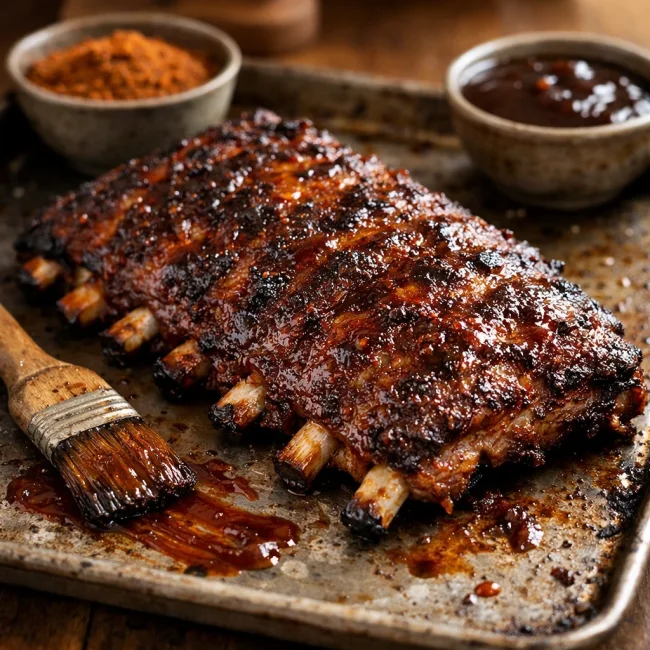
Oven-Roasted Baby Back Ribs
Savor the classic, finger-licking deliciousness of perfectly oven-roasted baby bac...
View Recipe
Classic Cucumber Salad
A refreshing and light cucumber salad featuring crisp cucumbers and a tangy vinaig...
View RecipeFrequently Asked Questions
- Can I use this self-rising flour in place of regular flour in any recipe?
- Not directly. Self-rising flour already contains baking powder and salt, so adjust other leavening agents in your recipe accordingly.
- How long can I store this self-rising flour?
- Stored in an airtight container, it should last as long as your original flour's expiration date.
Serving Ideas for DIY Self-Rising Flour
This self-rising flour is perfect for quick breads, pancakes, and biscuits. Try it in a simple pancake recipe with a drizzle of maple syrup and a handful of fresh berries for a delightful breakfast. Or use it to whip up a batch of fluffy biscuits, perfect for serving alongside a hearty stew.
More Baking Recipes
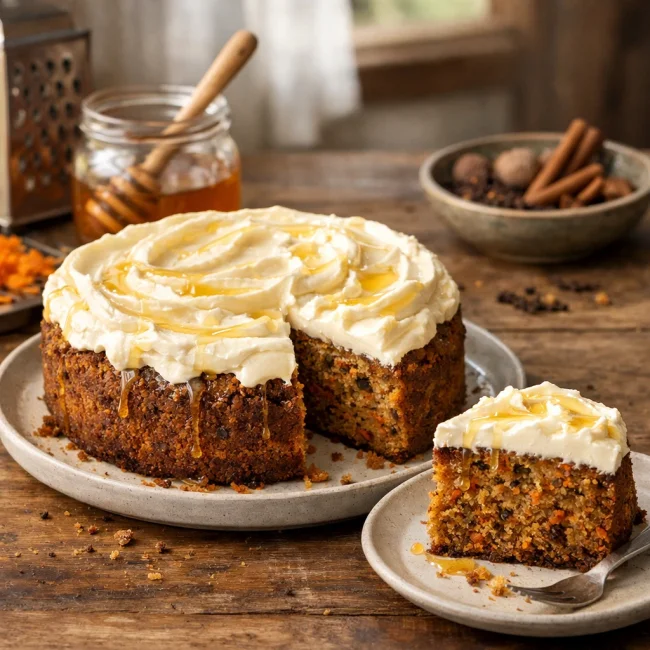
Spiced Honey Carrot Cake
Delight in the rich and moist Spiced Honey Carrot Cake that perfectly balances swe...
View Recipe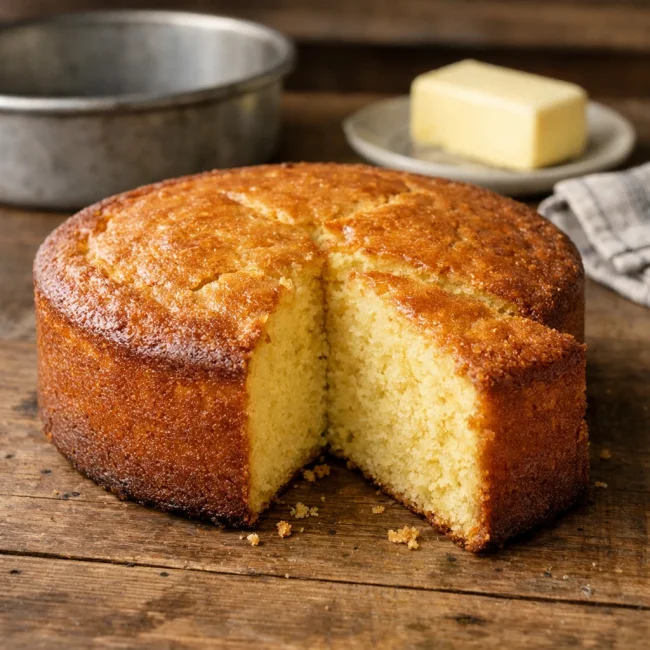
Old-Fashioned Butter Cake
A timeless classic, the Old-Fashioned Butter Cake is a rich, buttery treat perfect...
View Recipe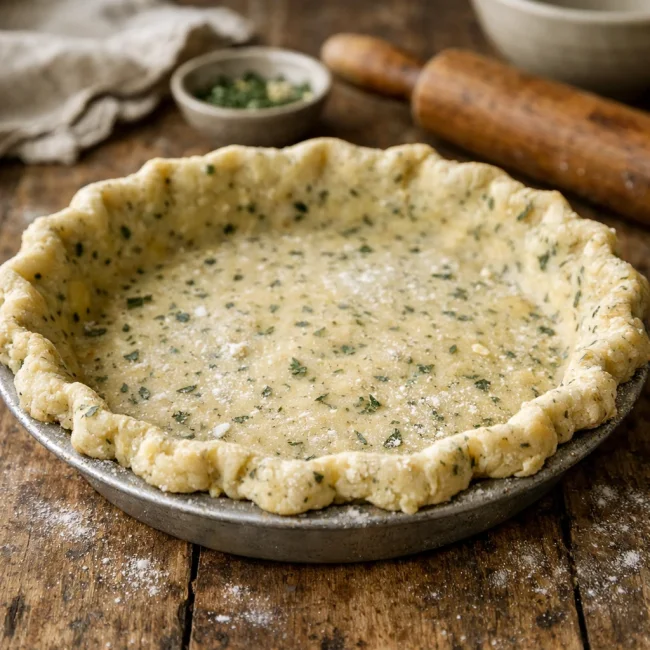
Rustic Herb Pie Crust
This Rustic Herb Pie Crust is a delightful twist on the classic pie base, infused ...
View Recipe
Traditional Key Lime Pie
Discover the rich and tangy taste of our Traditional Key Lime Pie, a classic desse...
View Recipe