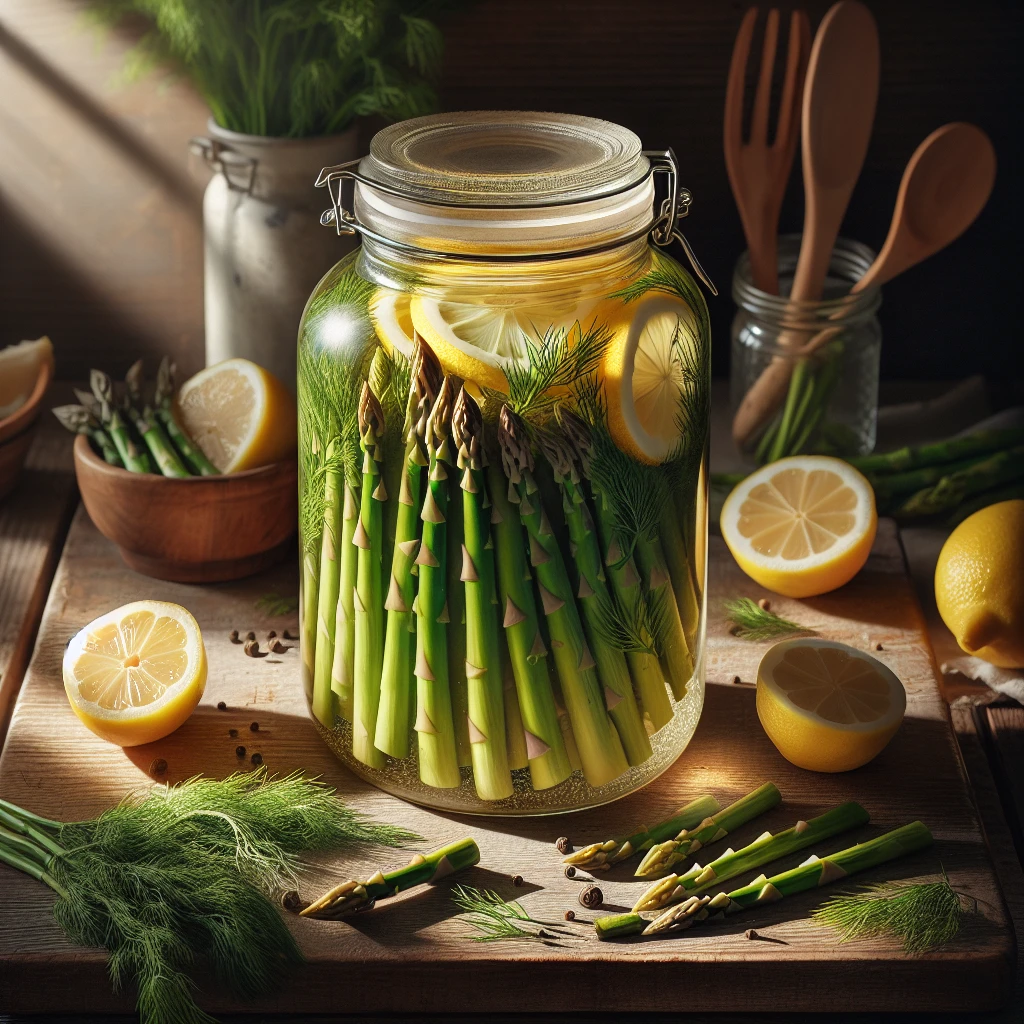
Zesty Lemon Dill Pickled Asparagus
If you're looking for a way to elevate your asparagus game, this Zesty Lemon Dill Pickled Asparagus is a must-try. It's the perfect blend of tangy, spicy, and fresh, making it a delightful addition to any meal.
This post may contain affiliate links. As an Amazon Associate, we earn from qualifying purchases.
Ingredients for Zesty Lemon Dill Pickled Asparagus
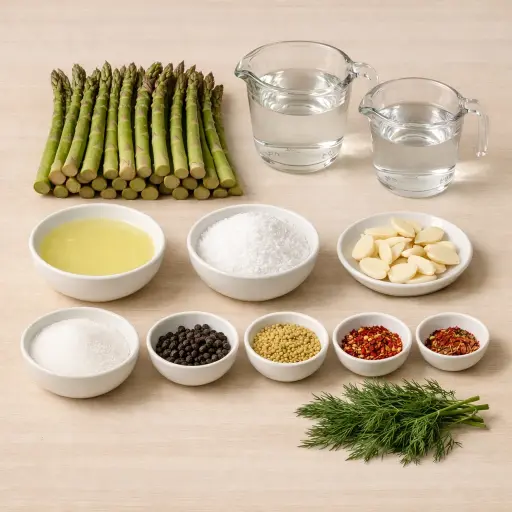
Asparagus serves as the star of the show, offering a crisp texture that holds up well during pickling. The white vinegar contributes the necessary acidity to preserve and flavor the vegetables. We balance this with fresh lemon juice, which adds brightness and a touch of zest. Kosher salt is crucial for seasoning and also helps draw out moisture from the asparagus. Garlic slices infuse a savory depth, while a touch of sugar mellows the acidity. Black peppercorns offer a subtle heat and complexity, and mustard seeds provide an aromatic spiciness. Red pepper flakes add a controlled kick, and fresh dill brings a classic herbal note that pairs beautifully with lemon.
Why This Zesty Lemon Dill Pickled Asparagus Works
During pickling, the hot vinegar, water, and lemon juice move into the asparagus and push out some of the natural water inside the stalks. That swap is what keeps the spears firm instead of soggy. The salt and sugar in the brine also pull out a bit of moisture, so the asparagus tightens up and keeps a nice snap even after sitting in the jar for weeks.
As the hot liquid hits the garlic, dill, peppercorns, mustard seeds, and red pepper flakes, their taste starts to spread into the brine. While the jars sit, that seasoned liquid slowly works its way all the way through each spear, from the outside in. Over time, the sharp vinegar and lemon calm down a little, and the dill and spices settle into the asparagus.
By the time the two weeks are up, the spears stay crisp when bitten, but the inside is fully soaked with the bright, lemony, slightly spicy brine.
Zesty Lemon Dill Pickled Asparagus Tips & Tricks
- Use fresh asparagus for the best texture and flavor.
- Trim asparagus to fit your jars perfectly, ensuring they stand upright.
- Adjust red pepper flakes to your spice preference – a little goes a long way.
- If you’re new to canning, start with a small batch to get a feel for the process.
Mistakes To Avoid
Letting the asparagus sit in the boiling water bath too long can turn the spears soft and bendy. The hot water keeps cooking them inside the jar, so the stalks lose their snap. The final pickles end up mushy instead of crisp.
Packing the jars loosely often leads to floating asparagus and uneven brining. When there are big gaps, the spears can rise up, some tips sit out of the liquid, and those parts stay dull and chewy. The jar looks messy and the texture changes from top to bottom.
Pouring the brine when it’s only warm, not hot, can cause poor sealing and a weak pickle. The cooler liquid doesn’t push out air as well, so the jars may not seal tightly and the asparagus soaks up the brine more slowly. The spears can stay a bit hollow and watery instead of firm and fully seasoned.
Skipping the 2-week rest time leaves the asparagus tasting sharp and unbalanced. The brine hasn’t had time to soak all the way into the stalks, so the centers stay plain and the outside tastes harsh. The texture also feels a little squeaky instead of evenly firm.
Equipment Used:
Large pot, Canning jars, Lids, Jar lifter, Boiling water canner
Ingredients
- 2 lbs asparagus, trimmed
- 2 cups white vinegar
- 1 cup water
- 1/2 cup fresh lemon juice
- 1/4 cup kosher salt
- 4 cloves garlic, sliced
- 1 tbsp sugar
- 1 tsp black peppercorns
- 1 tsp mustard seeds
- 1/2 tsp red pepper flakes
- 3 sprigs fresh dill
Step-by-step Instructions
- 1. Sterilize jars and lids by boiling them in water for 10 minutes.
- 2. In a large pot, combine vinegar, water, lemon juice, kosher salt, sugar, black peppercorns, mustard seeds, and red pepper flakes. Bring to a boil over medium heat.
- 3. Pack asparagus, garlic slices, and dill sprigs tightly into sterilized jars.
- 4. Pour hot vinegar mixture over the asparagus, leaving 1/2 inch headspace at the top.
- 5. Wipe rims, apply lids, and process in a boiling water bath for 10 minutes.
- 6. Allow jars to cool for 24 hours. Store in a cool, dark place for at least 2 weeks to develop flavors.
Trending Now

Old-Fashioned Bread Pudding
Discover the classic charm of Old-Fashioned Bread Pudding - a timeless dessert com...
View Recipe
Traditional Italian Bruschetta
Experience the authentic taste of Italian bruschetta, a perfect blend of fresh tom...
View Recipe
Classic Banana Bread
Classic Banana Bread is a timeless dessert beloved for its moist texture and sweet...
View Recipe
Classic Green Beans
Discover the timeless delight of Classic Green Beans, a simple yet flavorful side ...
View RecipeFrequently Asked Questions
- Can I use apple cider vinegar instead of white vinegar?
- Yes, apple cider vinegar can be used for a slightly sweeter, fruitier flavor.
- How long do pickled asparagus last?
- If sealed properly, they can last up to a year. Once opened, store in the fridge and consume within a month.
- Is it necessary to boil the jars?
- Boiling the jars is important for sterilization and ensuring a good seal, which helps in safely preserving your pickles.
Serving Ideas for Zesty Lemon Dill Pickled Asparagus
These pickled asparagus spears are fantastic on a charcuterie board, adding a bright note alongside meats and cheeses. They also make a great garnish for Bloody Marys, offering a unique twist. For a simple snack, enjoy them straight from the jar, or chop them up into salads for an extra zing.
More Appetizers Recipes

Traditional Sausage Rolls
A timeless recipe for savory sausage rolls, perfect for parties or as a hearty sna...
View Recipe
Classic Dill Pickle Dip
A refreshing dill pickle dip perfect for parties and gatherings, featuring a cream...
View Recipe
Savory Bites on Sticks
Savory Bites on Sticks are delightful and colorful appetizers perfect for any soci...
View Recipe
Traditional Black Bean Salsa
Experience a burst of fresh flavors with this classic Black Bean Salsa, perfect fo...
View Recipe