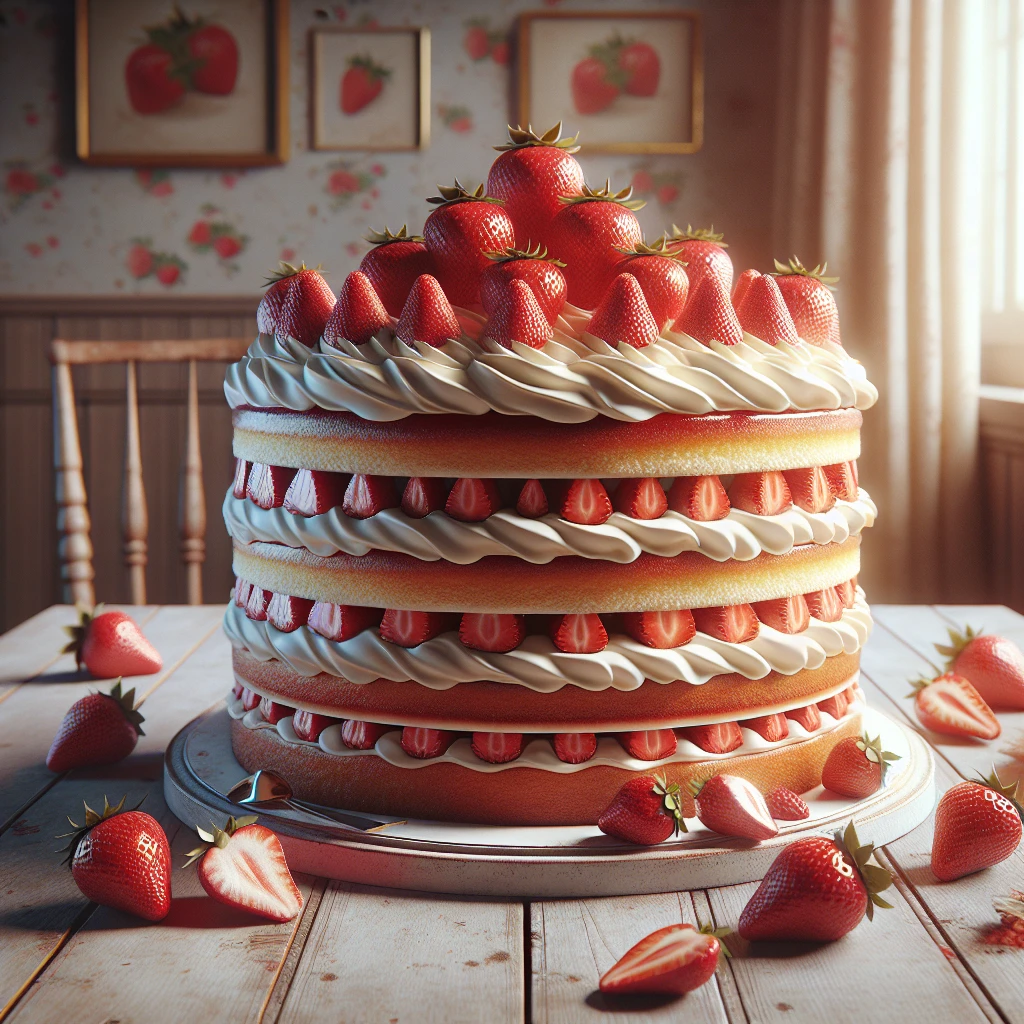
Vintage Strawberry Layer Cake
If you're looking for a dessert that channels old-school charm with a burst of fresh flavor, this Vintage Strawberry Layer Cake is it. Perfect for spring and summer gatherings, this cake is a delightful blend of tender cake layers, fluffy whipped cream, and juicy strawberries.
This post may contain affiliate links. As an Amazon Associate, we earn from qualifying purchases.
Ingredients for Vintage Strawberry Layer Cake
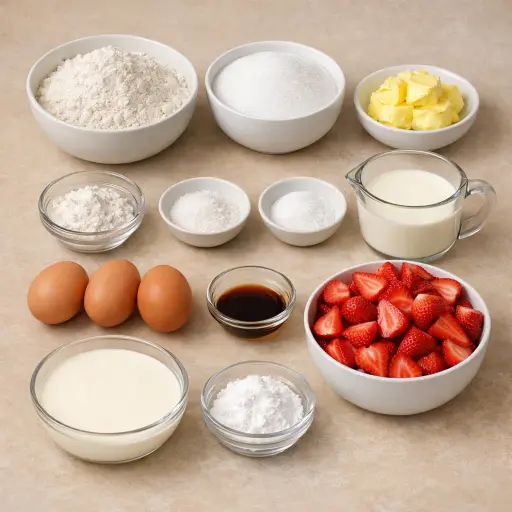
All-purpose flour forms the structure of the cake, giving it that classic, tender crumb. Sugar sweetens the batter, while butter adds richness and moisture. We rely on baking powder to give the cake a lift, ensuring it's light and airy. A pinch of salt enhances all the flavors, balancing sweetness. Whole milk adds moisture, creating a smooth batter. A splash of vanilla extract infuses the cake with a warm aroma, and eggs help bind everything together. Fresh strawberries bring a juicy, fruity brightness that makes the cake feel fresh and vibrant. Lastly, heavy cream whipped with powdered sugar tops the cake with a cloud-like layer of sweetness.
Why This Vintage Strawberry Layer Cake Works
In the oven, the batter changes from a loose, creamy mix into cake that can stand up to the strawberries and cream. Butter and sugar beaten together trap tiny air pockets, so once the baking powder starts working and the heat hits, those air pockets swell and the cake rises instead of staying dense. Eggs set as they bake and hold everything in place, so the layers stay soft but don’t fall apart when sliced.
As the cake bakes, the flour soaks up the milk and the structure firms up. By the time it is done, the outside is dry enough to handle, but the inside stays moist and tender. Cooling on a rack lets steam escape, so the layers don’t turn soggy.
When the whipped cream and strawberries go on, the soft cake layers act like a sponge. Some strawberry juice and a bit of cream sink into the top of each layer. Over a short time, the whole cake settles into one piece that slices cleanly but still tastes light and soft.
Vintage Strawberry Layer Cake Tips & Tricks
- Ensure your butter is softened for easier creaming. It should be soft enough to press a finger into but not melted.
- For even layers, weigh the batter as you divide it between pans.
- Chill your mixing bowl and beaters before whipping the cream; it helps achieve better peaks.
- Use fresh, ripe strawberries for the best flavor.
Mistakes To Avoid
Pulling the cake layers from the oven too early leaves the centers slightly raw, so the middle sinks as it cools and turns gummy instead of fluffy. Leaving them in too long dries the crumb, and the layers crack and crumble when stacked, making it hard for the whipped cream and strawberries to stay in place.
Skipping the full cooling time before adding whipped cream causes trouble. Warm cake melts the cream, so it turns runny, soaks into the layers, and the whole cake starts sliding and sagging instead of holding neat, defined layers.
Overmixing the batter after adding the flour beats out the air and works the flour too much. The cake then bakes up dense and tough instead of light, and the layers feel heavy under the whipped cream and fruit.
Whipping the cream past soft peaks pushes it toward a grainy, almost buttery texture. It doesn’t spread smoothly, can form lumps, and doesn’t cushion the strawberries, so the top looks rough and can weep liquid as it sits.
Equipment Used:
Ingredients
- 2 cups all-purpose flour
- 1 1/2 cups granulated sugar
- 1/2 cup unsalted butter, softened
- 3 1/2 teaspoons baking powder
- 1 teaspoon salt
- 1 cup whole milk
- 1 teaspoon vanilla extract
- 3 large eggs
- 2 cups fresh strawberries, hulled and sliced
- 1 1/2 cups heavy cream
- 1/4 cup powdered sugar
Step-by-step Instructions
- 1. Preheat oven to 350°F (175°C). Grease and flour two 9-inch round cake pans.
- 2. In a large bowl, cream together the butter and sugar until light and fluffy.
- 3. Beat in the eggs, one at a time, then stir in the vanilla.
- 4. In another bowl, combine the flour, baking powder, and salt. Gradually add to the creamed mixture alternately with milk, beginning and ending with flour mixture.
- 5. Divide the batter evenly between the prepared pans.
- 6. Bake for 25-30 minutes, or until a toothpick inserted into the center comes out clean.
- 7. Allow cakes to cool in the pans for 10 minutes, then turn out onto a wire rack to cool completely.
- 8. Whip the heavy cream with powdered sugar until soft peaks form.
- 9. To assemble, place one cake layer on a serving plate, spread with whipped cream, and layer with half of the strawberry slices.
- 10. Place the second cake layer on top, spread with remaining whipped cream, and top with remaining strawberries.
Trending Now
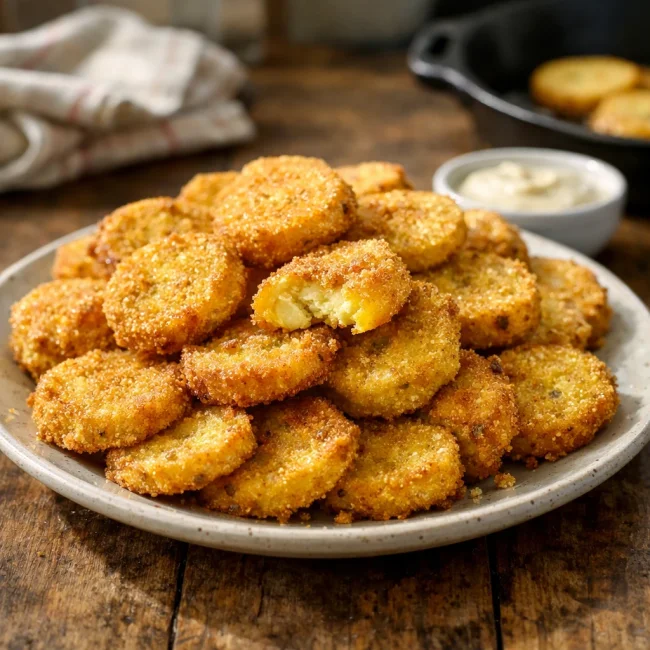
Golden Fried Yellow Squash
Experience the delightful taste of golden fried yellow squash, a quintessential So...
View Recipe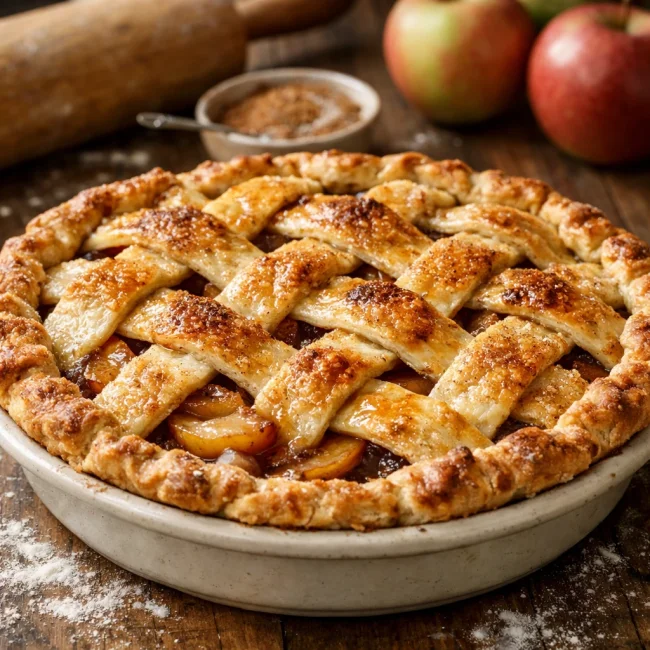
Homemade Apple Pie
Classic homemade apple pie with a buttery crust and cinnamon-spiced filling, perfe...
View Recipe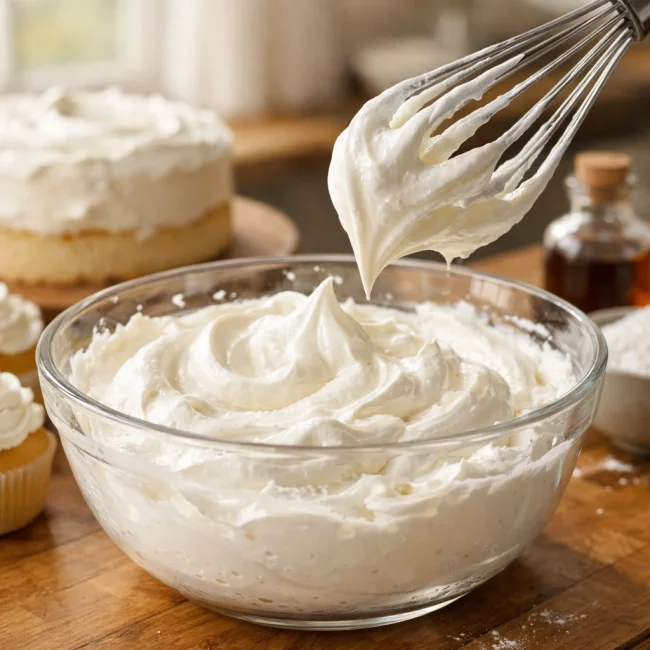
Traditional Whipped Cream Frosting
A rich and creamy whipped cream frosting perfect for topping cakes, cupcakes, and ...
View Recipe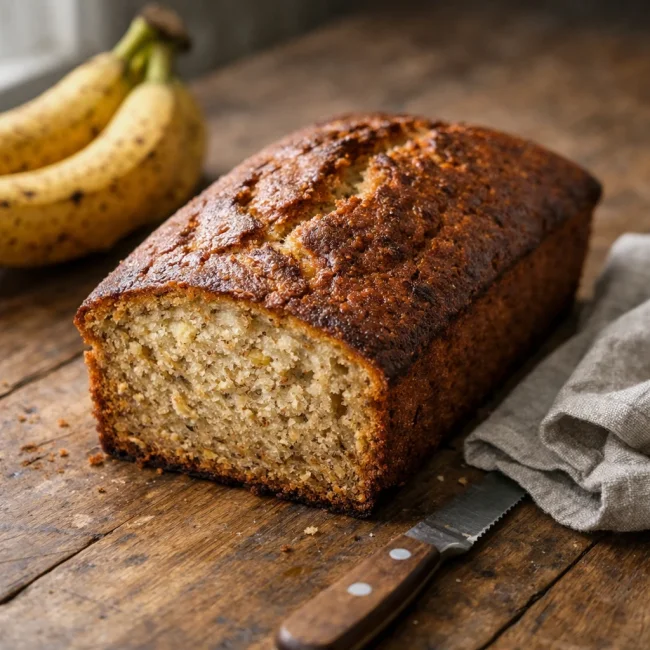
Moist Banana Loaf
Discover the timeless charm of our Moist Banana Loaf, a luscious and tender treat ...
View RecipeFrequently Asked Questions
- Can I use frozen strawberries?
- Fresh strawberries are best for texture and flavor, but you can use frozen in a pinch. Just be sure to thaw and drain them well before using.
- How do I store leftovers?
- Store any leftovers in an airtight container in the fridge. The cake is best enjoyed within 2-3 days.
- Can I make the cake layers ahead of time?
- Yes! You can bake the cake layers a day in advance. Wrap them well in plastic wrap and store at room temperature.
Serving Ideas for Vintage Strawberry Layer Cake
This cake is delightful on its own but pairs beautifully with a scoop of vanilla ice cream or a spoonful of freshly made strawberry compote. For a touch of elegance, try serving with a glass of sparkling wine or a spritzer made with fresh strawberries.
More Desserts Recipes

Rustic Vanilla Peach Cobbler
This rustic vanilla peach cobbler combines a rich, buttery crust with the sweet, v...
View Recipe
Traditional Lemon Curd
A classic, tangy lemon curd that is perfect for enhancing desserts, breakfast dish...
View Recipe
Traditional Cream Cheese Pie
A delightful and timeless dessert, Traditional Cream Cheese Pie offers a rich and ...
View Recipe
Timeless Cream Puff Delight
Indulge in a delectable Timeless Cream Puff Delight, a classic dessert featuring a...
View Recipe