Vintage Buttermilk Biscuits
These Vintage Buttermilk Biscuits are a delightful nod to classic Southern baking. They're flaky, buttery, and just the right amount of tangy thanks to the buttermilk. Perfect for breakfast or as a side dish, these biscuits will have you reaching for more.

This post may contain affiliate links. As an Amazon Associate, we earn from qualifying purchases.
Ingredients for Vintage Buttermilk Biscuits
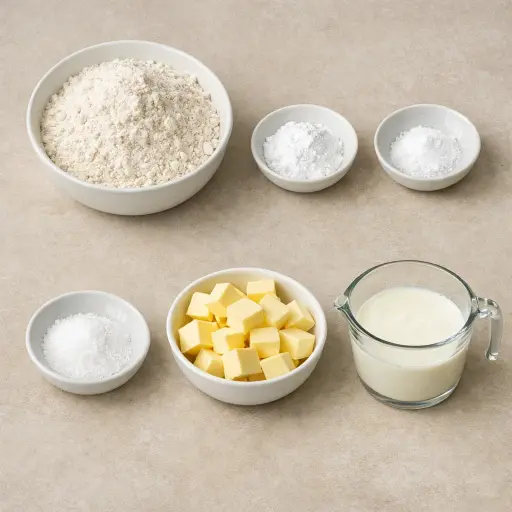
The star of these biscuits is the buttermilk, which provides a slight tanginess and helps in making the biscuits tender. The all-purpose flour forms the base, while the baking powder and baking soda work together to give the biscuits their rise and fluffiness. Don't forget the salt, which enhances all the flavors. Lastly, the chilled butter is crucial for creating those irresistible flaky layers.
Why This Vintage Buttermilk Biscuits Works
In the bowl, the dry ingredients coat every little piece of cold butter. When the butter is rubbed in but still chunky, those bits stay separate inside the flour instead of melting right away. In the hot oven, each butter piece begins to melt and steam. That steam pushes against the dough around it and makes little air pockets, so the biscuits rise and stay light instead of dense.
As the buttermilk hits the baking powder and baking soda, it starts a gentle fizzing reaction. That gas spreads through the soft dough and gives it even more lift while it bakes. At the same time, the flour soaks up the buttermilk and holds everything together without needing much kneading. Because the dough is handled gently and kept fairly thick, the butter doesn’t smear into a paste. In the oven, the outside browns and firms up, while the inside stays soft, with tender layers that pull apart instead of crumbling.
Vintage Buttermilk Biscuits Tips & Tricks
- For best results, keep the butter as cold as possible until it’s mixed in.
- A sharp biscuit cutter will help give you nice, clean edges.
- Don't twist the cutter when cutting out biscuits; it can seal the edges and affect rising.
- If you don't have buttermilk, you can make a substitute by mixing 3/4 cup of milk with 1 tablespoon of lemon juice or vinegar and letting it sit for a few minutes.
Mistakes To Avoid
Letting the butter warm up too much before it goes into the flour makes the dough greasy instead of crumbly. The butter then melts too fast in the oven instead of steaming inside the dough. The biscuits come out flat and heavy instead of tall and flaky.
Overworking the dough after the buttermilk goes in quickly turns it tough. The flour soaks up more liquid and the gluten tightens, so the dough loses its soft, slightly shaggy feel. The baked biscuits end up chewy and dense instead of tender.
Rolling or pressing the dough thinner than 1/2 inch means there is not enough height for layers to form. In the oven, these thin rounds dry out before they can puff. The biscuits bake into crisp, flat disks with dry centers.
Crowding the biscuits tightly on the baking sheet blocks hot air from reaching their sides. The edges stay pale and the sides cannot rise freely. The result is uneven browning and biscuits that lean or bake together instead of standing tall.
Equipment Used:
Ingredients
- 2 cups all-purpose flour
- 1 tablespoon baking powder
- 1/2 teaspoon baking soda
- 1 teaspoon salt
- 1/2 cup unsalted butter, chilled and cubed
- 3/4 cup buttermilk
Step-by-step Instructions
- 1. Preheat your oven to 450°F (232°C) and line a baking sheet with parchment paper.
- 2. In a large mixing bowl, whisk together flour, baking powder, baking soda, and salt.
- 3. Using a pastry cutter or your fingers, cut the chilled butter into the flour mixture until it resembles coarse crumbs.
- 4. Make a well in the center and pour in the buttermilk. Stir until just combined and a dough forms.
- 5. Turn dough onto a lightly floured surface and gently knead it several times. Flatten it to about 1/2 inch thick.
- 6. Use a round biscuit cutter to cut out biscuits and place them on the prepared baking sheet.
- 7. Bake in the preheated oven for 10-12 minutes, or until the tops are golden brown.
- 8. Remove from oven and let cool slightly before serving warm.
Trending Now
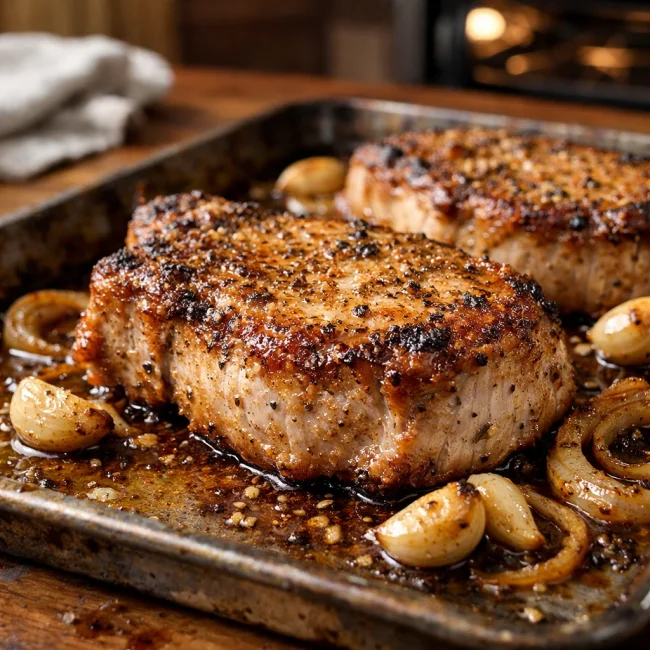
Oven-Baked Pork Chops
Enjoy a delightful dinner with these tender and juicy oven-baked pork chops, seaso...
View Recipe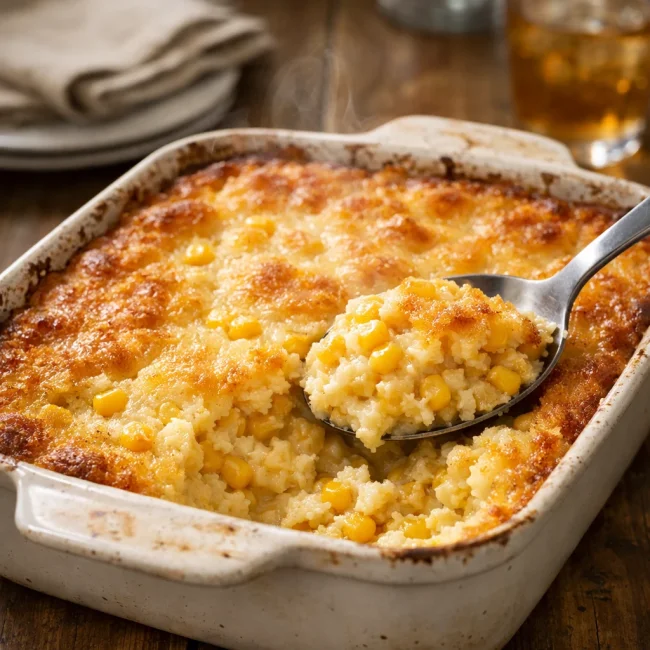
Traditional Corn Casserole
A delightful corn casserole dish that embodies the comforting flavors of sweet cor...
View Recipe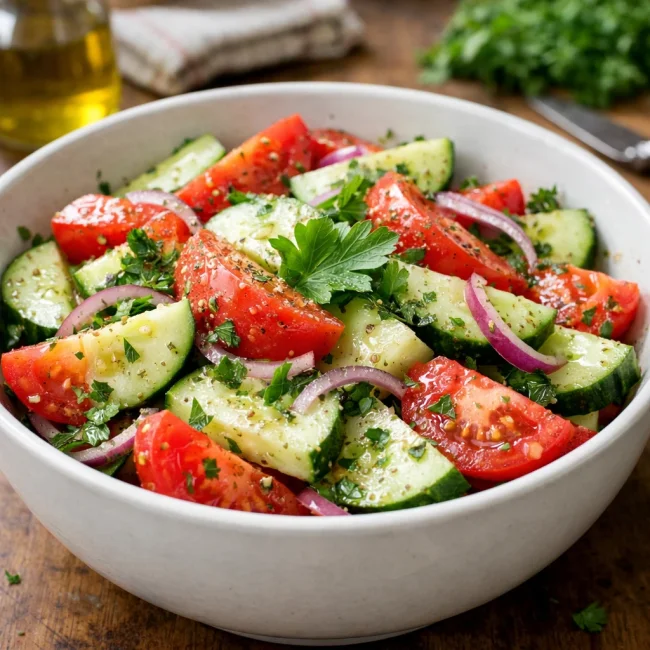
Traditional Cucumber and Tomato Salad
A refreshing and simple salad combining crisp cucumbers and juicy tomatoes, season...
View Recipe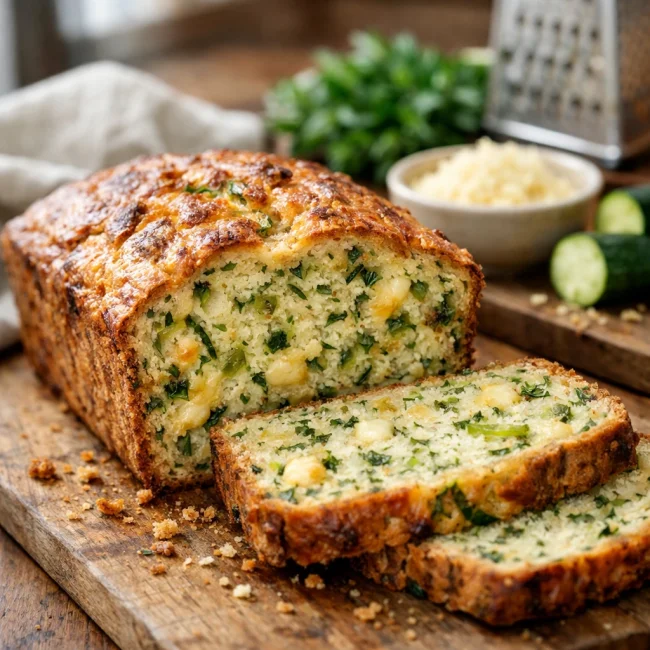
Savory Zucchini Bread
Savory Zucchini Bread is a delectable twist on traditional zucchini recipes, combi...
View RecipeFrequently Asked Questions
- Can I freeze these biscuits?
- Yes, you can freeze them! Just make sure to cool them completely first and store them in an airtight container.
- Why did my biscuits turn out flat?
- Ensure your baking powder is fresh, and avoid over-kneading the dough, which can toughen the biscuits.
Serving Ideas for Vintage Buttermilk Biscuits
These biscuits are fantastic served warm with a pat of salted butter or a drizzle of honey. For a savory twist, try them with sausage gravy or use them as a base for a breakfast sandwich with eggs and cheese. They also pair beautifully with a pot of homemade chicken soup or a hearty stew.
More Breads & Baked Goods Recipes

Traditional Italian Easter Bread
Savor the delightful taste of a classic Italian Easter bread, a sweet, soft, and s...
View Recipe
Old-Fashioned Pineapple Bread
A delightful and flavorful bread infused with juicy pineapple, perfect for breakfa...
View Recipe
Old-Fashioned Blueberry Muffins
Transport yourself to simpler times with these delightful old-fashioned blueberry ...
View Recipe
Strawberry Basil Scones
These tender scones combine the sweetness of fresh strawberries with a hint of pep...
View Recipe