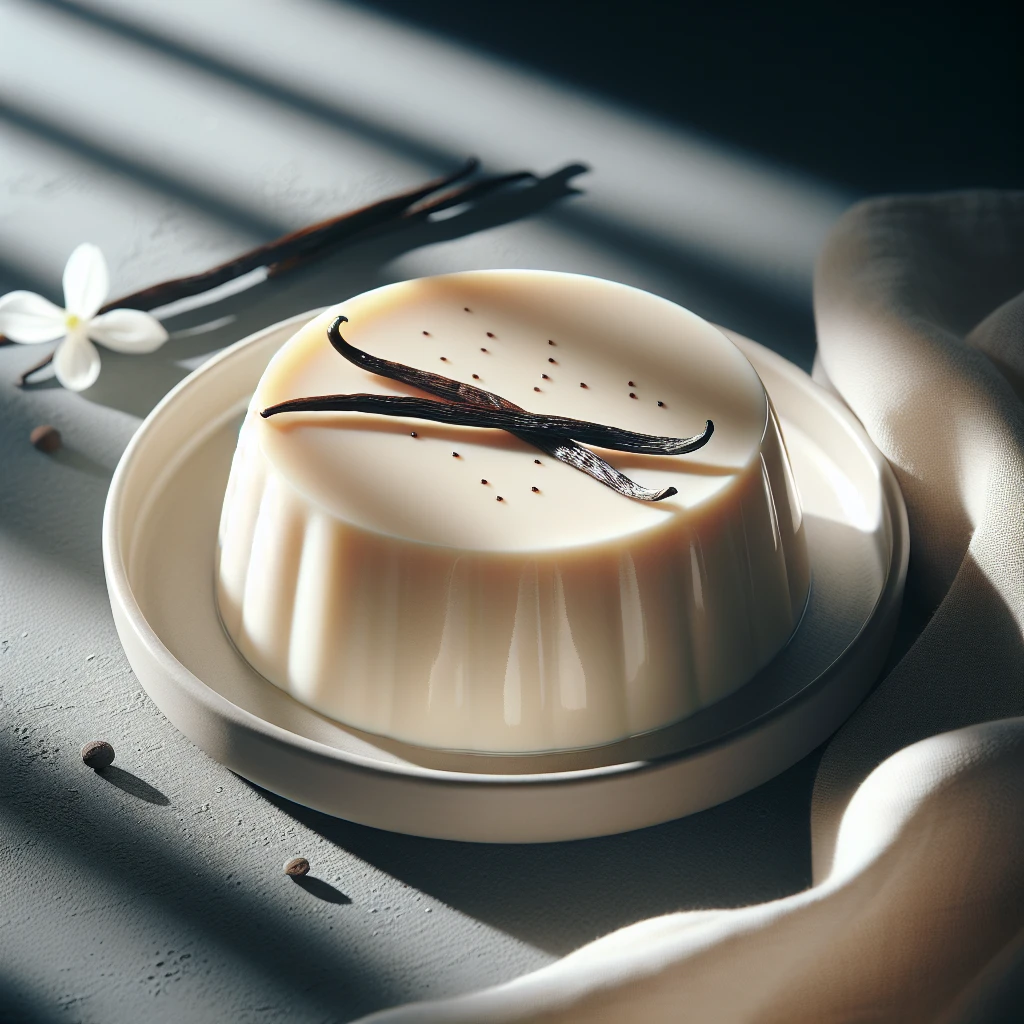
Vanilla Bean Panna Cotta
If you’re looking for a dessert that’s creamy, elegant, and surprisingly easy to make, Vanilla Bean Panna Cotta is your answer. This Italian classic is perfect for impressing guests or treating yourself to a little luxury. With its smooth texture and rich vanilla flavor, it’s a dessert that feels special any time of year.
This post may contain affiliate links. As an Amazon Associate, we earn from qualifying purchases.
Ingredients for Vanilla Bean Panna Cotta
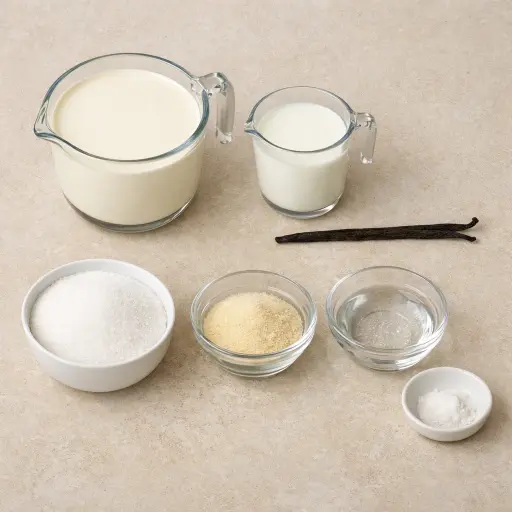
Heavy cream is the backbone of panna cotta, providing that signature creamy texture. Whole milk lightens it up just a touch, preventing it from being overly rich. Granulated sugar sweetens the dessert while letting the vanilla shine through. The star of the show, the vanilla bean, infuses the cream with its aromatic seeds, making this dessert feel luxurious. Unflavored gelatin is what sets the panna cotta, giving it that perfect wobble without overwhelming the delicate flavor. A pinch of salt balances out the sweetness and enhances the vanilla.
Why This Vanilla Bean Panna Cotta Works
As the cream, milk, sugar, and vanilla bean warm up together, the sugar fully dissolves and the vanilla seeds spread through the liquid. The heat loosens everything inside the vanilla pod, so both the seeds and the pod itself share their taste with the cream. Keeping the pan hot but not boiling means the dairy stays smooth and doesn’t curdle or form a skin.
While the cream mixture heats, the gelatin sits in cold water and swells. It looks a bit grainy at first, but it’s just soaking up water so it can melt evenly later. Once the hot cream is poured over the bloomed gelatin, the gelatin dissolves and spreads through every part of the liquid.
During chilling, the gelatin slowly firms up and holds all that cream and milk in place. Instead of staying a loose liquid, the panna cotta sets into a soft, wobbly custard. The high amount of cream keeps it silky and rich, while the small amount of gelatin gives it just enough structure so it slices with a spoon but still feels tender.
Vanilla Bean Panna Cotta Tips & Tricks
- If you don’t have vanilla beans, a high-quality vanilla extract can be a substitute. Use about 1-2 teaspoons.
- To prevent a skin from forming on top, cover each dish with plastic wrap, ensuring it touches the surface of the panna cotta.
- If you’re unmolding the panna cotta onto plates, briefly dip the bottom of the dish in hot water to loosen it.
Mistakes To Avoid
Letting the cream mixture boil instead of just heating it until hot can break the dairy. The fat can separate and form a thin oily layer on top, and the texture of the panna cotta sets grainy instead of smooth and silky.
Adding the gelatin straight into hot liquid without blooming it in cold water first often leaves rubbery bits. The dry granules don’t fully swell and melt, so the panna cotta sets with tiny chewy lumps instead of an even, soft gel.
Stirring the gelatin into the cream while it’s too cool can also cause trouble. The gelatin doesn’t fully dissolve and stays streaky, which makes the final dessert set unevenly, with soft spots and firmer patches.
Pouring the mixture into dishes while it’s still very hot and then putting it straight into the fridge can cause a skin on top and condensation. The top can set with a tougher layer, and water droplets can form and drip, leaving a wet surface and slightly watery edges.
Equipment Used:
Ingredients
- 2 cups heavy cream
- 1/2 cup whole milk
- 1/2 cup granulated sugar
- 1 vanilla bean
- 1 packet (about 2 1/4 teaspoons) unflavored gelatin
- 2 tablespoons cold water
- Pinch of salt
Step-by-step Instructions
- 1. In a small bowl, sprinkle the gelatin over the cold water and let it stand for about 5 minutes to bloom.
- 2. Slice the vanilla bean lengthwise and scrape the seeds into a saucepan. Add the vanilla pod, cream, milk, sugar, and salt.
- 3. Place the saucepan over medium heat and stir until the sugar is dissolved and the mixture is hot but not boiling.
- 4. Remove the saucepan from heat, remove the vanilla pod, and stir in the bloomed gelatin until fully dissolved.
- 5. Pour the mixture into individual serving dishes and let it cool to room temperature.
- 6. Once cooled, refrigerate for at least 4 hours or until set.
- 7. Before serving, optionally garnish with fresh berries or a mint sprig.
Trending Now

Zesty Summer Squash Casserole
This delightful summer squash casserole combines vibrant garden-fresh vegetables w...
View Recipe
Classic Cucumber Salad
A refreshing and light cucumber salad featuring crisp cucumbers and a tangy vinaig...
View Recipe
Classic Banana Bread
Classic Banana Bread is a timeless dessert beloved for its moist texture and sweet...
View Recipe
Traditional Dump Cake
Discover the timeless delight of the Traditional Dump Cake, a simple and scrumptio...
View RecipeFrequently Asked Questions
- Can I use a different type of milk?
- Yes, but keep in mind that lower-fat milk will result in a less creamy texture. Whole milk is recommended for the best balance.
- How long will panna cotta keep in the fridge?
- It can stay fresh for up to three days when covered tightly.
- Can I make this recipe vegan?
- Substitute the cream and milk with coconut milk or almond milk, and use agar-agar in place of gelatin, adjusting the quantities as needed.
Serving Ideas for Vanilla Bean Panna Cotta
Vanilla Bean Panna Cotta pairs beautifully with a tart berry coulis or a drizzle of caramel sauce. For a more decadent experience, try serving it alongside a small piece of dark chocolate or a biscotti. It’s also delightful with a sparkling dessert wine or a light, floral tea.
More Desserts Recipes

Rustic Vanilla Peach Cobbler
This rustic vanilla peach cobbler combines a rich, buttery crust with the sweet, v...
View Recipe
Traditional Lemon Curd
A classic, tangy lemon curd that is perfect for enhancing desserts, breakfast dish...
View Recipe
Traditional Cream Cheese Pie
A delightful and timeless dessert, Traditional Cream Cheese Pie offers a rich and ...
View Recipe
Timeless Cream Puff Delight
Indulge in a delectable Timeless Cream Puff Delight, a classic dessert featuring a...
View Recipe