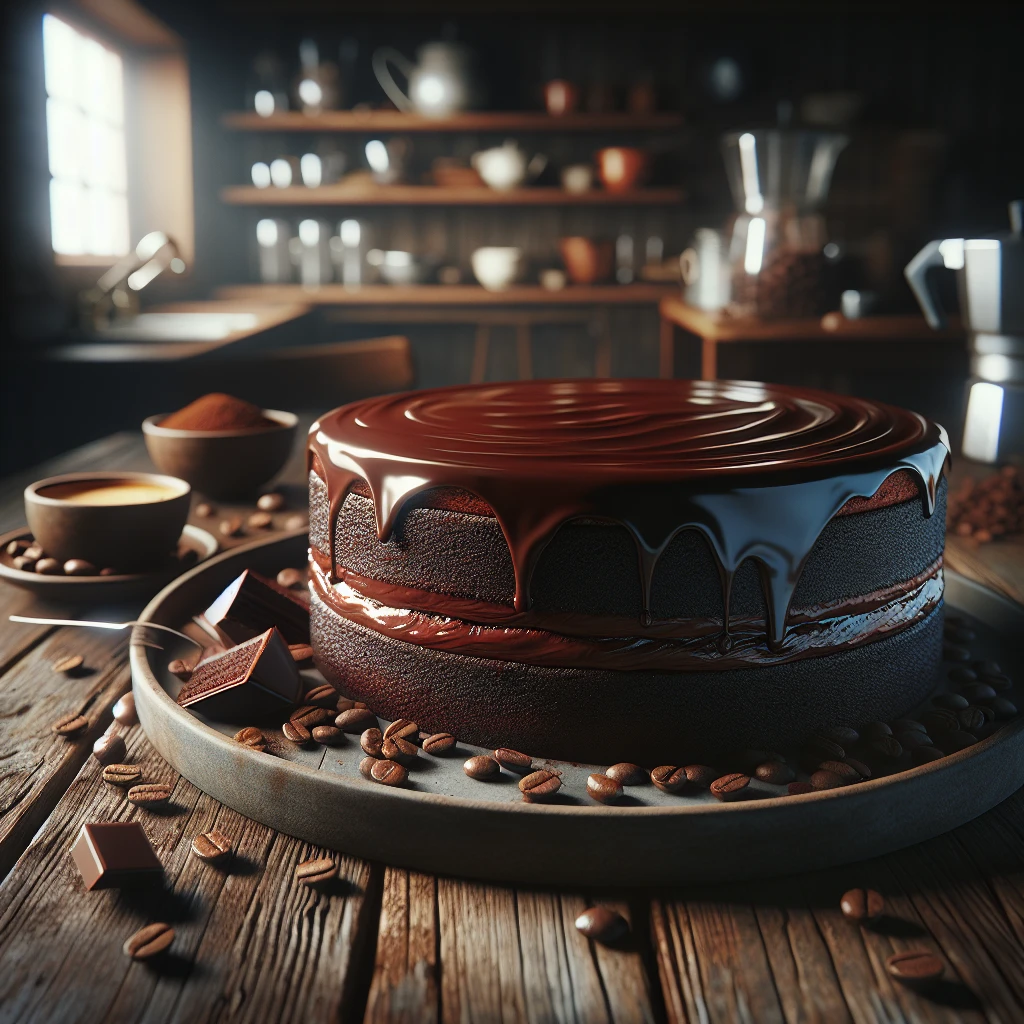
Ultimate Chocolate Espresso Cake
Welcome to the world of rich, decadent flavors with our Ultimate Chocolate Espresso Cake. This dessert combines the deep, intense taste of cocoa with the bold kick of espresso, creating a treat that's perfect for coffee lovers and chocoholics alike.
This post may contain affiliate links. As an Amazon Associate, we earn from qualifying purchases.
Ingredients for Ultimate Chocolate Espresso Cake
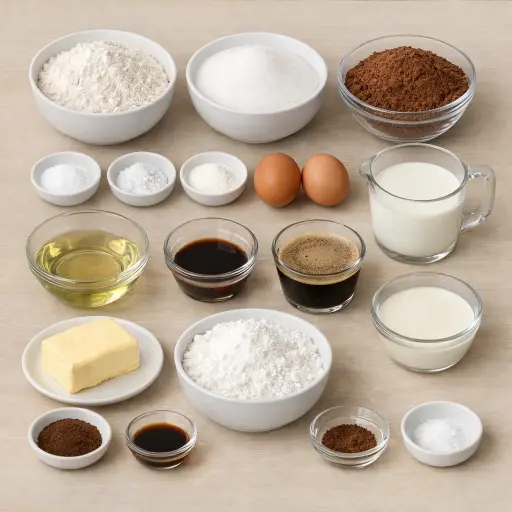
The base of our cake starts with all-purpose flour, which gives the cake structure. Granulated sugar sweetens the cake and helps with moisture retention. The unsweetened cocoa powder provides that rich chocolate flavor. To ensure the cake rises perfectly, we use both baking soda and baking powder. A pinch of salt enhances the flavors. The richness comes from eggs and buttermilk, which also help keep the cake moist. Vegetable oil adds extra moisture without overpowering the flavor. Vanilla extract adds depth to the chocolate taste. The secret weapon here is a cup of freshly brewed espresso, which enriches the chocolate flavor without making the cake too coffee-like. For the frosting, unsalted butter is the creamy base, while powdered sugar provides sweetness and smoothness. Heavy cream gives the frosting a luxurious texture. A touch of espresso powder enhances the coffee notes, and a dash of vanilla extract rounds out the flavors. A hint of salt balances everything beautifully.
Why This Ultimate Chocolate Espresso Cake Works
In the bowl, the dry ingredients and cocoa coat the sugar and flour so everything mixes evenly. Once the eggs, buttermilk, oil, and vanilla go in, the batter loosens and starts to look shiny and smooth. The buttermilk and baking soda react and trap tiny bubbles, and the eggs give the batter some stretch so it can rise without breaking. When the hot espresso is poured in, the batter thins out and looks almost too runny, but that loose batter spreads well in the pans and bakes up with a soft, even crumb instead of a dense one.
In the oven, the baking soda and baking powder puff up the batter while the eggs and flour set and hold that shape. Sugar melts and keeps the cake moist, and the oil stays liquid, so the cake doesn’t dry out even after it cools. For the frosting, soft butter and powdered sugar beat full of air, then the cream and espresso powder loosen it just enough so it spreads easily and clings to the cake without sliding off.
Ultimate Chocolate Espresso Cake Tips & Tricks
- Brew your espresso fresh for the best flavor impact.
- If you don't have buttermilk, mix a cup of milk with a tablespoon of lemon juice or vinegar and let it sit for 5 minutes.
- For an extra kick, sprinkle some chocolate shavings or espresso beans on top of the frosting.
Mistakes To Avoid
Pouring the espresso in while it’s still very hot can partially cook the eggs in the bowl. Little bits of egg start to set before the batter is mixed, so the cake bakes up with rubbery spots and an uneven crumb instead of a smooth, tender slice.
Letting the cakes sit in the pans until they are fully cool often causes trouble. Steam gets trapped, the bottoms turn damp and sticky, and the layers can tear or compress when finally removed, making it hard to frost and stack them cleanly.
Overbaking by “waiting for a dry toothpick” can push this cake from moist to crumbly. The espresso and cocoa make the crumb look dark even when done, so extra time in the oven drives off too much moisture and the layers end up dry and slightly tough.
Skipping the softening step for the butter in the frosting leads to lumpy icing. Cold butter doesn’t blend smoothly with the powdered sugar and cream, so the frosting stays grainy and can tear the cake surface instead of spreading in a fluffy layer.
Equipment Used:
9-inch round cake pans, electric mixer, wire rack, mixing bowls
Ingredients
- 1 3/4 cups all-purpose flour
- 2 cups granulated sugar
- 3/4 cup unsweetened cocoa powder
- 2 teaspoons baking soda
- 1 teaspoon baking powder
- 1 teaspoon salt
- 2 large eggs
- 1 cup buttermilk
- 1/2 cup vegetable oil
- 2 teaspoons vanilla extract
- 1 cup freshly brewed espresso
- 1/2 cup unsalted butter, softened
- 2 cups powdered sugar
- 1/3 cup heavy cream
- 1 teaspoon espresso powder
- 1/2 teaspoon vanilla extract
- 1/4 teaspoon salt
Step-by-step Instructions
- Step 1: Preheat the oven to 350°F. Grease and flour two 9-inch round cake pans.
- Step 2: In a large bowl, whisk together flour, sugar, cocoa powder, baking soda, baking powder, and salt.
- Step 3: Add eggs, buttermilk, vegetable oil, and vanilla to the dry ingredients and beat on medium speed until well combined.
- Step 4: Slowly add espresso and mix until the batter is smooth. Divide the batter evenly between the prepared cake pans.
- Step 5: Bake for 30-35 minutes, or until a toothpick inserted into the center comes out clean. Let the cakes cool in the pans for 10 minutes, then turn out onto a wire rack to cool completely.
- Step 6: For the frosting, beat butter until creamy. Gradually add powdered sugar and beat until smooth.
- Step 7: Add heavy cream, espresso powder, vanilla, and salt to the frosting mixture. Beat until fluffy and well blended.
- Step 8: Once cakes are cooled, spread frosting between the layers and over the top and sides of the cake.
Trending Now
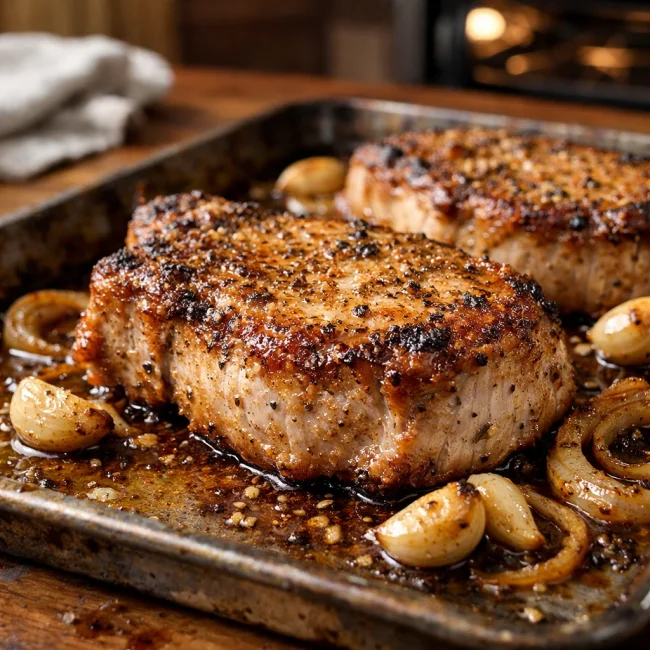
Oven-Baked Pork Chops
Enjoy a delightful dinner with these tender and juicy oven-baked pork chops, seaso...
View Recipe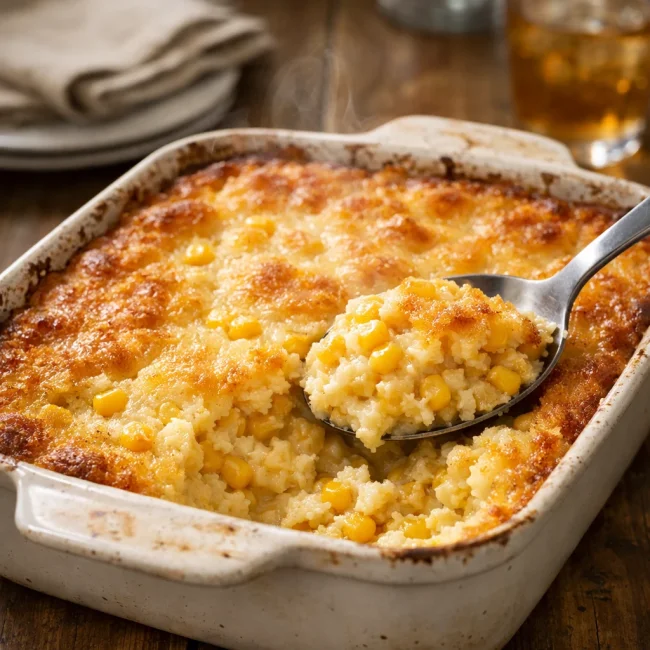
Traditional Corn Casserole
A delightful corn casserole dish that embodies the comforting flavors of sweet cor...
View Recipe
Traditional Cucumber and Tomato Salad
A refreshing and simple salad combining crisp cucumbers and juicy tomatoes, season...
View Recipe
Savory Zucchini Bread
Savory Zucchini Bread is a delectable twist on traditional zucchini recipes, combi...
View RecipeFrequently Asked Questions
- Can I use instant coffee instead of espresso?
- Yes, dissolve 2 teaspoons of instant coffee in 1 cup of hot water as a substitute.
- How should I store the cake?
- Keep it in an airtight container at room temperature for up to three days, or refrigerate for up to a week.
- Can I freeze the cake?
- Yes, wrap each cake layer in plastic wrap and foil, then freeze. Thaw and frost when ready to serve.
Serving Ideas for Ultimate Chocolate Espresso Cake
This cake pairs beautifully with a scoop of vanilla ice cream or a dollop of freshly whipped cream. For a truly indulgent experience, enjoy it with a shot of espresso or a glass of your favorite dessert wine.
More Desserts Recipes

Rustic Vanilla Peach Cobbler
This rustic vanilla peach cobbler combines a rich, buttery crust with the sweet, v...
View Recipe
Traditional Lemon Curd
A classic, tangy lemon curd that is perfect for enhancing desserts, breakfast dish...
View Recipe
Traditional Cream Cheese Pie
A delightful and timeless dessert, Traditional Cream Cheese Pie offers a rich and ...
View Recipe
Timeless Cream Puff Delight
Indulge in a delectable Timeless Cream Puff Delight, a classic dessert featuring a...
View Recipe