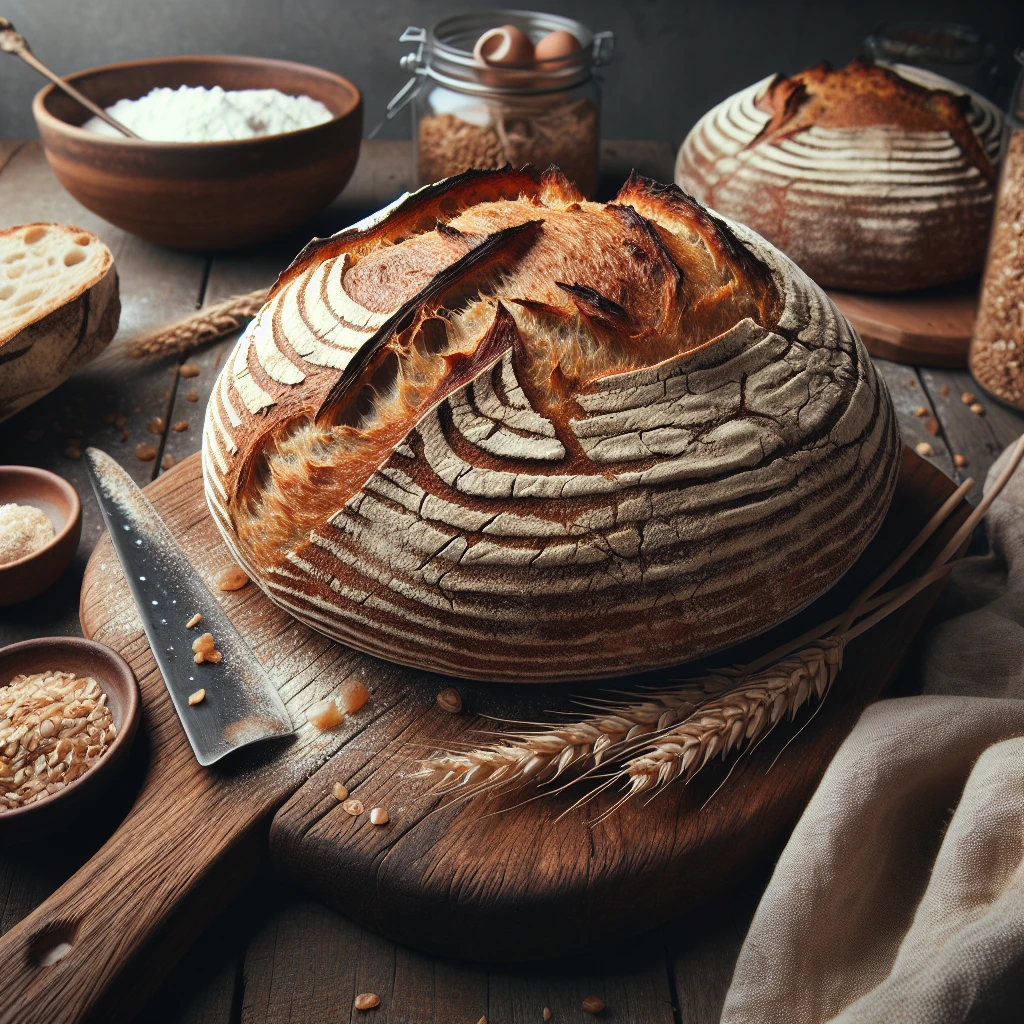
Traditional Sourdough Bread
There's something timeless about a loaf of traditional sourdough bread. Its tangy flavor and chewy texture make it a beloved staple in many homes. This recipe is all about simplicity, with just a few ingredients and some time, you'll be rewarded with a loaf that's nothing short of magical.
This post may contain affiliate links. As an Amazon Associate, we earn from qualifying purchases.
Ingredients for Traditional Sourdough Bread
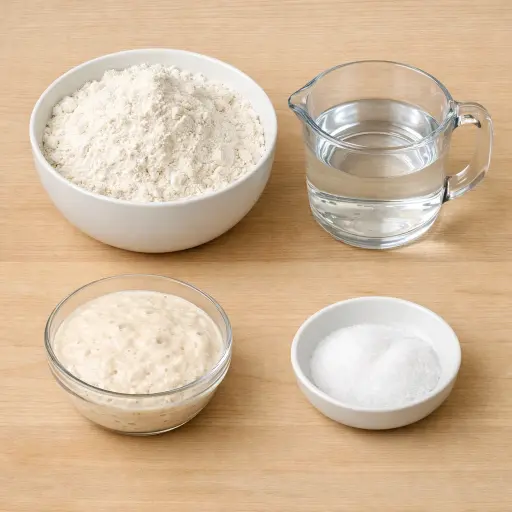
All-purpose flour is the backbone of our bread, providing structure and a neutral flavor that lets the sourdough's tang shine. Water is essential for activating the gluten and bringing the dough together. Our star, the sourdough starter, not only leavens the dough but also imparts that signature sour taste. Lastly, salt enhances the flavors and strengthens the dough's gluten structure.
Why This Traditional Sourdough Bread Works
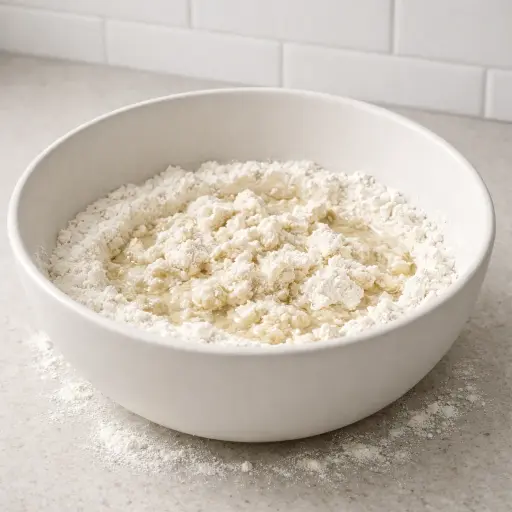
During the first rest, the flour and water sit together so the flour can drink up the water. Gluten starts to form on its own, so by the time kneading starts, the dough already stretches more easily and doesn’t tear as much. Once the sourdough starter and salt go in, the dough becomes stronger and tighter, and kneading lines everything up so it can trap gas later.
Over the long room‑temperature rise, the wild yeast in the starter slowly eats the flour and makes bubbles. Stretching and folding every hour keeps those bubbles spread through the dough and keeps the gluten from sagging. By the time it goes into the banneton, the dough can hold its shape instead of flattening out.
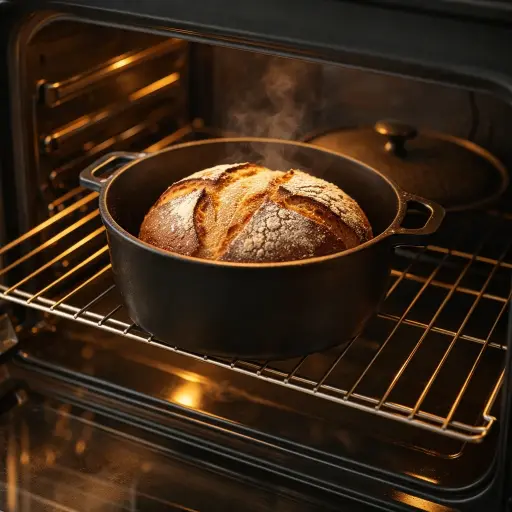
During the cold proof in the fridge, the dough firms up and keeps building tiny air pockets without blowing out. In the hot Dutch oven, steam from the wet dough stays trapped around the loaf, so the crust stays soft just long enough for the bread to spring up high before the outside finally sets and turns crisp.
Traditional Sourdough Bread Tips & Tricks
- Use a digital scale for precision, especially when measuring the sourdough starter.
- If your dough feels too sticky, slightly wetting your hands can help during handling.
- For a more pronounced sour flavor, extend the cold proofing time up to 24 hours.
Mistakes To Avoid
Using a weak or unfed starter often leads to dough that barely rises in the bowl or in the fridge. The dough stays heavy and slack instead of puffing up, so it bakes into a flat, tight loaf with a gummy center.
Skipping or rushing the 4-hour rise with the hourly stretch and folds leaves the gluten underdeveloped. The dough then spreads out instead of holding its shape, and the baked bread comes out wide, dense, and uneven inside.
Shaping the dough loosely before the banneton stage causes problems later in the oven. Without a tight surface, the loaf can burst randomly instead of opening along the score, giving a lopsided shape and thick, uneven crust.
Putting cold dough straight from the fridge into a Dutch oven that isn’t fully preheated keeps the loaf from springing up. The crust sets too slowly, the bread spreads outward, and the crumb stays closer and less airy.
Cutting into the bread before it cools completely compresses the crumb. Steam escapes too fast, the slices squash, and the inside turns sticky instead of light and tender.
Equipment Used:
Ingredients
- 4 cups all-purpose flour
- 1 1/2 cups water (room temperature)
- 1 cup sourdough starter
- 2 teaspoons salt
Step-by-step Instructions
- 1. In a large bowl, combine the flour and water, and let it rest for 30 minutes.
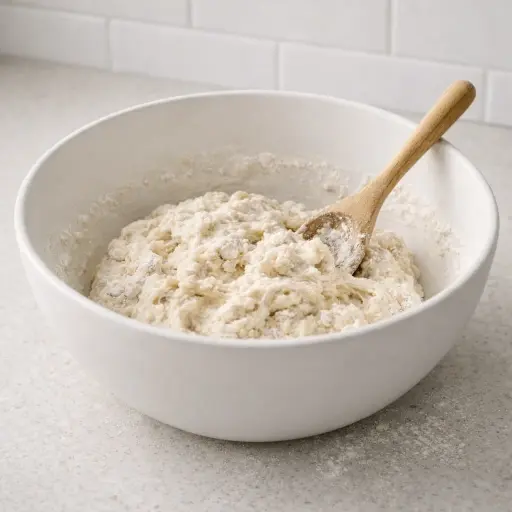
- 2. Add the sourdough starter and salt to the flour mixture, then mix until a rough dough forms.
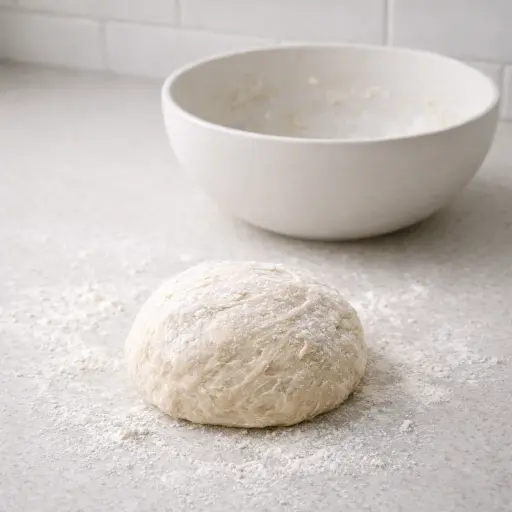
- 3. Knead the dough on a floured surface for about 10 minutes until smooth and elastic.
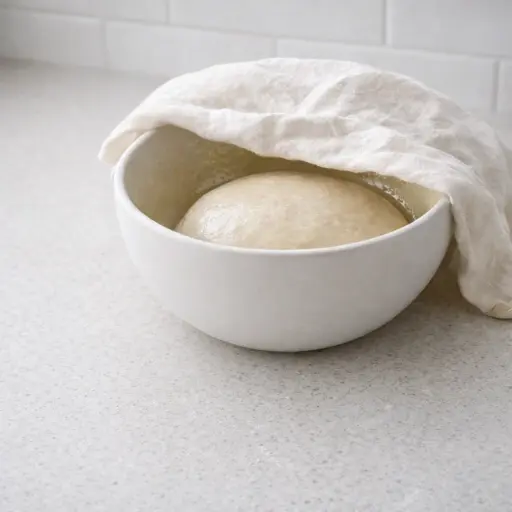
- 4. Transfer the dough to a lightly oiled bowl, cover with a damp cloth, and let rise at room temperature for 4 hours, performing a stretch and fold every hour.
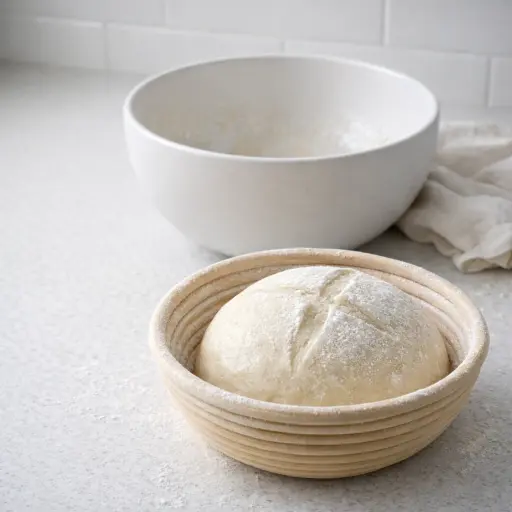
- 5. Shape the dough into a round loaf and place it in a floured banneton basket.
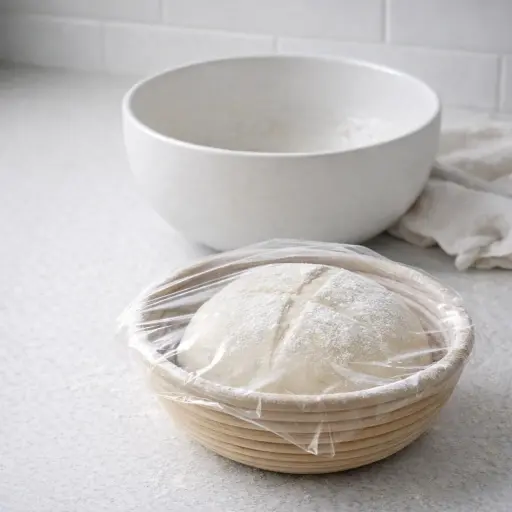
- 6. Cover the basket and let the dough proof in the refrigerator for 12 hours or overnight.
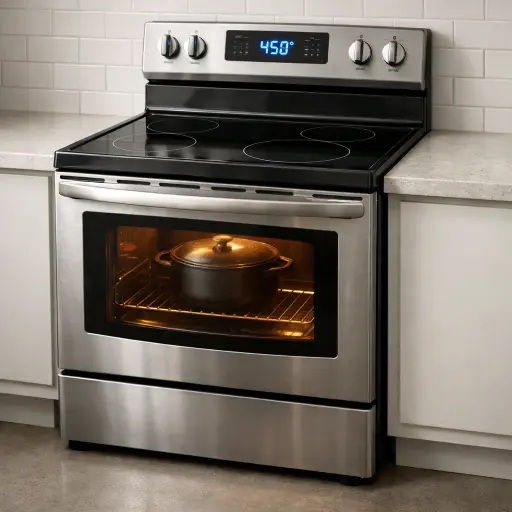
- 7. Preheat the oven to 450°F (232°C) with a Dutch oven inside.
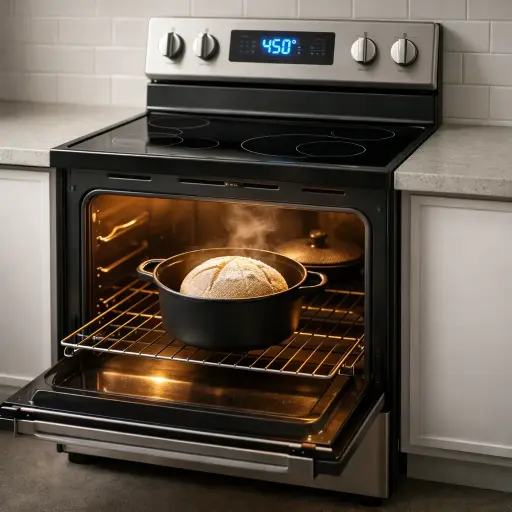
- 8. Carefully transfer the dough into the preheated Dutch oven, score the top, and cover with the lid.
- 9. Bake for 20 minutes, then remove the lid and bake for an additional 25 minutes until golden brown.
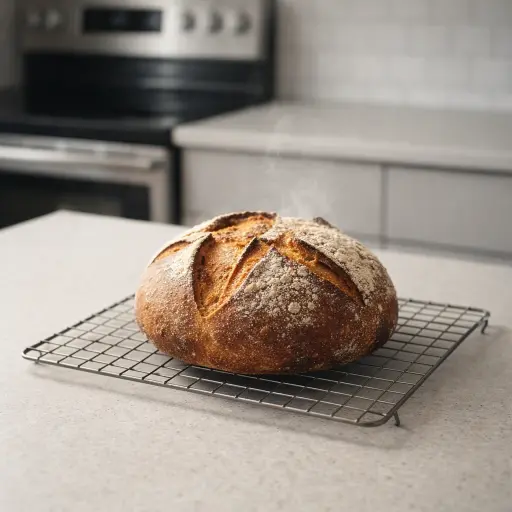
- 10. Let the bread cool completely on a wire rack before slicing.
Trending Now

Old-Fashioned Bread Pudding
Discover the classic charm of Old-Fashioned Bread Pudding - a timeless dessert com...
View Recipe
Traditional Italian Bruschetta
Experience the authentic taste of Italian bruschetta, a perfect blend of fresh tom...
View Recipe
Classic Green Beans
Discover the timeless delight of Classic Green Beans, a simple yet flavorful side ...
View Recipe
Classic Banana Bread
Classic Banana Bread is a timeless dessert beloved for its moist texture and sweet...
View RecipeFrequently Asked Questions
- Can I use whole wheat flour instead of all-purpose flour?
- Yes, you can substitute up to 25% of the flour with whole wheat to add more flavor and nutrients. Just keep in mind that this might make the bread denser.
- What if I don't have a banneton basket?
- No worries! You can use a bowl lined with a well-floured tea towel instead. Just make sure the dough doesn't stick.
Serving Ideas for Traditional Sourdough Bread
This sourdough bread is perfect for a rustic charcuterie board with cured meats, cheeses, and olives. It's also divine toasted with a smear of butter and a sprinkle of flaky sea salt, or as the base for an open-faced sandwich with avocado and poached eggs.
More Breads & Baked Goods Recipes

Traditional Italian Easter Bread
Savor the delightful taste of a classic Italian Easter bread, a sweet, soft, and s...
View Recipe
Old-Fashioned Pineapple Bread
A delightful and flavorful bread infused with juicy pineapple, perfect for breakfa...
View Recipe
Old-Fashioned Blueberry Muffins
Transport yourself to simpler times with these delightful old-fashioned blueberry ...
View Recipe
Strawberry Basil Scones
These tender scones combine the sweetness of fresh strawberries with a hint of pep...
View Recipe