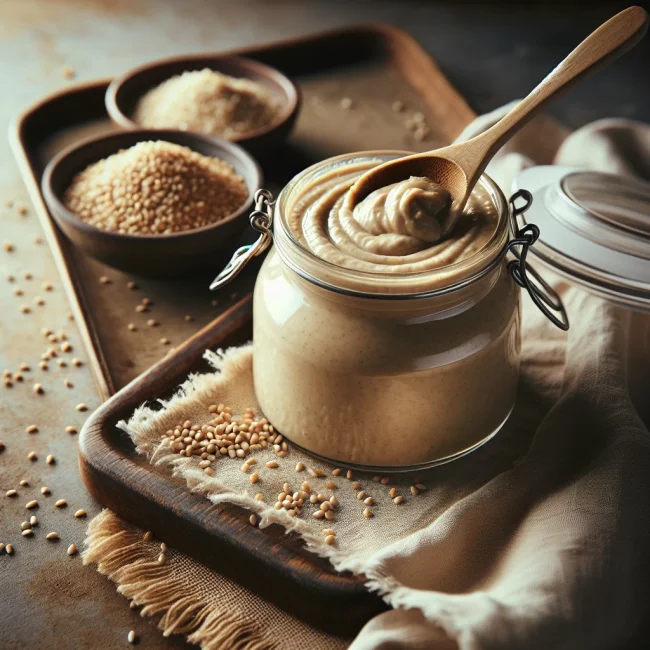
Traditional Sesame Paste Delight
This Traditional Sesame Paste Delight is a simple yet versatile recipe that can add a nutty, rich flavor to a variety of dishes. Whether you're whipping it up for a homemade hummus or slathering it on toast, this sesame paste is a must-have in any kitchen.

This post may contain affiliate links. As an Amazon Associate, we earn from qualifying purchases.
Ingredients for Traditional Sesame Paste Delight
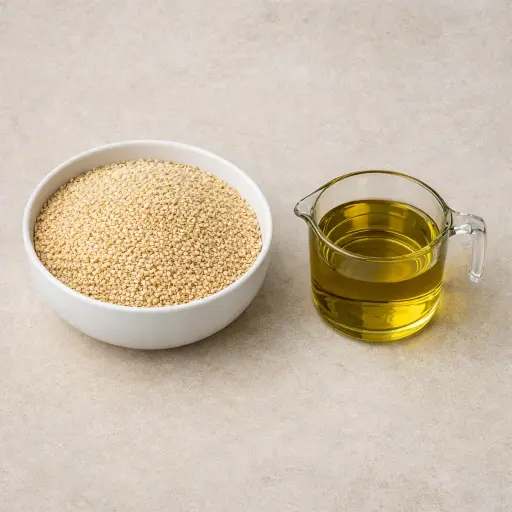
Sesame seeds are the star of this recipe, providing that signature nutty flavor and creamy texture. Toasting them adds depth to the taste, making the paste even more aromatic and delicious. Olive oil helps bind the paste together and smooths out the texture. It adds a subtle fruitiness that complements the sesame without overpowering it.
Why This Traditional Sesame Paste Delight Works
In the oven, the sesame seeds dry out a bit and their outsides brown. As they toast, the seeds go from pale and hard to golden and crisp. That light browning changes how they taste and also makes them easier to break down later. After a few minutes of cooling, the seeds stay crunchy but are not so hot that they burn the oil in the next step.
Once the toasted seeds hit the food processor with the olive oil, the real change starts. At first, the blades just chop the seeds into a rough, sandy mix. As the machine keeps running, the crushed seeds release their natural oils. Those oils mix with the olive oil and everything starts to blend into a paste. With more blending, the tiny seed pieces break down even more and the extra oil fills in the gaps. Bit by bit, the rough paste smooths out and becomes creamy and spreadable.
Traditional Sesame Paste Delight Tips & Tricks
- If you're short on time, use pre-toasted sesame seeds to skip a step.
- A high-powered blender can work if you don't have a food processor.
- For a thicker paste, reduce the olive oil slightly.
Mistakes To Avoid
Letting the sesame seeds toast too long in the oven can quickly turn them from golden to dark brown. Once they cross that line, the seeds taste harsh and leave a bitter aftertaste that dominates the paste, no matter how much oil goes in later.
Pulling the seeds from the oven too early leaves them pale and under-toasted. In that case, the paste often tastes flat and the seeds can feel a bit raw or chalky on the tongue, instead of giving a warm, nutty base.
Adding the olive oil while the sesame seeds are still very hot can cause problems in the processor. The heat thins the oil too much, so the paste can turn runny and separate, and the processor may struggle as steam builds up inside.
Using too little oil for the amount of seeds makes the mixture stay thick and grainy, even after long blending. The paste then clumps on the blades, refuses to smooth out, and ends up stiff and hard to spread.
Equipment Used:
Ingredients
- 2 cups sesame seeds
- 3/4 cup olive oil
Step-by-step Instructions
- 1. Preheat oven to 350°F (175°C).
- 2. Spread sesame seeds evenly on a baking sheet.
- 3. Toast in the oven for about 10 minutes until golden brown, stirring occasionally.
- 4. Allow sesame seeds to cool for a few minutes.
- 5. Transfer toasted seeds to a food processor.
- 6. Add olive oil and process until smooth, scraping down sides as necessary.
- 7. Continue to blend until the mixture reaches a smooth, creamy consistency.
Trending Now

Old-Fashioned Bread Pudding
Discover the classic charm of Old-Fashioned Bread Pudding - a timeless dessert com...
View Recipe
Traditional Italian Bruschetta
Experience the authentic taste of Italian bruschetta, a perfect blend of fresh tom...
View Recipe
Classic Green Beans
Discover the timeless delight of Classic Green Beans, a simple yet flavorful side ...
View Recipe
Classic Banana Bread
Classic Banana Bread is a timeless dessert beloved for its moist texture and sweet...
View RecipeFrequently Asked Questions
- Can I use a different oil?
- Yes, you can use sesame oil for a more intense flavor, or a neutral oil like canola if you prefer.
- How should I store the sesame paste?
- Keep it in an airtight container in the fridge for up to a month.
Serving Ideas for Traditional Sesame Paste Delight
This sesame paste is perfect as a base for homemade hummus or baba ganoush. Try it drizzled over roasted vegetables or blended into salad dressings for an extra burst of flavor. It's also a fantastic spread on flatbreads or pita for a quick snack.
More Condiments, Vegan, Gluten-Free, Dairy-Free, Middle Eastern Recipes
Traditional Sesame Paste Delight
Tahini is a creamy, nutrient-rich paste made from ground sesame seeds, integral to...
View Recipe