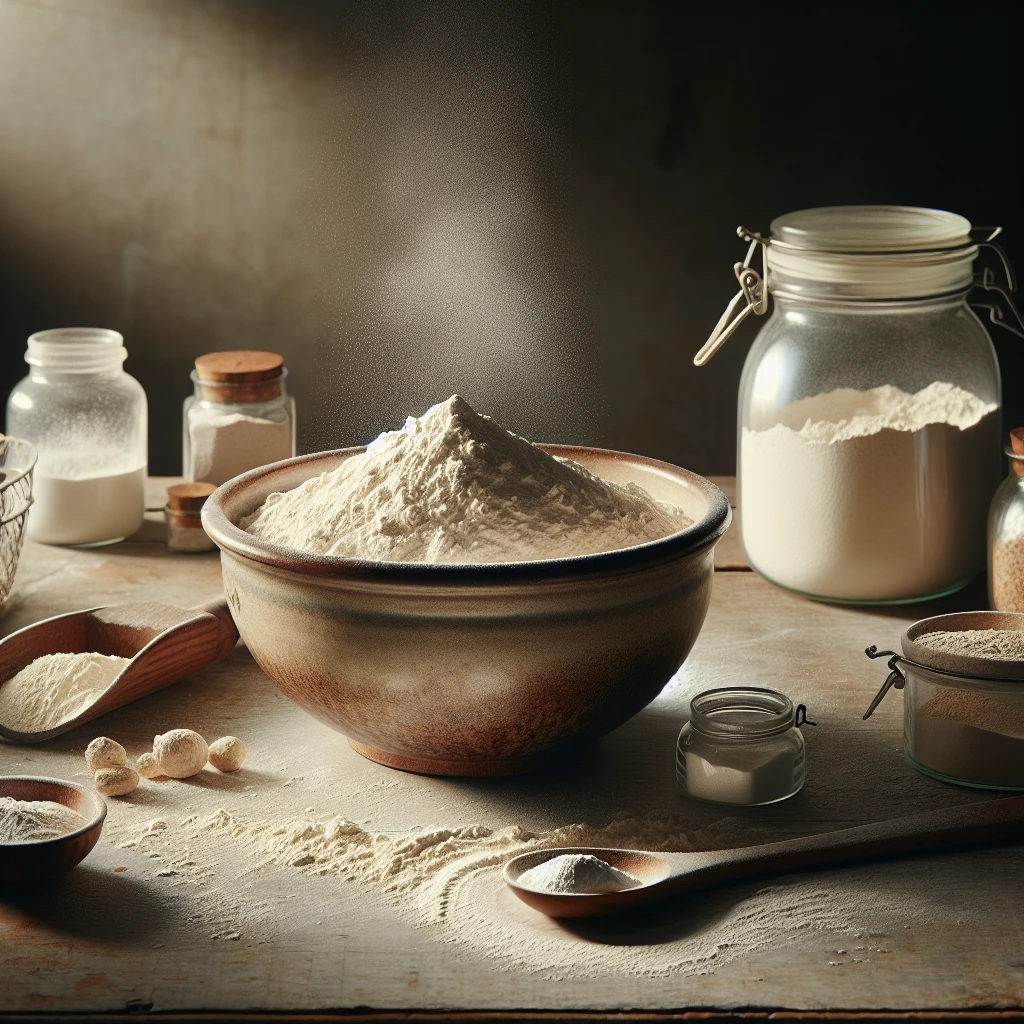
Traditional Self-Rising Flour
Creating your own self-rising flour is a game-changer for home bakers. This simple blend of pantry staples offers a convenient, cost-effective alternative to store-bought options. Plus, you'll always have fresh self-rising flour on hand!
This post may contain affiliate links. As an Amazon Associate, we earn from qualifying purchases.
Ingredients for Traditional Self-Rising Flour
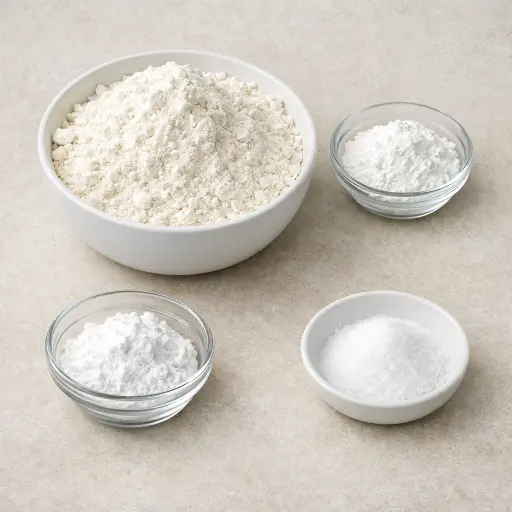
The magic of self-rising flour lies in its simple components. Start with all-purpose flour, which acts as the base. It's versatile and readily available. Add baking powder, a leavening agent that ensures your baked goods rise beautifully. Finally, a touch of salt enhances flavor, bringing out the best in your baked creations.
Why This Traditional Self-Rising Flour Works
In this mix, the baking powder and salt are spread evenly through the flour before any liquid ever touches it. Once this flour blend is used in a batter or dough, the baking powder starts to react with the liquid and then with the heat in the oven. Tiny bubbles form inside the wet flour, and those bubbles make biscuits, pancakes, or cakes rise and feel light instead of dense.
As the batter bakes, the flour soaks up liquid and sets around those bubbles, so the shape holds instead of collapsing. Salt is there in a small amount, so it doesn’t taste salty, but it keeps the baked food from tasting flat. Whisking everything together at the start breaks up clumps and adds a bit of air to the flour, so the baking powder is not stuck in one spot. That way, every bite rises about the same and has the same soft texture.
Traditional Self-Rising Flour Tips & Tricks
- If you don’t have a whisk, use a fork for mixing. It’s almost as effective at combining and aerating the ingredients.
- For a gluten-free version, substitute with a gluten-free all-purpose flour blend.
- Always ensure your baking powder is fresh for the best rise. Test by adding a little to hot water; it should fizz immediately.
Mistakes To Avoid
Using the wrong kind of flour, like bread flour or cake flour, throws off how this mix works in recipes. Bread flour makes baked goods come out tougher and chewier, while cake flour can make them too soft and crumbly, so the rise and texture end up uneven.
Adding too much or too little baking powder changes how things rise in the oven. Too much baking powder makes batter puff up fast and then collapse, leaving sunken, coarse cakes or biscuits. Too little baking powder gives flat, dense results that feel heavy instead of light.
Letting the flour mix sit in a humid kitchen or in a container that is not fully sealed causes clumping and weakens the baking powder. Once moisture gets in, the mix can form lumps and lose its lifting power, so baked goods come out patchy, with some bites tall and others dense.
Skipping the whisking step and just stirring with a spoon leaves streaks of salt and baking powder in the flour. This leads to salty pockets and random tall or flat spots in the final bake, because the rising power is not spread evenly.
Equipment Used:
Ingredients
- 4 cups all-purpose flour
- 2 tablespoons baking powder
- 1 teaspoon salt
Step-by-step Instructions
- 1. Measure out 4 cups of all-purpose flour and place in a large mixing bowl.
- 2. Add 2 tablespoons of baking powder to the flour.
- 3. Sprinkle 1 teaspoon of salt over the flour mixture.
- 4. Whisk all ingredients together thoroughly until well combined and aerated.
- 5. Store in an airtight container in a cool, dry place.
Trending Now

Old-Fashioned Bread Pudding
Discover the classic charm of Old-Fashioned Bread Pudding - a timeless dessert com...
View Recipe
Traditional Italian Bruschetta
Experience the authentic taste of Italian bruschetta, a perfect blend of fresh tom...
View Recipe
Classic Green Beans
Discover the timeless delight of Classic Green Beans, a simple yet flavorful side ...
View Recipe
Classic Banana Bread
Classic Banana Bread is a timeless dessert beloved for its moist texture and sweet...
View RecipeFrequently Asked Questions
- Can I use this self-rising flour in place of all-purpose flour?
- Yes, but remember it contains baking powder and salt, so you may need to adjust other ingredients in your recipe.
- How long can I store homemade self-rising flour?
- Stored in an airtight container in a cool, dry place, it should last up to 6 months.
Serving Ideas for Traditional Self-Rising Flour
Use this self-rising flour in any recipe calling for it, such as biscuits, pancakes, or quick breads. It's also perfect for light and fluffy scones. Try pairing your baked goods with homemade jam or a dollop of whipped cream for a delightful treat.
More Baking Recipes
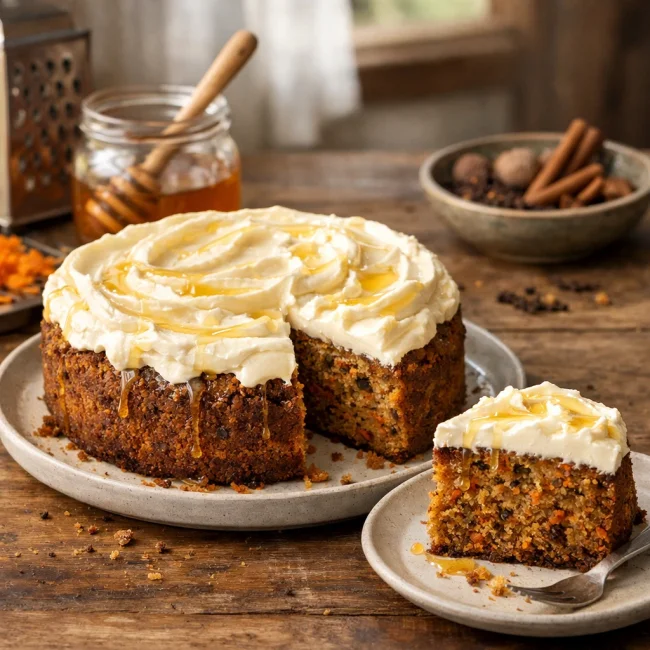
Spiced Honey Carrot Cake
Delight in the rich and moist Spiced Honey Carrot Cake that perfectly balances swe...
View Recipe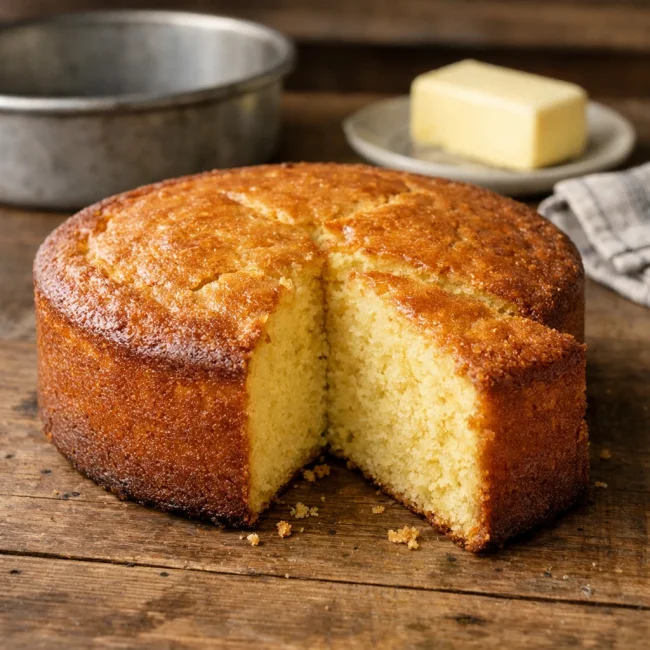
Old-Fashioned Butter Cake
A timeless classic, the Old-Fashioned Butter Cake is a rich, buttery treat perfect...
View Recipe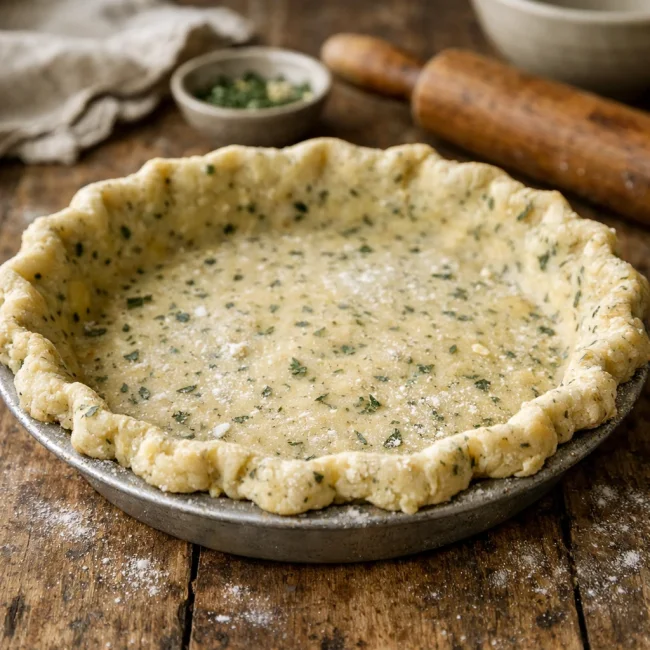
Rustic Herb Pie Crust
This Rustic Herb Pie Crust is a delightful twist on the classic pie base, infused ...
View Recipe
Traditional Key Lime Pie
Discover the rich and tangy taste of our Traditional Key Lime Pie, a classic desse...
View Recipe