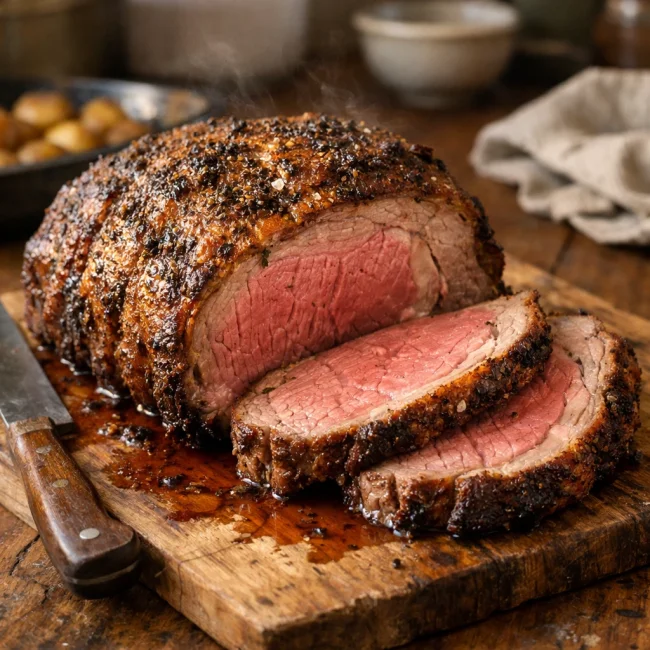
Traditional Rib Roast
If you're looking to impress at your next gathering, a traditional rib roast is a surefire way to do it. With its rich flavors and tender meat, this dish is a centerpiece worthy of any special occasion. It's not just about the taste — it's also surprisingly straightforward to prepare.

This post may contain affiliate links. As an Amazon Associate, we earn from qualifying purchases.
Ingredients for Traditional Rib Roast
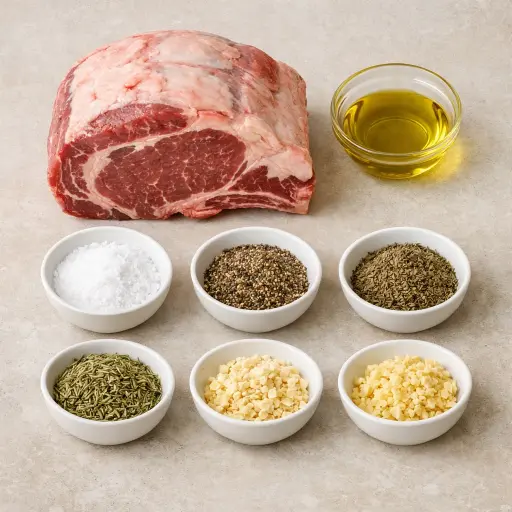
The star of the show is the standing rib roast, a cut known for its tenderness and flavor — it's what gives the dish its wow factor. Olive oil helps the seasonings adhere to the meat and adds a subtle richness. Kosher salt is a must for bringing out the natural flavors of the beef, while black pepper adds a touch of spice. Dried thyme and dried rosemary give the roast an aromatic, earthy flavor profile, and minced garlic adds a punch of savory depth.
Why This Traditional Rib Roast Works
At the start, the oven is very hot, so the outside of the rib roast browns fast. That quick blast of heat tightens the surface and forms a crust, which keeps a lot of the juices from running out early. As the temperature drops to 325°F, the heat moves slowly toward the center instead of blasting it. The inside warms up gently, so the meat stays pink and tender instead of drying out.
While it roasts, the fat in and around the meat slowly melts. That melted fat runs through the roast and keeps the inside moist. Salt on the outside pulls a little moisture up, then that salty liquid settles back into the meat as it cooks, so the seasoning doesn’t just sit on the surface. Garlic, thyme, and rosemary sit in the oil and stick to the crust, so they stay put instead of burning off.
After it comes out of the oven, resting under foil lets the hot juices calm down and spread back through the roast. That way, more juice stays in each slice instead of spilling onto the cutting board.
Traditional Rib Roast Tips & Tricks
- Use a meat thermometer to ensure precision cooking.
- Let the roast come to room temperature before cooking to ensure even doneness.
- If you prefer medium doneness, aim for an internal temperature of 130°F.
- Don’t skip the resting period — it’s crucial for juicy meat.
Mistakes To Avoid
Letting the roast stay at 450°F for too long can wreck the timing of the whole cook. The outside crust gets very dark and hard while the inside is still cold, so by the time the center finally warms up, the outer layers are dry and gray instead of rosy.
Pulling the roast based only on the clock instead of the internal temperature often leads to trouble. Ovens run hot or cool, so a fixed “about 2 hours” can give meat that is either still chewy and underdone in the middle or pushed past medium-rare and starting to dry out.
Skipping the resting time after roasting causes a big loss of juices. Cutting into it right away lets the hot liquid rush out onto the board, so the slices end up looking wet on the surface but feel dry and a little tough when eaten.
Rubbing on very little salt or only salting at the last second keeps the seasoning sitting on the outside. The crust tastes fine, but the thick center of each slice stays bland and flat, so every bite away from the edge feels a bit dull.
Equipment Used:
Ingredients
- 1 standing rib roast (6 to 7 pounds)
- 2 tablespoons olive oil
- 2 tablespoons kosher salt
- 2 teaspoons black pepper
- 1 tablespoon dried thyme
- 1 tablespoon dried rosemary
- 6 cloves of garlic, minced
Step-by-step Instructions
- 1. Preheat your oven to 450°F.
- 2. Rub the rib roast with olive oil, then season generously with salt, pepper, thyme, rosemary, and minced garlic.
- 3. Place the roast on a roasting rack in a pan, bone-side down.
- 4. Roast in the oven for 20 minutes, then reduce temperature to 325°F.
- 5. Continue roasting until an internal temperature of 120°F for medium-rare, approximately 2 hours.
- 6. Remove from oven, cover loosely with foil, and let rest for at least 20 minutes before carving.
Trending Now

Old-Fashioned Bread Pudding
Discover the classic charm of Old-Fashioned Bread Pudding - a timeless dessert com...
View Recipe
Traditional Italian Bruschetta
Experience the authentic taste of Italian bruschetta, a perfect blend of fresh tom...
View Recipe
Classic Green Beans
Discover the timeless delight of Classic Green Beans, a simple yet flavorful side ...
View Recipe
Classic Banana Bread
Classic Banana Bread is a timeless dessert beloved for its moist texture and sweet...
View RecipeFrequently Asked Questions
- Can I use fresh herbs instead of dried?
- Yes, you can. Just use double the amount of fresh herbs as they are less concentrated than dried.
- What if my roast is smaller or larger?
- Adjust the cooking time accordingly. A smaller roast will cook quicker, while a larger one will take longer. Always rely on internal temperature as your guide.
- How can I store leftovers?
- Wrap any leftovers tightly in aluminum foil and store in the refrigerator for up to 3 days. Reheat gently to avoid overcooking.
Serving Ideas for Traditional Rib Roast
This rib roast pairs beautifully with classic sides like garlic mashed potatoes and roasted vegetables. Consider serving it with a red wine reduction sauce for an elevated touch. A simple arugula salad with a lemon vinaigrette can also offer a refreshing contrast to the rich meat.
More Roasting Recipes
Classic Rib Eye Roast
A timeless rib eye roast recipe that delivers a succulent, flavorful dish perfect ...
View Recipe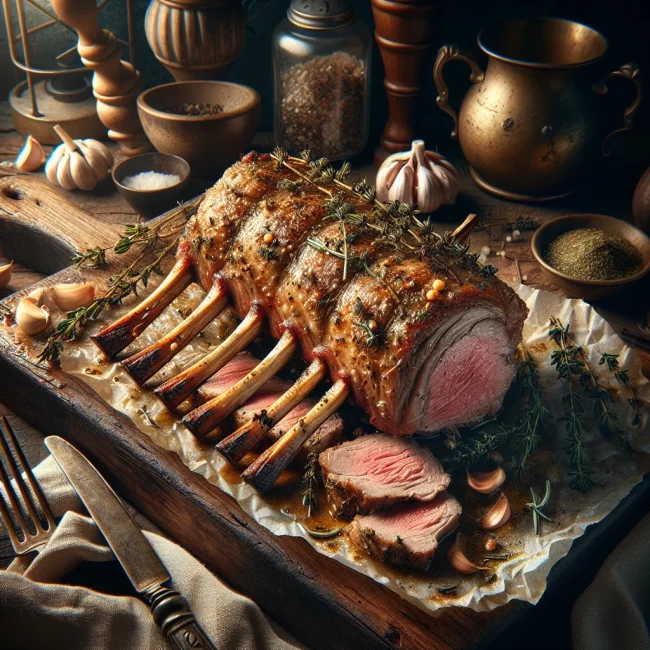
Traditional Roast Rack of Lamb
Savor the timeless delight of a perfectly roasted rack of lamb, infused with garli...
View Recipe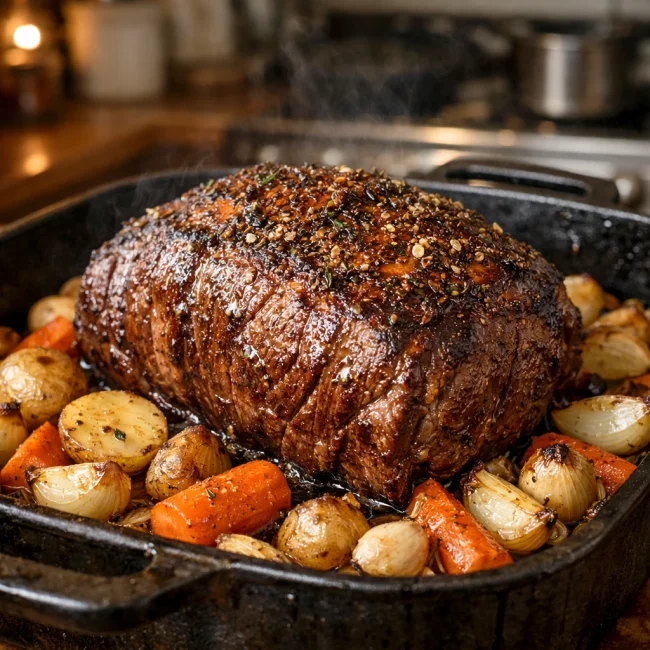
Traditional Oven Roast
A timeless oven roast recipe perfect for family gatherings, featuring tender beef,...
View Recipe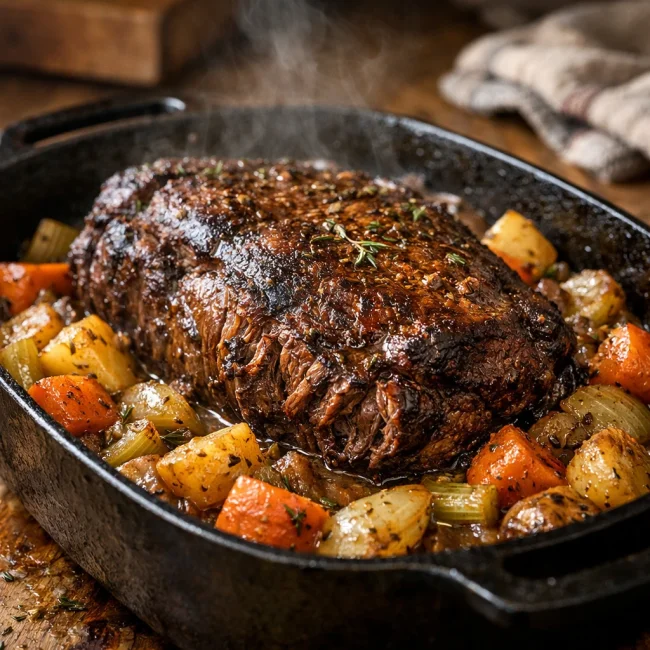
Traditional Chuck Roast
Discover the rich and hearty flavors of our Traditional Chuck Roast, perfect for a...
View Recipe