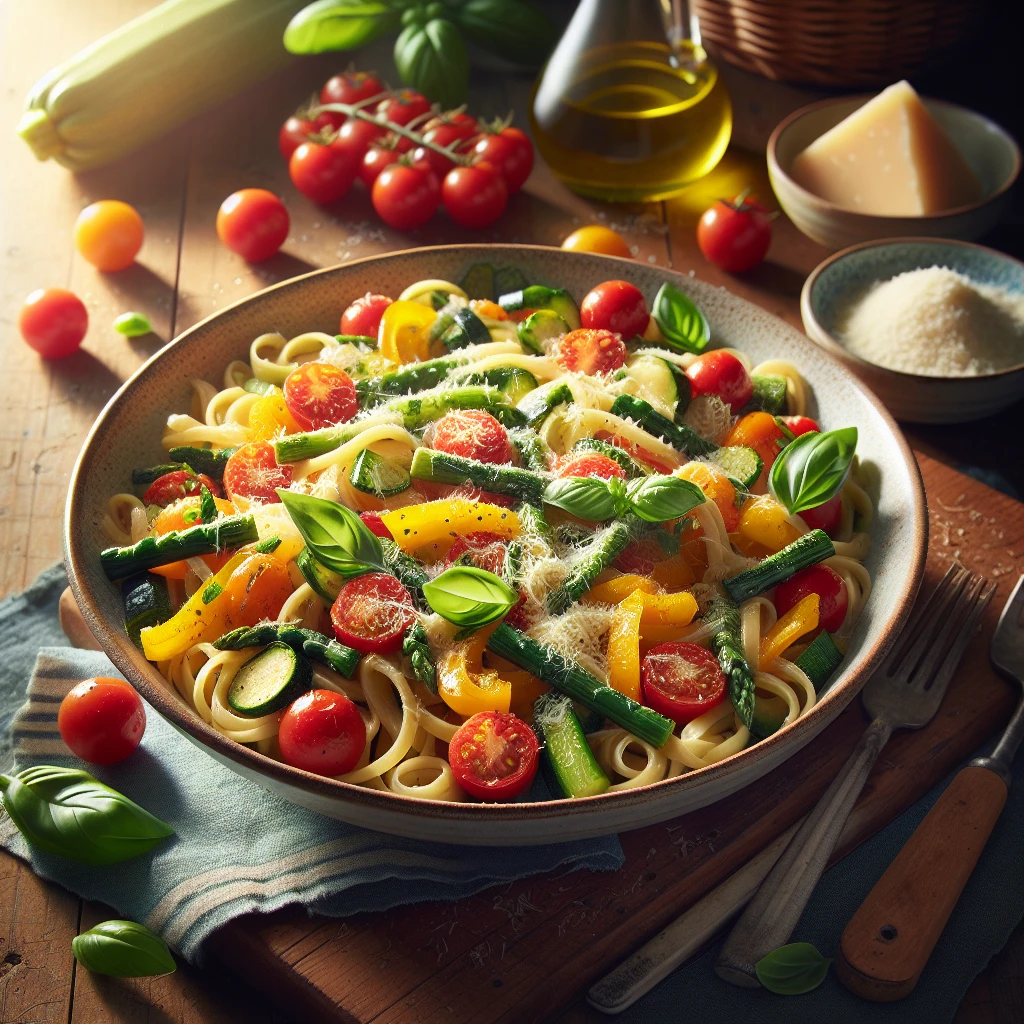
Traditional Pasta Primavera
Traditional Pasta Primavera is your go-to dish when you want something vibrant, fresh, and packed with veggies. It's a celebration of colorful produce, making it perfect for any season when you're craving something light yet satisfying.
This post may contain affiliate links. As an Amazon Associate, we earn from qualifying purchases.
Ingredients for Traditional Pasta Primavera
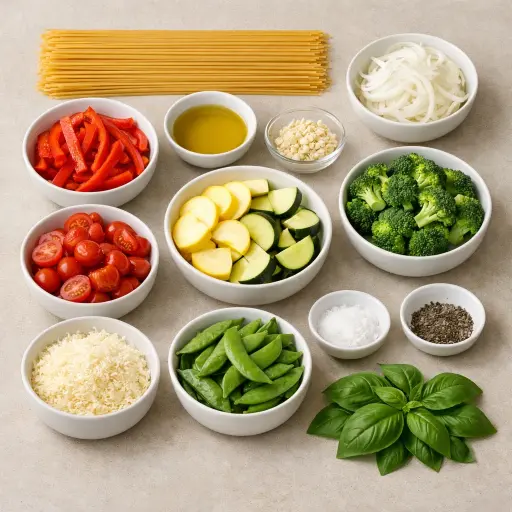
Spaghetti serves as the base of this dish, absorbing the flavors of the veggies and sauce beautifully. Olive oil adds a lovely richness and helps sauté the vegetables. Onion and garlic provide a flavorful aromatic base. Red bell pepper offers a sweet crunch, while yellow squash and zucchini add a tender texture. Cherry tomatoes bring a juicy sweetness, and broccoli and snap peas add a pop of green and a bit of bite. Finally, Parmesan cheese ties everything together with a savory, nutty finish.
Why This Traditional Pasta Primavera Works
During cooking, the vegetables all soften at slightly different times, which is why they go into the pan in stages. Onions and garlic go first so they can lose their sharp bite and turn sweet and tender. Once the bell pepper, squash, zucchini, and broccoli hit the hot oil, their edges start to soften, but they still keep a bit of crunch because they are not cooked for very long.
After a few minutes, the cherry tomatoes and snap peas go in. They only need a short time, so they warm through and loosen up without turning mushy. By the time the pasta is tossed in, the vegetables are just tender and still hold their shape. The hot spaghetti carries some starchy water on its surface, which clings to the oil and vegetable juices and makes a light coating instead of a watery one. Parmesan melts over everything and sticks to the pasta strands, so the cheese, oil, and vegetable juices form a thin, silky layer that ties the whole dish together.
Traditional Pasta Primavera Tips & Tricks
- Cook the pasta just shy of al dente; it will continue cooking when mixed with the hot vegetables.
- If you prefer a saucier dish, reserve a cup of pasta water to add to the skillet for a creamier texture.
- For more protein, consider adding grilled chicken or shrimp.
Mistakes To Avoid
Letting the vegetables cook until fully soft in the pan turns the dish heavy and mushy. The squash, zucchini, and broccoli start to break down, release water, and lose their bite. In the final bowl, the pasta sits in a slightly watery mix with limp vegetables instead of a light, springy mix of firm pieces.
Adding the cherry tomatoes and snap peas too early causes them to collapse and wrinkle. The tomatoes leak a lot of juice and the snap peas lose their crunch. The finished pasta then has dull, soft bits instead of bright, juicy pops and crisp peas.
Cooking the pasta past al dente makes it swell and go soft when tossed with the hot vegetables. As it sits, the overcooked spaghetti keeps soaking up moisture and can start to clump. On the plate, the strands stick together and feel heavy instead of springy and separate.
Throwing the Parmesan into a very hot, dry pan can make it clump and stick to the bottom instead of coating the pasta. The cheese forms little gummy patches and leaves some bites bland. The final dish looks uneven, with some cheesy lumps and some plain noodles.
Equipment Used:
Ingredients
- 12 oz spaghetti
- 2 tbsp olive oil
- 1 medium onion, thinly sliced
- 2 cloves garlic, minced
- 1 red bell pepper, thinly sliced
- 1 yellow squash, sliced into half-moons
- 1 zucchini, sliced into half-moons
- 1 cup cherry tomatoes, halved
- 1 cup broccoli florets
- 1 cup snap peas
- 1/2 cup grated Parmesan cheese
- Salt and pepper to taste
- Fresh basil leaves for garnish
Step-by-step Instructions
- 1. Cook the spaghetti according to package instructions until al dente, then drain and set aside.
- 2. In a large skillet, heat olive oil over medium heat. Add the onions and garlic, sautéing until the onions are translucent.
- 3. Add the bell pepper, yellow squash, zucchini, and broccoli to the skillet, cooking until just tender, about 5 minutes.
- 4. Stir in the cherry tomatoes and snap peas, cooking for an additional 2 minutes.
- 5. Add the cooked spaghetti to the skillet, tossing to combine with the vegetables.
- 6. Sprinkle the Parmesan cheese over the pasta and season with salt and pepper to taste.
- 7. Garnish with fresh basil leaves before serving.
Trending Now
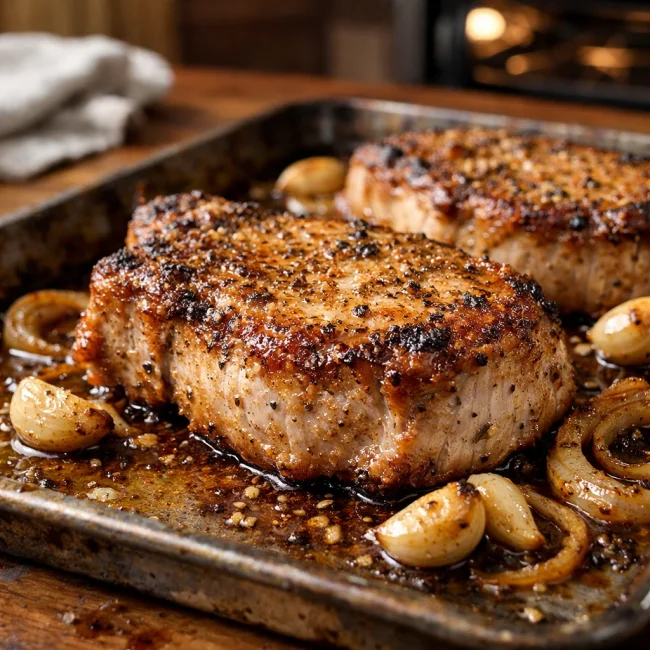
Oven-Baked Pork Chops
Enjoy a delightful dinner with these tender and juicy oven-baked pork chops, seaso...
View Recipe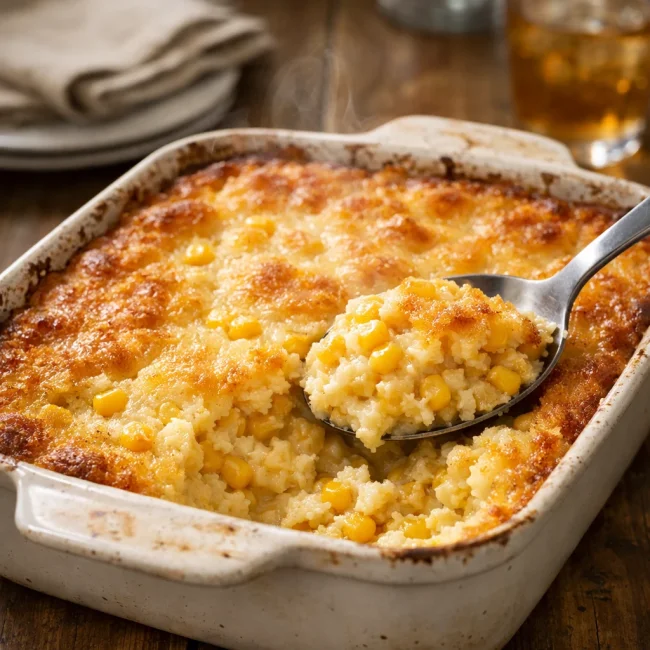
Traditional Corn Casserole
A delightful corn casserole dish that embodies the comforting flavors of sweet cor...
View Recipe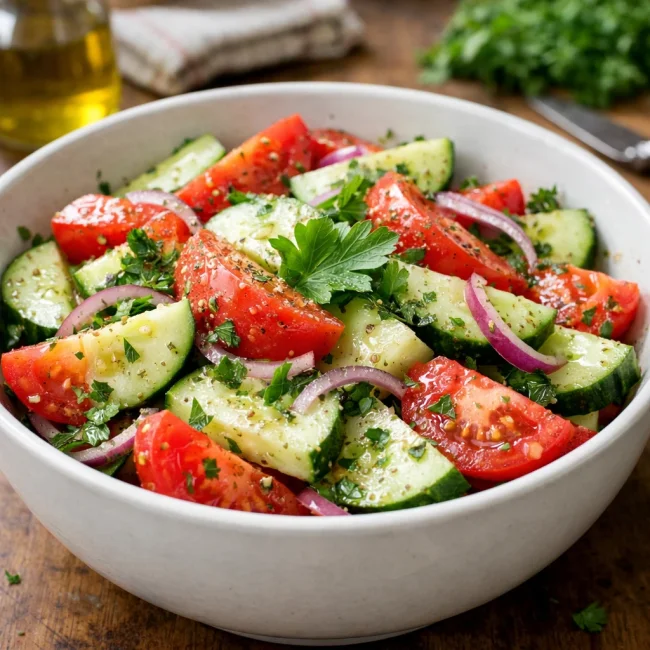
Traditional Cucumber and Tomato Salad
A refreshing and simple salad combining crisp cucumbers and juicy tomatoes, season...
View Recipe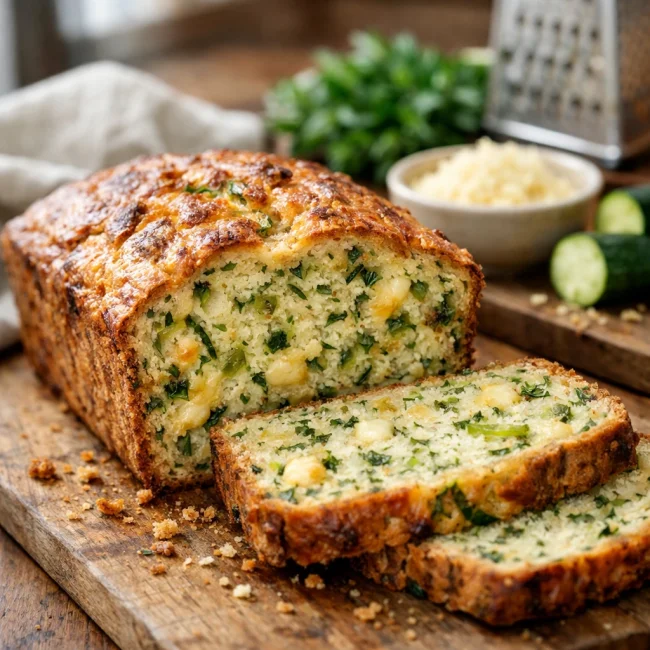
Savory Zucchini Bread
Savory Zucchini Bread is a delectable twist on traditional zucchini recipes, combi...
View RecipeFrequently Asked Questions
- Can I use other types of pasta?
- Absolutely! Feel free to use penne, fusilli, or any pasta you prefer.
- Is this dish vegetarian?
- Yes, it is! Just ensure your Parmesan is vegetarian-friendly if that's a concern.
- How do I store leftovers?
- Store in an airtight container in the refrigerator for up to 3 days. Reheat gently in a skillet with a splash of water or broth.
Serving Ideas for Traditional Pasta Primavera
Serve this Pasta Primavera with a side of garlic bread or a simple green salad with a light vinaigrette. A chilled glass of white wine like Sauvignon Blanc or Pinot Grigio complements the dish nicely, enhancing the fresh flavors of the vegetables.
More Pasta Recipes
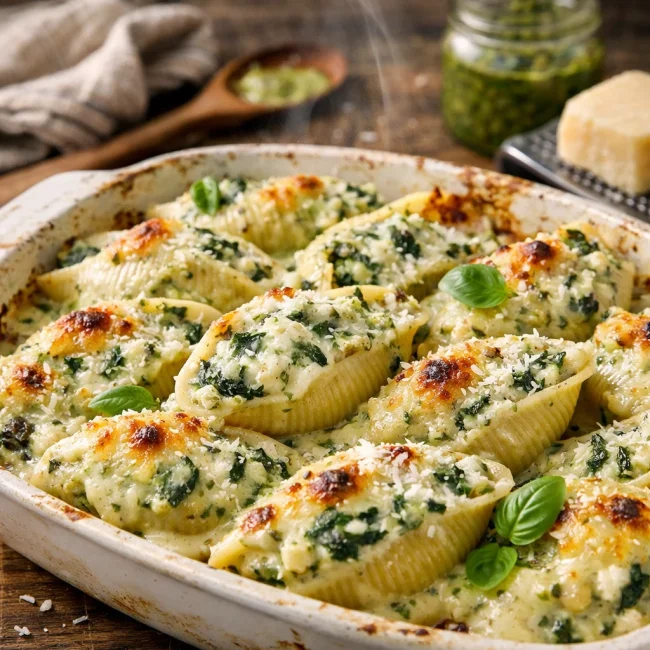
Spinach and Ricotta Stuffed Shells with Pesto Alfredo
Try this delicious twist on classic stuffed shells with a creamy pesto Alfredo sau...
View Recipe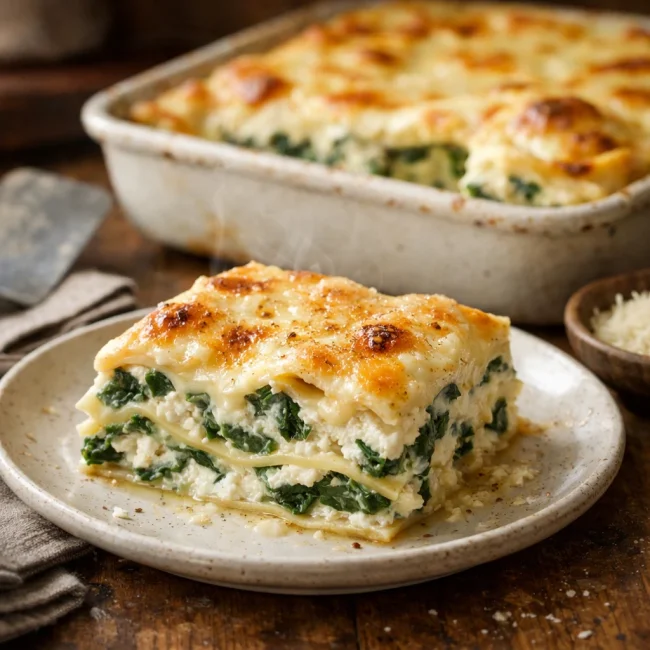
Spinach and Ricotta White Lasagna
A unique twist on the classic lasagna, this white lasagna combines creamy ricotta,...
View Recipe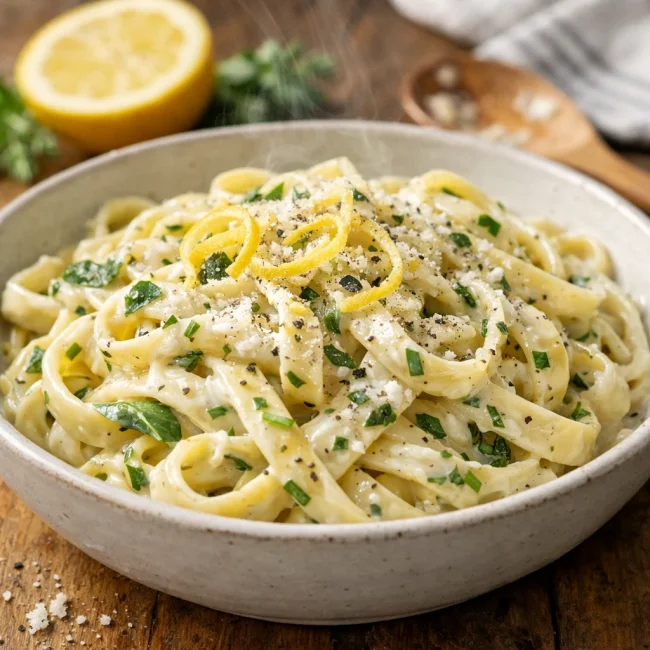
Lemon Herb Fettuccine Alfredo
Lemon Herb Fettuccine Alfredo is a refreshing twist on the classic dish, combining...
View Recipe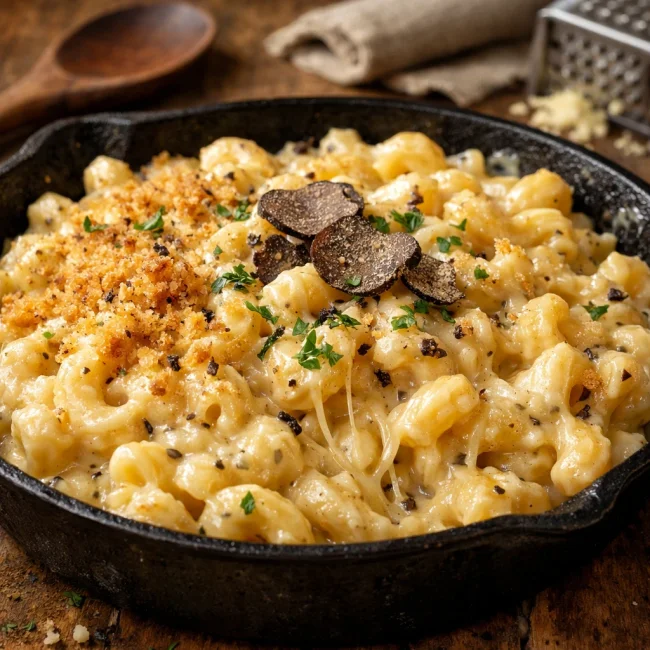
Truffle Mac and Cheese
Experience the ultimate comfort food with a gourmet twist in this Truffle Mac and ...
View Recipe