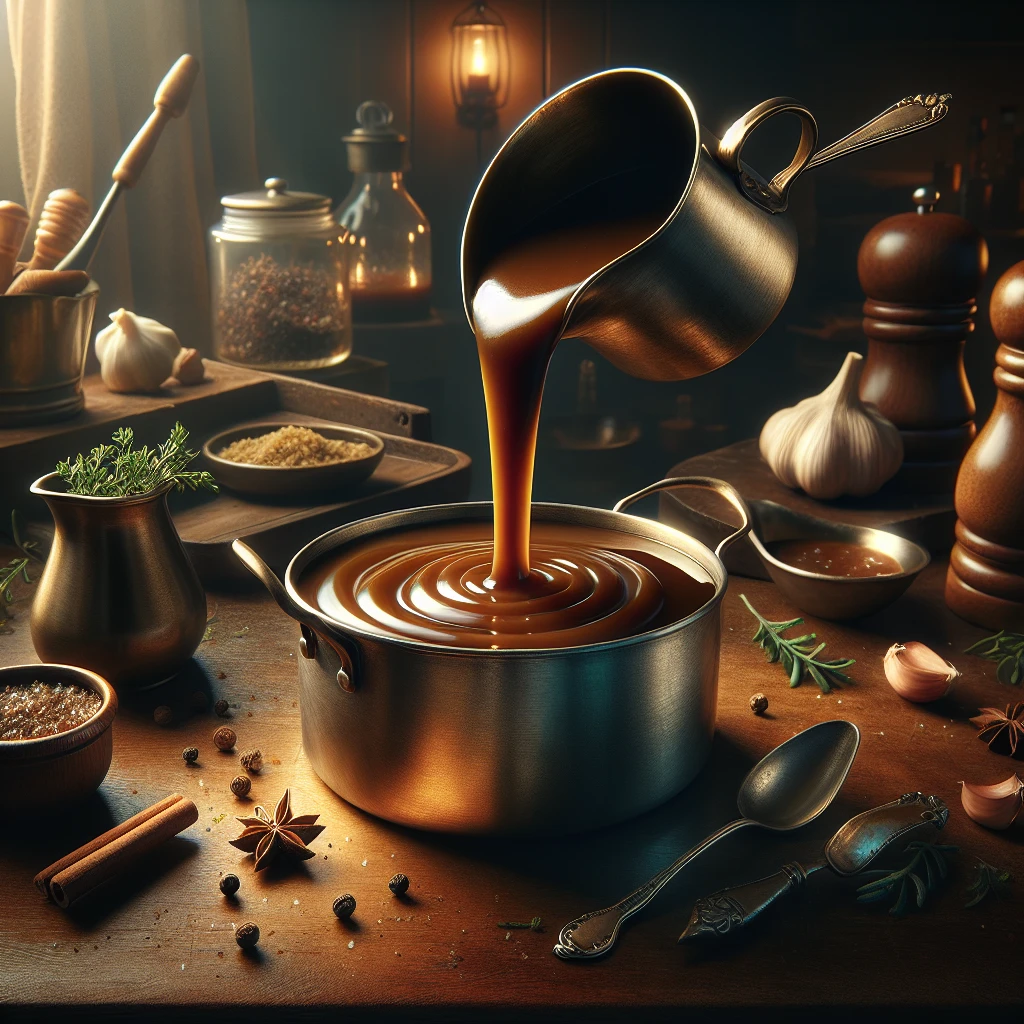
Traditional Pan Gravy
This traditional pan gravy is a classic staple that adds a rich, savory finish to any meal. It's quick to whip up and the perfect accompaniment to your favorite roasted meats. Whether you're a gravy novice or seasoned pro, this recipe will become a go-to in your kitchen.
This post may contain affiliate links. As an Amazon Associate, we earn from qualifying purchases.
Ingredients for Traditional Pan Gravy

The base of this gravy starts with unsalted butter, which gives it a rich, creamy texture without overwhelming the flavor. By using all-purpose flour, we create a roux that thickens the gravy to just the right consistency. The choice of chicken or beef stock allows you to match the gravy to whatever roast you're serving, adding depth and savory notes. A touch of salt and black pepper brings balance and enhances the taste. If you have them, drippings from roast are optional but highly recommended for an extra layer of flavor that ties the gravy to your main dish.
Why This Traditional Pan Gravy Works
As the butter melts in the pan, it coats every bit of flour. Once they are whisked together and cooked for a few minutes, the flour starts to change. It loses that raw, pasty taste and turns a light golden color. At this point the flour is ready to grab onto liquid and hold it. That’s why the pan needs steady whisking right here, so the flour stays smooth and doesn’t clump.
When the stock is poured in slowly, the coated flour soaks it up and begins to swell. With constant whisking, the stock and flour stay mixed instead of separating. As the pan comes up to a simmer, the heat makes the flour swell even more, and the gravy thickens instead of staying watery. A few more minutes on the heat lets it smooth out and even out in texture. Any roast drippings stirred in spread through the gravy, so all that browned, meaty taste is carried in every spoonful.
Traditional Pan Gravy Tips & Tricks
- For a gluten-free version, substitute all-purpose flour with a gluten-free flour blend.
- If your gravy is too thick, thin it out with a bit more stock or water.
- To avoid lumps, always add the stock gradually while whisking.
- Use a whisk instead of a spoon for smoother results.
Mistakes To Avoid
Letting the butter and flour sit without whisking can make the roux cook unevenly. Some spots brown too fast while others stay pale, so the gravy ends up with tiny burnt bits and a slightly gritty texture instead of being smooth.
When the stock is dumped in all at once, the hot roux grabs it and forms thick clumps. Those lumps are hard to break up, even with strong whisking, and the gravy stays bumpy instead of silky.
Using very high heat once the liquid is in often makes the gravy thicken too fast and catch on the bottom of the pan. The result is a sauce that tastes slightly scorched in places and can turn pasty instead of pourable.
Skipping the simmer time leaves the flour only half cooked. The gravy might look thick enough, but it keeps a faint raw flour feel on the tongue and doesn’t coat meat as smoothly.
Adding a lot of salt before the gravy has reduced can backfire. As it simmers and thickens, the seasoning concentrates and the final gravy can end up harsh and too salty.
Equipment Used:
Ingredients
- 2 tbsp unsalted butter
- 2 tbsp all-purpose flour
- 2 cups chicken or beef stock
- 1/4 tsp salt
- 1/4 tsp black pepper
- Optional: 1/4 cup drippings from roast
Step-by-step Instructions
- 1. In a saucepan, melt the butter over medium heat.
- 2. Add the flour and whisk continuously for 2-3 minutes until a golden roux forms.
- 3. Gradually pour in the stock, whisking constantly to prevent lumps.
- 4. Bring the mixture to a simmer and let it thicken for about 5-7 minutes.
- 5. Season with salt and pepper to taste.
- 6. Optional: Add roast drippings for enhanced flavor. Stir well.
- 7. Remove from heat and strain if desired for a smoother texture.
Trending Now

Zesty Summer Squash Casserole
This delightful summer squash casserole combines vibrant garden-fresh vegetables w...
View Recipe
Classic Cucumber Salad
A refreshing and light cucumber salad featuring crisp cucumbers and a tangy vinaig...
View Recipe
Classic Banana Bread
Classic Banana Bread is a timeless dessert beloved for its moist texture and sweet...
View Recipe
Traditional Dump Cake
Discover the timeless delight of the Traditional Dump Cake, a simple and scrumptio...
View RecipeFrequently Asked Questions
- Can I make this gravy in advance?
- Yes, you can make it a day ahead and reheat gently on the stove, stirring in a splash of stock if it thickens too much.
- What if I don’t have drippings?
- No worries, the gravy will still be delicious without them. The stock provides plenty of flavor on its own.
- Can I use salted butter?
- You can, but start with less salt and adjust to taste at the end.
Serving Ideas for Traditional Pan Gravy
This pan gravy is a natural partner for roasted chicken, turkey, or beef. It’s also fantastic drizzled over mashed potatoes or stuffing. If you’re feeling adventurous, try it as a savory topping for a breakfast biscuit or an open-faced sandwich.
More Side Dishes Recipes
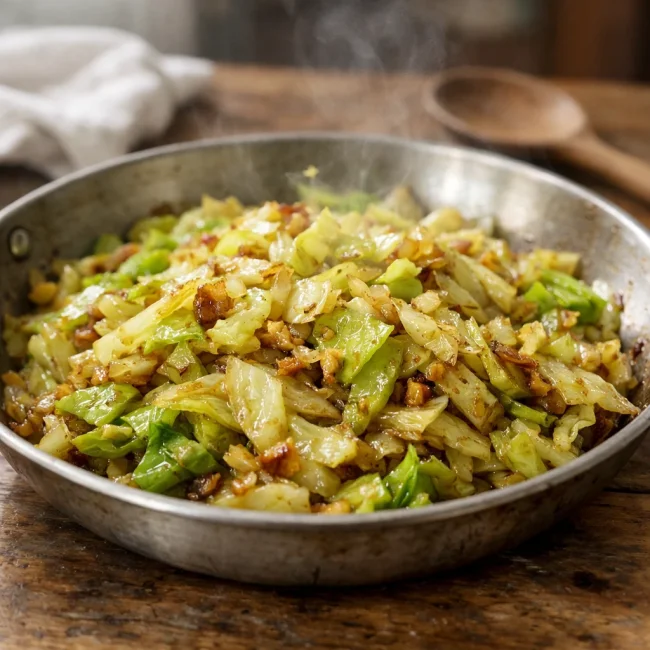
Savory Sautéed Cabbage
This savory sautéed cabbage dish brings out the natural sweetness and crispness of...
View Recipe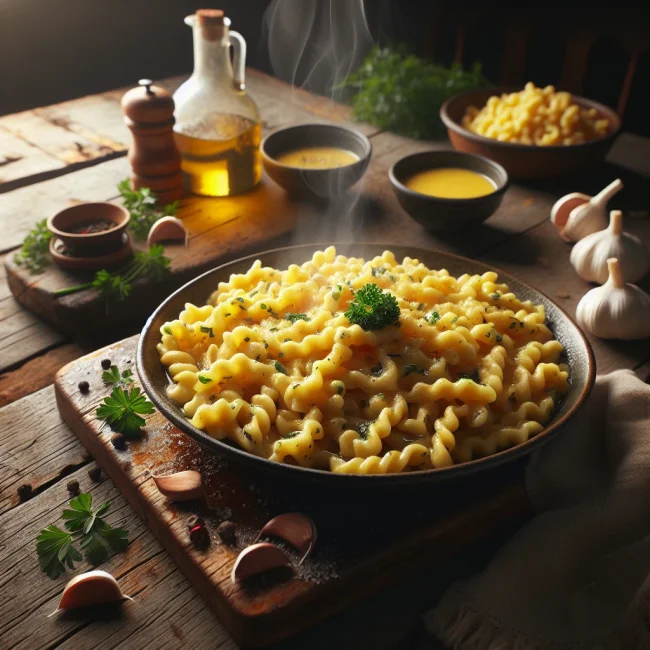
Herbed Spaetzle with Garlic Butter
Discover the delightful twist on traditional German Spaetzle with this easy-to-mak...
View Recipe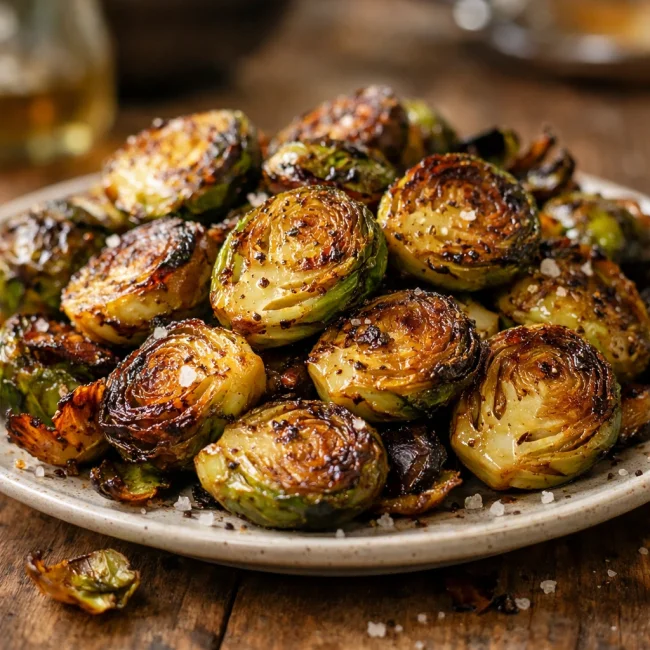
Golden Crispy Brussels Sprouts
Delight in the golden perfection of these crispy Brussels sprouts, a delightful si...
View Recipe
Marjoram-Seasoned Roasted Vegetables
Marjoram-Seasoned Roasted Vegetables bring a delightful floral note to roasted zuc...
View Recipe