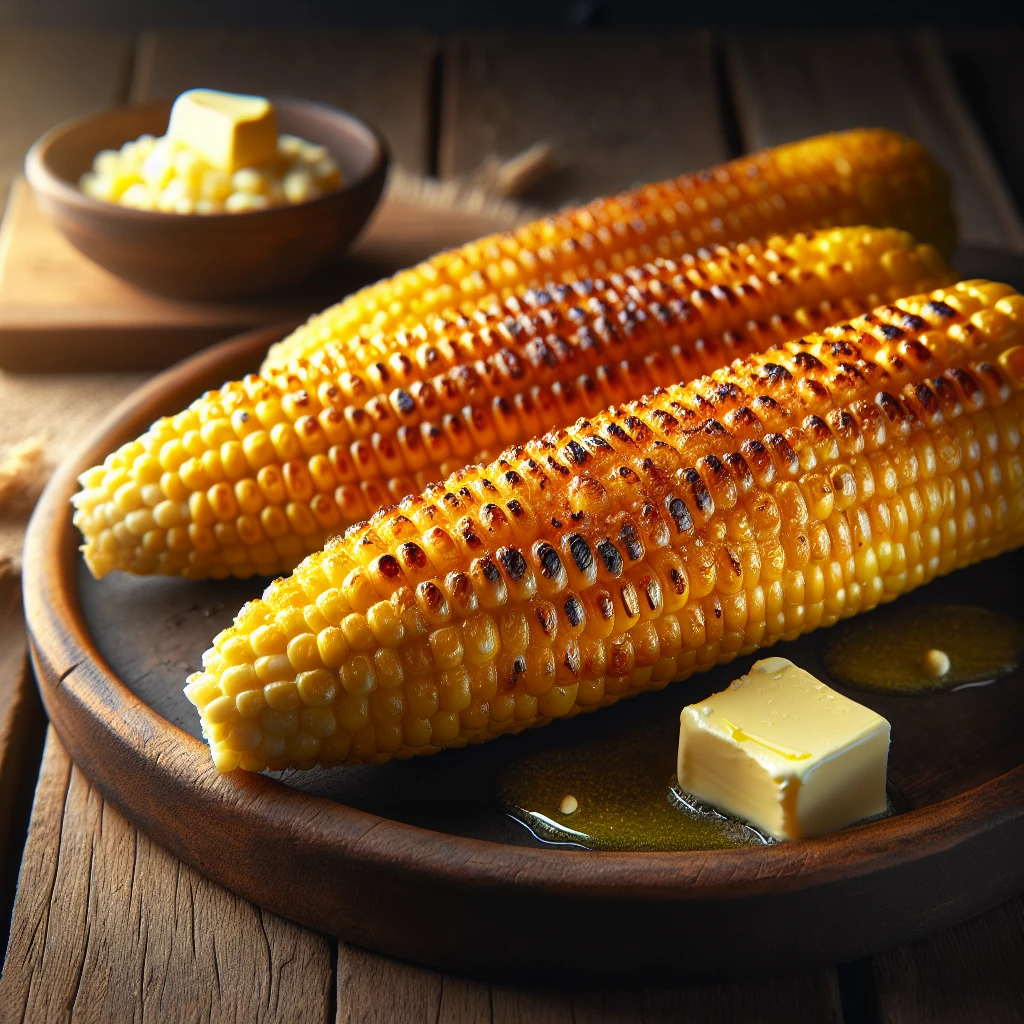
Traditional Oven Roasted Corn on the Cob
If you love the sweet, golden taste of corn on the cob, this traditional oven-roasted method is going to be your new go-to. It's perfect for when grilling isn't an option, and it brings out the natural sweetness of the corn, making it a delightful side for any meal.
This post may contain affiliate links. As an Amazon Associate, we earn from qualifying purchases.
Ingredients for Traditional Oven Roasted Corn on the Cob
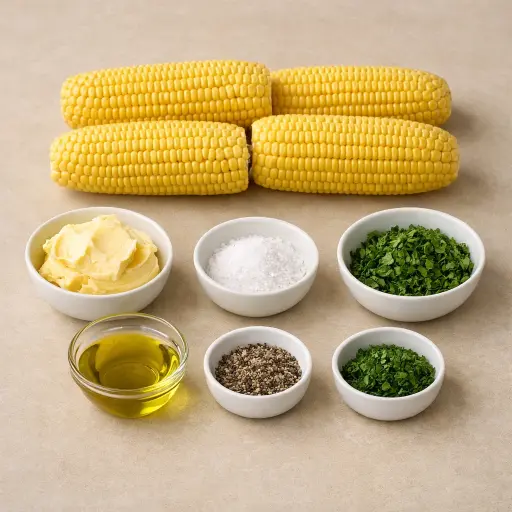
The star of the show is, of course, the corn. Fresh, in-season corn works best, but this method can elevate even those off-season finds. The butter melts into the corn, adding a rich, creamy layer of flavor. A touch of salt and black pepper helps to enhance the taste, while a drizzle of olive oil ensures they stay moist and juicy. If you're feeling fancy, a sprinkle of parsley adds a pop of color and a hint of freshness.
Why This Traditional Oven Roasted Corn on the Cob Works
In the oven, the corn sits wrapped in foil with butter and a little oil, so it basically steams in its own moisture instead of drying out. As it heats up, the kernels swell and soften, but the foil keeps the steam trapped close to the corn, so the juices stay inside each kernel instead of leaking out and burning on a pan. The butter melts and coats every side, sliding into the spaces between the kernels, so each bite stays tender and tastes rich instead of watery.
Over time, the steady 400°F heat cooks the corn all the way to the center without blasting the outside. Salt and pepper stick to the melted butter and oil, so they don’t fall off and end up on the foil. By the time the foil is opened, the corn is hot, juicy, and evenly cooked, with soft, plump kernels that don’t shrivel. A little parsley on top at the end just adds a fresh note against all that warm, buttery corn.
Traditional Oven Roasted Corn on the Cob Tips & Tricks
- Use fresh corn for the best flavor and texture.
- If you're in a rush, you can prep the corn ahead of time and store it in the fridge until ready to roast.
- For a bit of a kick, sprinkle some chili powder along with the salt and pepper.
Mistakes To Avoid
Letting the corn roast much longer than 35 minutes makes the kernels shrivel and toughen. The moisture inside cooks off and the sugar in the corn starts to dry out on the surface. The result is chewy, wrinkled corn that feels dry even with all the butter.
Leaving the foil loosely wrapped or with gaps lets steam escape. Instead of steaming gently inside the packet, the corn dries out in spots and cooks unevenly, with some kernels soft and others still firm. The butter can also leak out onto the pan, so the corn ends up less juicy.
Putting the corn straight on the oven rack without a baking sheet can cause problems. Any butter and oil that drip off hit the hot oven floor, burn, and smoke. The kitchen fills with a burnt smell, and the corn can pick up that harsh, smoky note instead of a clean roasted taste.
Starting with cold, hard butter makes it hard to coat the corn evenly. Clumps of butter sit in a few places while other parts stay bare. Those bare spots roast up drier and firmer, while the buttery patches turn out much softer.
Equipment Used:
Ingredients
- 4 ears of corn, husks removed
- 1/2 cup unsalted butter, softened
- 1 tsp salt
- 1/2 tsp black pepper
- 1 tbsp olive oil
- 1 tbsp chopped fresh parsley (optional)
Step-by-step Instructions
- 1. Preheat your oven to 400°F (200°C).
- 2. Remove the husks and silk from the corn and place the ears on a large piece of aluminum foil.
- 3. Rub each ear of corn with softened butter, ensuring even coverage.
- 4. Sprinkle salt and black pepper over the corn, then drizzle with olive oil for added moisture.
- 5. Wrap the corn tightly in the foil, sealing the edges to prevent steam from escaping.
- 6. Place the foil-wrapped corn on a baking sheet and roast in the preheated oven for 30-35 minutes, turning occasionally for even cooking.
- 7. Carefully unwrap the foil (caution: hot steam) and garnish with fresh parsley before serving, if desired.
Trending Now

Old-Fashioned Bread Pudding
Discover the classic charm of Old-Fashioned Bread Pudding - a timeless dessert com...
View Recipe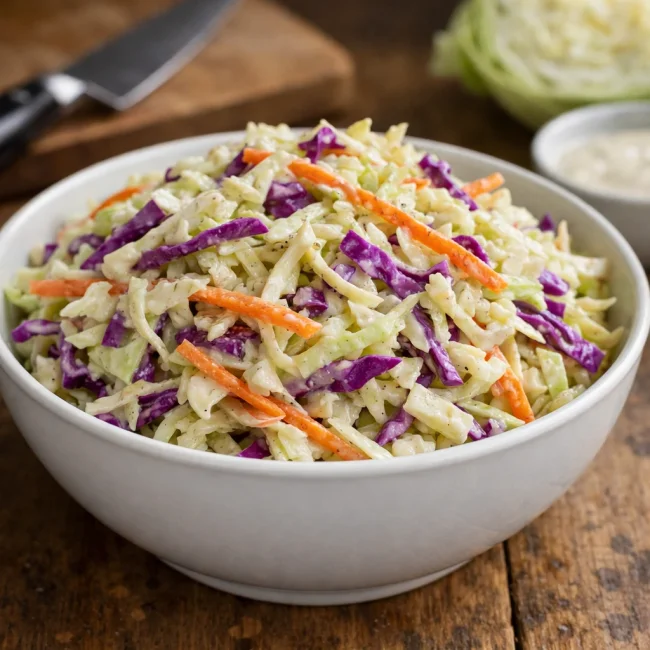
Traditional Crisp Coleslaw
A classic coleslaw recipe featuring finely shredded cabbage and carrots tossed in ...
View Recipe
Traditional Italian Bruschetta
Experience the authentic taste of Italian bruschetta, a perfect blend of fresh tom...
View Recipe
Classic Banana Bread
Classic Banana Bread is a timeless dessert beloved for its moist texture and sweet...
View RecipeFrequently Asked Questions
- Can I use frozen corn?
- Yes, you can use frozen corn, but make sure to thaw it completely and pat it dry before preparing.
- What if I don't have foil?
- In a pinch, you can use a baking dish with a lid. Just make sure it’s tightly covered to keep the steam in.
Serving Ideas for Traditional Oven Roasted Corn on the Cob
This roasted corn is a fantastic side for a summer BBQ or a cozy winter dinner. Pair it with grilled chicken, steak, or even a hearty vegetable stew for a complete meal. A squeeze of lime on top just before serving can also add a refreshing twist.
More Side Dishes, Roasting, Vegetarian Recipes

Heritage Roast Potatoes
Discover the timeless flavor of our Heritage Roast Potatoes, a quintessential side...
View Recipe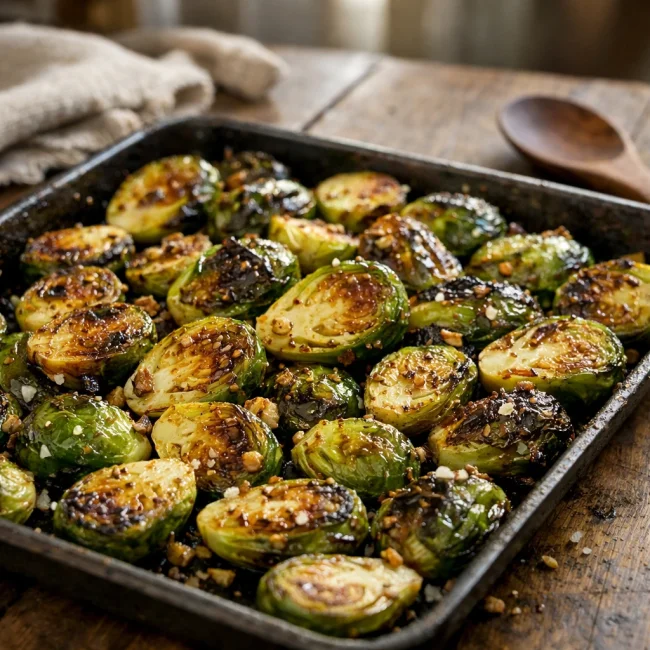
Traditional Roasted Brussels Sprouts
Discover the delightful flavor of roasted Brussels sprouts, a simple yet elegant s...
View Recipe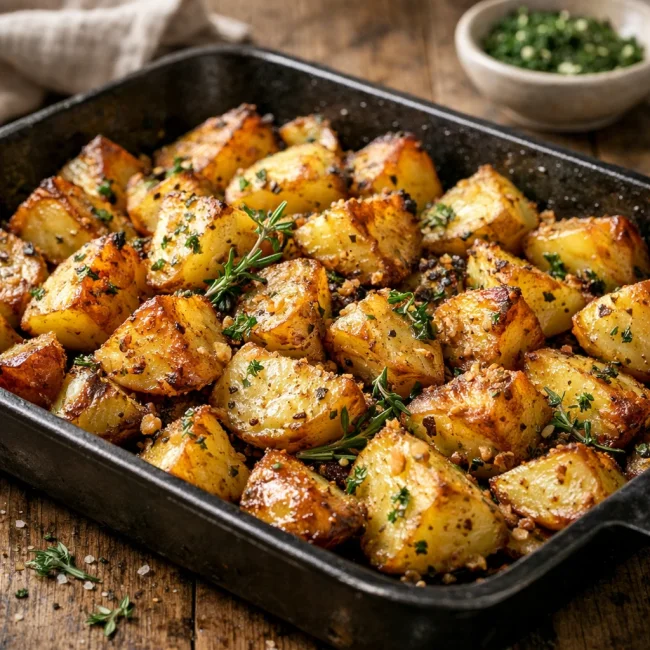
Golden Herb-Roasted Potatoes
Experience the perfect balance of crispy and tender with these golden herb-roasted...
View Recipe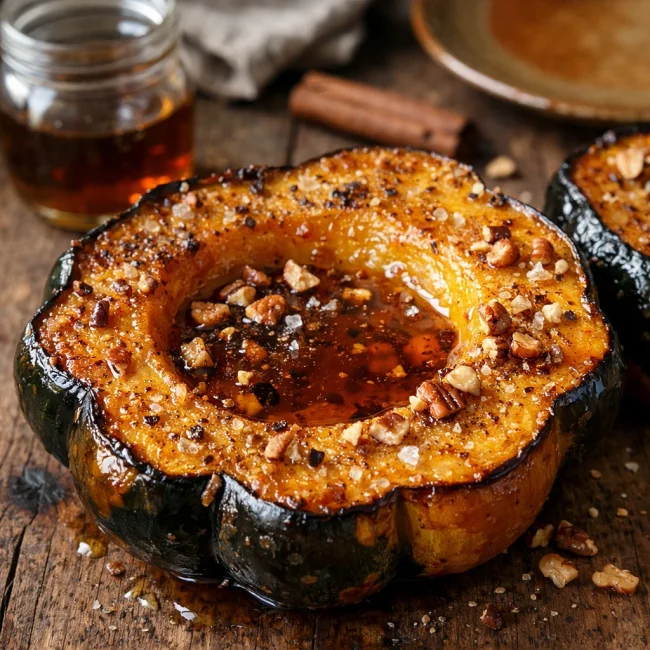
Spiced Maple Roasted Acorn Squash
Delight in the warm, sweet, and spicy flavors of Spiced Maple Roasted Acorn Squash...
View Recipe