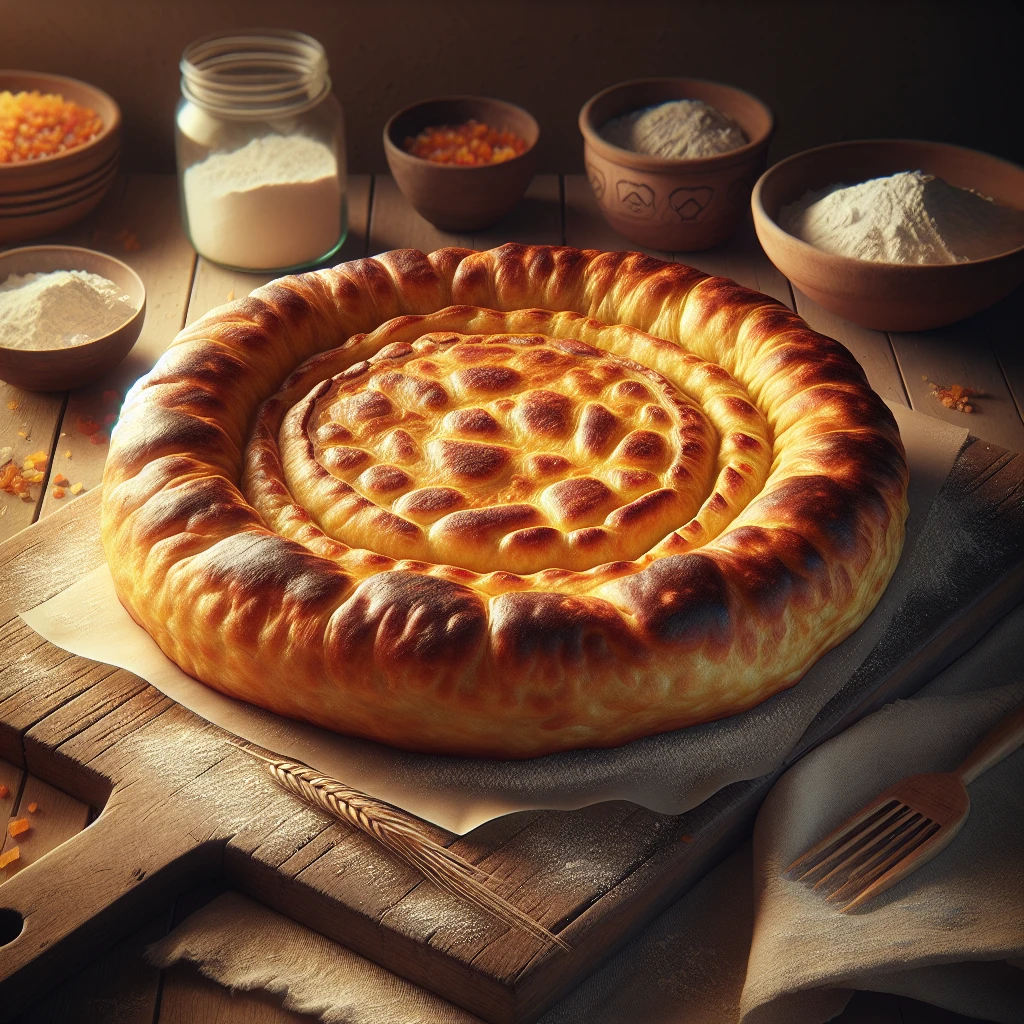
Traditional Navajo Fry Bread
Traditional Navajo Fry Bread is a simple yet deeply satisfying dish that brings a taste of Native American heritage to your kitchen. With a crispy outside and soft, chewy inside, it's perfect for a hearty snack or as a versatile base for various toppings.
This post may contain affiliate links. As an Amazon Associate, we earn from qualifying purchases.
Ingredients for Traditional Navajo Fry Bread
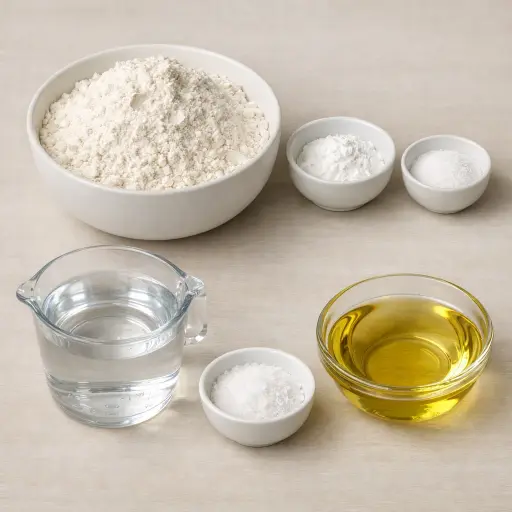
Flour is the foundation of our fry bread, giving it structure and substance. We use all-purpose flour for a balance of texture and flavor. Baking powder acts as the leavening agent, making the bread puff up as it fries. Just a tablespoon is enough to get that light, airy feel. Salt enhances the overall flavor of the bread, giving it just the right amount of savory goodness. Warm water helps activate the baking powder and brings the dough together smoothly. Lastly, the vegetable oil is essential for frying, giving the bread its signature crispy texture.
Why This Traditional Navajo Fry Bread Works
As the flour, baking powder, salt, and warm water come together, the dough starts out a little rough and shaggy. With a few minutes of kneading, the flour soaks up the water evenly and the dough becomes smooth and stretchy. That stretch means the dough can trap little pockets of air later on. While the dough rests under the damp cloth, it relaxes. The gluten that was tightened up from kneading loosens a bit, so the dough is easier to shape and doesn’t spring back as much.
Once the discs of dough hit the hot oil, the water inside them starts to turn to steam. That steam pushes out and puffs the bread, while the outside touches the oil and browns. In just a couple of minutes, the outside firms up into a light, crisp shell, and the inside stays soft and a little chewy. By the time the fry bread comes out to drain, it has that mix of puff, chew, and crunch that makes it so good.
Traditional Navajo Fry Bread Tips & Tricks
- Control the oil temperature by adjusting the heat to prevent burning.
- For even cooking, avoid overcrowding the skillet.
- If the dough sticks to your hands, sprinkle a little flour on your hands or the dough.
- Resting the dough is key to achieving a soft texture, so don't skip it.
Mistakes To Avoid
Letting the dough stay too wet or too dry throws everything off. When it’s too sticky, extra flour gets worked in later while kneading, and the bread turns heavy and tough instead of light. When it’s too dry and crumbly, it doesn’t puff in the oil and comes out hard and flat.
Skipping the resting time or cutting it very short keeps the gluten tight. The dough then fights back when it’s flattened, shrinking and tearing. In the oil, those tight discs don’t puff well and end up chewy instead of soft inside.
Heating the oil too hot causes the outside to brown almost instantly while the inside stays doughy. The bread looks done but feels raw and gummy in the center, and the outside can taste scorched.
On the other hand, frying in oil that’s not hot enough makes the dough sit and soak up fat. The bread turns pale, greasy, and heavy, with very little puff.
Rolling the discs too thick or too thin changes the texture. Very thick pieces stay dense in the middle, while very thin ones crisp up like crackers and lose the soft, pillowy center.
Equipment Used:
Ingredients
- 4 cups all-purpose flour
- 1 tablespoon baking powder
- 1 teaspoon salt
- 1 1/2 cups warm water
- Vegetable oil, for frying
Step-by-step Instructions
- 1. In a large bowl, combine flour, baking powder, and salt.
- 2. Gradually add warm water, mixing with a fork or your hands, until a dough forms.
- 3. Knead the dough on a floured surface until smooth and elastic, about 5 minutes.
- 4. Cover the dough with a damp cloth and let it rest for 30 minutes.
- 5. Divide the dough into 8 equal pieces and shape each into a ball.
- 6. Flatten each ball into a round disc about 1/4 inch thick.
- 7. Heat about 1 inch of vegetable oil in a deep skillet over medium-high heat.
- 8. Fry each dough disc until golden brown and puffed, about 2-3 minutes per side.
- 9. Drain fry bread on paper towels and serve warm.
Trending Now
Golden Fried Yellow Squash
Experience the delightful taste of golden fried yellow squash, a quintessential So...
View Recipe
Homemade Apple Pie
Classic homemade apple pie with a buttery crust and cinnamon-spiced filling, perfe...
View Recipe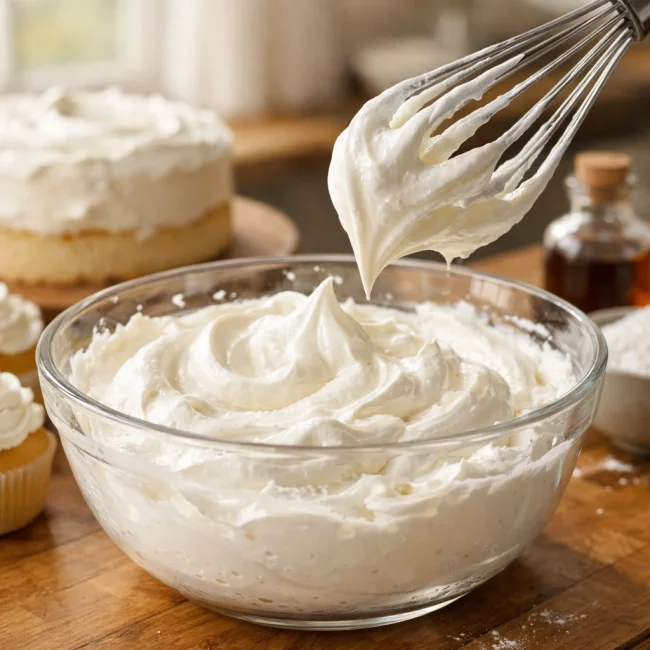
Traditional Whipped Cream Frosting
A rich and creamy whipped cream frosting perfect for topping cakes, cupcakes, and ...
View Recipe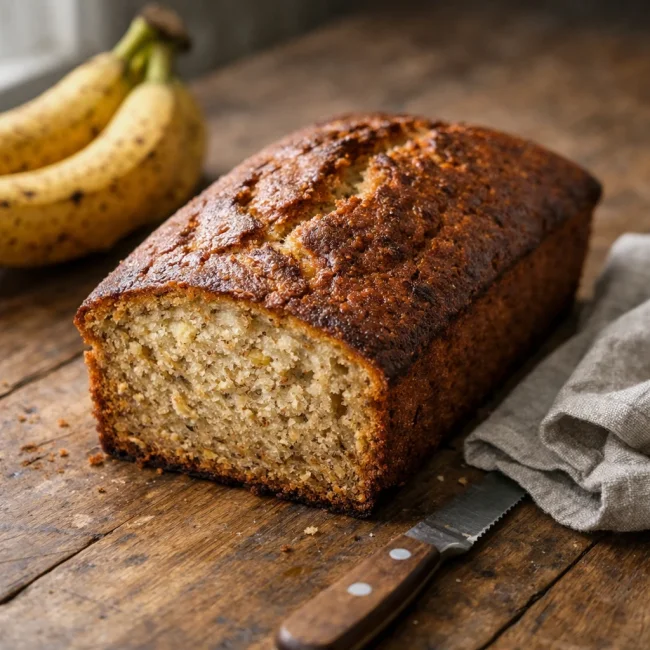
Moist Banana Loaf
Discover the timeless charm of our Moist Banana Loaf, a luscious and tender treat ...
View RecipeFrequently Asked Questions
- Can I make the dough ahead of time?
- Yes, you can prepare the dough a day in advance and store it in the refrigerator. Just let it come to room temperature before frying.
- Is there a gluten-free option?
- While traditional fry bread uses all-purpose flour, you can experiment with gluten-free flour blends, though the texture may vary.
Serving Ideas for Traditional Navajo Fry Bread
Turn your fry bread into a savory delight by topping it with seasoned ground beef, shredded lettuce, diced tomatoes, and cheese for a Navajo taco. For a sweet treat, drizzle with honey or dust with powdered sugar. It also pairs beautifully with a bowl of chili or stew for a comforting meal.
More Breads & Baked Goods Recipes

Traditional Italian Easter Bread
Savor the delightful taste of a classic Italian Easter bread, a sweet, soft, and s...
View Recipe
Old-Fashioned Pineapple Bread
A delightful and flavorful bread infused with juicy pineapple, perfect for breakfa...
View Recipe
Old-Fashioned Blueberry Muffins
Transport yourself to simpler times with these delightful old-fashioned blueberry ...
View Recipe
Strawberry Basil Scones
These tender scones combine the sweetness of fresh strawberries with a hint of pep...
View Recipe