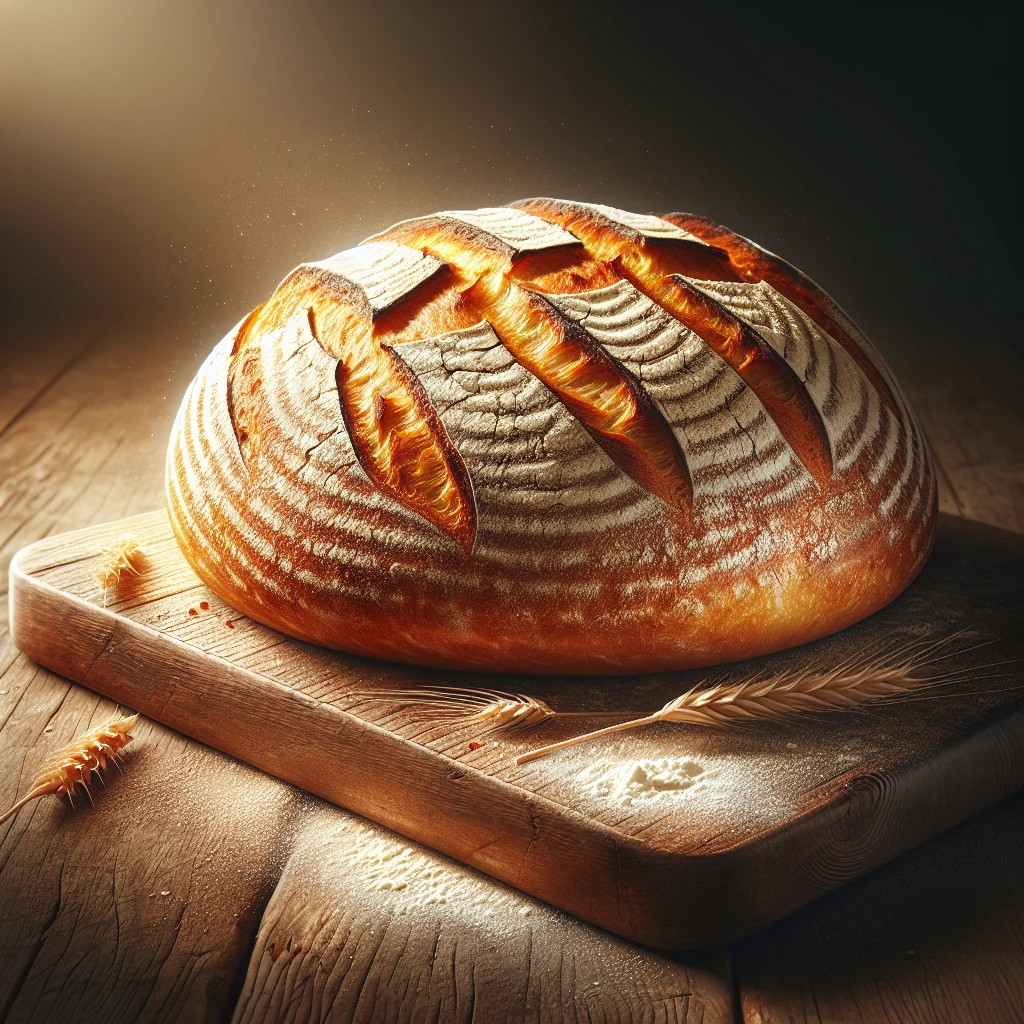
Traditional Italian Bread
This Traditional Italian Bread recipe will transport you straight to a rustic Italian kitchen. With its crisp crust and soft, airy interior, it's a timeless classic that's perfect for any meal. Whether it's your first time baking bread or you're a seasoned pro, this recipe's simplicity and authenticity will win you over.
This post may contain affiliate links. As an Amazon Associate, we earn from qualifying purchases.
Ingredients for Traditional Italian Bread
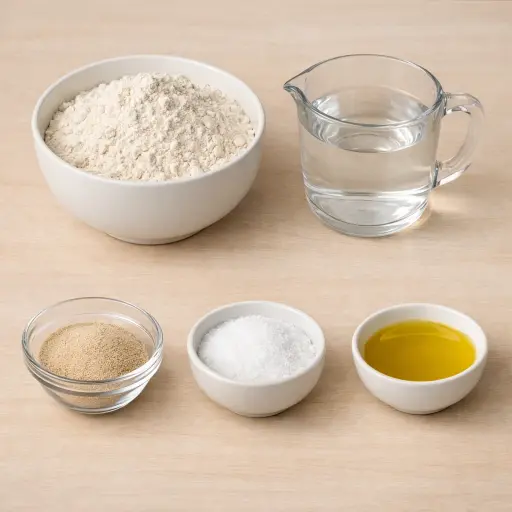
All-purpose flour acts as the backbone of our bread, providing structure and chewiness. You can experiment with bread flour for a chewier texture, but all-purpose does just fine here.
Warm water is crucial for activating the yeast, so aim for a temperature that's comfortably warm to the touch — not too hot, not too cold.
Active dry yeast is what gives our bread its rise. Make sure your yeast is fresh; otherwise, the dough won't rise properly.
Salt adds flavor and strengthens the dough structure. Without it, your bread might taste flat.
Olive oil enriches the dough slightly, adding moisture and a hint of flavor.
Why This Traditional Italian Bread Works
At the start, the warm water wakes up the yeast. As the yeast sits, it starts eating the natural sugars in the flour and gives off tiny bubbles of gas. Those bubbles spread through the dough and make little pockets of air. While that happens, the flour soaks up the water and the gluten in the flour starts to stretch and link together.
During kneading, the dough is pushed and folded over and over. That stretching lines up the gluten so the dough can trap the gas from the yeast instead of letting it escape. After the dough rests in the bowl, it slowly swells as more gas fills those pockets, which is why it doubles in size and feels lighter.
In the oven, the heat makes the gas expand fast and the loaf rises even more. The gluten and starch in the flour firm up and set the shape, so the bread stays tall instead of collapsing. Olive oil keeps the inside a bit tender, while the outside dries and browns into a chewy crust.
Traditional Italian Bread Tips & Tricks
- If your kitchen is cold, let the dough rise in an oven set to the lowest temperature with the door cracked open.
- For a crustier loaf, place a small pan of water on the oven floor while baking.
- Experiment with adding herbs or garlic to the dough for extra flavor.
Mistakes To Avoid
Using water that is too hot kills the yeast before the dough even forms. The mixture may never get foamy, the dough stays heavy, and the loaf comes out flat and tight instead of risen and airy.
Adding the salt directly onto the dry yeast and water can slow the yeast down too much. The dough then rises very slowly or not enough, so the bread bakes up dense with a tight, chewy crumb instead of a light inside.
Cutting the kneading time short leaves the dough weak and uneven. During baking, the loaf spreads out instead of holding its shape, and the inside can end up gummy in some spots and dry in others.
Letting the dough rise far past “doubled” makes it overproofed. In the oven, the loaf collapses, the cuts on top barely open, and the crumb turns out coarse with big random holes and a slightly dry bite.
Putting the loaf into an oven that is not fully preheated keeps the dough from springing up in the first minutes. The crust dries slowly instead of setting, and the bread bakes up pale, flatter, and a bit tough.
Equipment Used:
Ingredients
- 4 cups all-purpose flour
- 1 1/2 cups warm water
- 2 tsp active dry yeast
- 1 1/2 tsp salt
- 1 tbsp olive oil
Step-by-step Instructions
- Step 1: In a large mixing bowl, dissolve yeast in warm water and let it sit for 5 minutes until foamy.
- Step 2: Add flour, salt, and olive oil to the yeast mixture and stir until a dough forms.
- Step 3: Knead the dough on a floured surface for about 10 minutes until smooth and elastic.
- Step 4: Place the dough in a lightly oiled bowl, cover with a damp cloth, and let it rise for 1 hour, or until doubled in size.
- Step 5: Preheat the oven to 400°F (200°C).
- Step 6: Punch down the risen dough and shape it into a loaf.
- Step 7: Place the loaf on a baking sheet lined with parchment paper, cover, and let it rise for another 30 minutes.
- Step 8: Make shallow cuts on the top of the loaf, then bake in the preheated oven for 25-30 minutes until golden brown.
Trending Now

Old-Fashioned Bread Pudding
Discover the classic charm of Old-Fashioned Bread Pudding - a timeless dessert com...
View Recipe
Traditional Italian Bruschetta
Experience the authentic taste of Italian bruschetta, a perfect blend of fresh tom...
View Recipe
Classic Green Beans
Discover the timeless delight of Classic Green Beans, a simple yet flavorful side ...
View Recipe
Classic Banana Bread
Classic Banana Bread is a timeless dessert beloved for its moist texture and sweet...
View RecipeFrequently Asked Questions
- Can I use instant yeast instead of active dry yeast?
- Yes, you can use instant yeast. Just skip the step of dissolving it in water and add it directly to the flour.
- How do I store leftovers?
- Store leftover bread in a paper bag or bread box to maintain its crust. Avoid plastic bags, which make the crust soft.
- Can I freeze the dough?
- Absolutely! After the first rise, punch it down and freeze in a sealed container. Thaw and let rise again before baking.
Serving Ideas for Traditional Italian Bread
This bread is a perfect accompaniment to hearty soups and stews. Try serving it alongside a fresh Caprese salad, or use it as a base for bruschetta topped with tomatoes and basil. For a simple snack, dip it in a high-quality olive oil with a sprinkle of sea salt.
More Breads & Baked Goods Recipes

Traditional Italian Easter Bread
Savor the delightful taste of a classic Italian Easter bread, a sweet, soft, and s...
View Recipe
Old-Fashioned Pineapple Bread
A delightful and flavorful bread infused with juicy pineapple, perfect for breakfa...
View Recipe
Old-Fashioned Blueberry Muffins
Transport yourself to simpler times with these delightful old-fashioned blueberry ...
View Recipe
Strawberry Basil Scones
These tender scones combine the sweetness of fresh strawberries with a hint of pep...
View Recipe