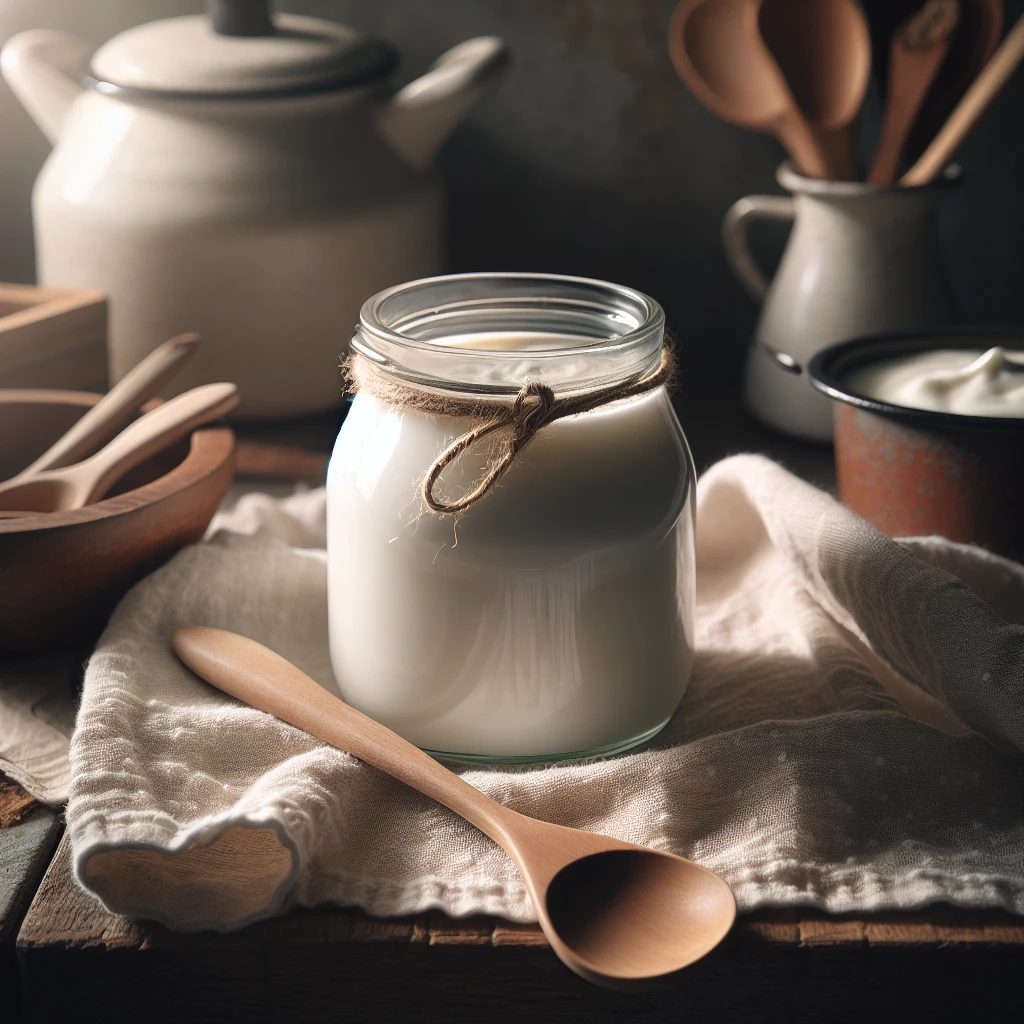
Traditional Homemade Yogurt
Making yogurt at home is a rewarding process, and this traditional recipe is as simple as it gets — just two ingredients! With a little patience, you’ll have a creamy, delicious treat that’s perfect for breakfast or snacking.
This post may contain affiliate links. As an Amazon Associate, we earn from qualifying purchases.
Ingredients for Traditional Homemade Yogurt
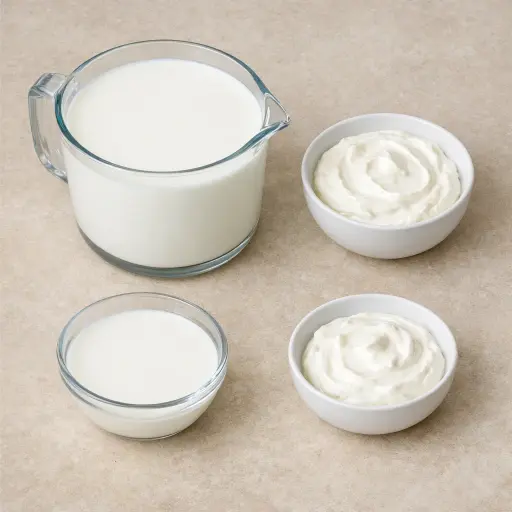
Whole milk is the base of our yogurt, providing the creamy texture and richness we love. You can use other types of milk, but whole milk gives the best results for a thick consistency. The plain yogurt acts as a starter, introducing the live cultures needed to transform milk into yogurt. Make sure it's plain and has live active cultures; this is crucial for fermentation to occur.
Why This Traditional Homemade Yogurt Works
As the milk heats up to 180°F, the proteins inside it start to tighten and change shape. Stirring keeps the bottom from scorching so those proteins don’t stick and burn. At this point the milk is too hot for the yogurt cultures to stay alive, so it has to cool down. While it cools to about 110°F, the milk stays warm enough for the cultures to be active later, but not so hot that they die.
Once a little warm milk is mixed into the plain yogurt, the yogurt loosens and blends more easily into the rest of the pot. Those live cultures spread all through the warm milk instead of clumping in one spot. Over the next several hours in a warm place, the cultures slowly eat the natural milk sugars and make acid. As the milk turns more acidic, the proteins link up and the whole pot thickens and sets into yogurt. Chilling at the end firms it up even more and lets it hold its shape instead of pouring like milk.
Traditional Homemade Yogurt Tips & Tricks
- Use a cooking thermometer for accuracy; guessing temperatures can lead to inconsistent results.
- If your yogurt is too thin, next time, try letting it ferment a little longer.
- Avoid using ultra-pasteurized milk as it may not set well.
- For thicker yogurt, strain it through a cheesecloth after chilling.
Mistakes To Avoid
Letting the milk stay below 180°F leaves some natural bacteria alive in the pot. Those bacteria keep growing during the long warm rest and can crowd out the yogurt cultures, so the mixture stays thin, grainy, or splits instead of turning into smooth yogurt.
Cooling the milk too much before adding the starter causes trouble too. Once the milk drops much below 100–110°F, the live cultures slow down a lot, so the yogurt sets very slowly or never really thickens, even after many hours.
Using flavored or sweetened yogurt as the starter often backfires. Extra sugar, thickeners, and flavorings in the starter can stop the cultures from spreading evenly through the warm milk, so the final yogurt can turn stringy, oddly jelly-like, or separate into layers.
Leaving the container in a place that is too cool during the 6–12 hour rest keeps the mixture from setting. The cultures work best when the container stays gently warm; if the spot is drafty or cold, the yogurt stays runny and tastes more like slightly sour milk than yogurt.
Equipment Used:
Ingredients
- 4 cups whole milk
- 1/4 cup plain yogurt with live cultures
Step-by-step Instructions
- 1. Pour the whole milk into a large saucepan and heat over medium heat until it reaches 180°F. Stir occasionally to prevent scorching.
- 2. Remove the saucepan from heat and let the milk cool to 110°F.
- 3. In a small bowl, combine the plain yogurt with a few tablespoons of the warm milk and mix until smooth.
- 4. Stir the yogurt mixture back into the saucepan with the remaining milk until well combined.
- 5. Pour the mixture into a glass or ceramic container and cover with a lid or plastic wrap.
- 6. Keep the container in a warm place for 6-12 hours, until the yogurt has set to your desired thickness.
- 7. Once set, refrigerate the yogurt for a few hours before serving.
Trending Now

Zesty Summer Squash Casserole
This delightful summer squash casserole combines vibrant garden-fresh vegetables w...
View Recipe
Classic Cucumber Salad
A refreshing and light cucumber salad featuring crisp cucumbers and a tangy vinaig...
View Recipe
Classic Banana Bread
Classic Banana Bread is a timeless dessert beloved for its moist texture and sweet...
View Recipe
Traditional Dump Cake
Discover the timeless delight of the Traditional Dump Cake, a simple and scrumptio...
View RecipeFrequently Asked Questions
- Can I use non-dairy milk?
- Yes, but you'll need a thickening agent like agar agar, as non-dairy milk doesn’t naturally thicken.
- How long does homemade yogurt last?
- It typically lasts about 1-2 weeks in the refrigerator. Just keep it covered to maintain freshness.
- What if my yogurt didn't set?
- It might be due to low temperatures during fermentation or inactive starter cultures. Ensure your yogurt starter is fresh and your temperatures are accurate.
Serving Ideas for Traditional Homemade Yogurt
This homemade yogurt is versatile! Top it with fresh fruit, a drizzle of honey, or a sprinkle of granola for a delightful breakfast. It also works wonderfully in smoothies or as a base for savory dips. Try it with a dash of cinnamon or vanilla for a sweet twist.
More Breakfast & Brunch Recipes

Traditional Quiche Lorraine
Experience the classic French Quiche Lorraine, a savory pie with a flaky crust fil...
View Recipe
Lemon-Blueberry Oat Coffee Cake
This Lemon-Blueberry Oat Coffee Cake is a delightful twist on the traditional favo...
View Recipe
Smoked Salmon Benedict
A luxurious twist on the classic Eggs Benedict, featuring smoked salmon and a zest...
View Recipe
Savory Garden Veggie Quiche
A delightful and easy-to-make quiche filled with garden-fresh vegetables, perfect ...
View Recipe