Traditional Homemade Butter
Making your own butter at home is a delightful way to enjoy a fresh, creamy spread that you can personalize to your taste. This simple recipe turns basic ingredients into a kitchen staple, and it's a satisfying process that connects you to the roots of home cooking.
This post may contain affiliate links. As an Amazon Associate, we earn from qualifying purchases.
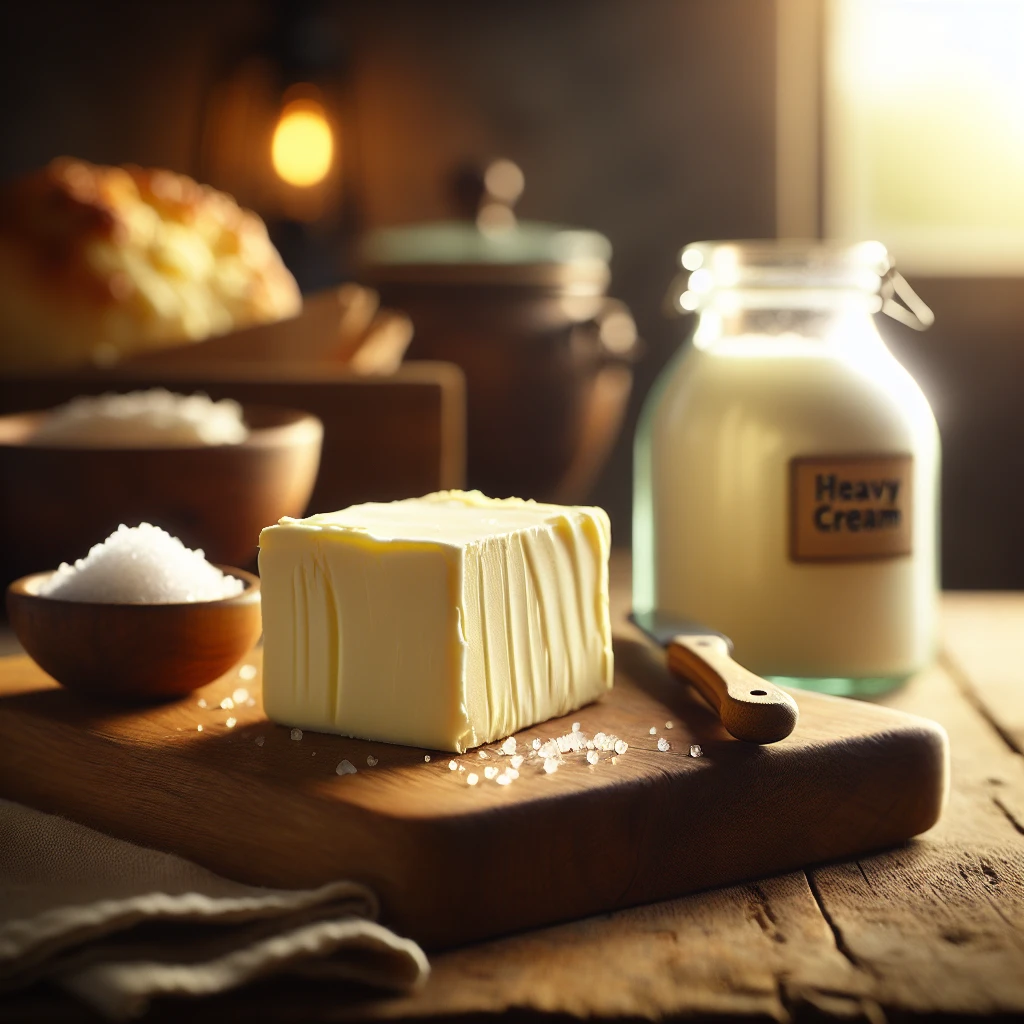
Ingredients for Traditional Homemade Butter
The main star here is heavy cream. This is the foundation of your butter, so choose a good quality cream for best results. The higher the fat content, the richer your butter will be. For flavor, a touch of salt is added. This not only enhances the taste but also acts as a preservative, helping your homemade butter last a bit longer in the fridge.
Why This Traditional Homemade Butter Works
At first the heavy cream just looks like thick milk, but as the mixer beats it, the fat in the cream starts clumping together. Tiny fat droplets bump into each other again and again until they grab on and form bigger and bigger pieces. After a while, the cream stops looking smooth and instead breaks into yellow clumps of butter sitting in a pool of thin liquid. That liquid is the buttermilk.
Once the buttermilk is poured off, rinsing under cold water washes away the extra liquid hiding in the butter. This keeps the butter from tasting sour or going bad too fast. Gentle kneading squeezes out even more trapped buttermilk and makes the butter smoother and more even. Salt spreads through as it is kneaded in, so the butter tastes the same all the way through. Shaping and wrapping it tight lets the butter firm up and stay solid and sliceable.
Traditional Homemade Butter Tips & Tricks
- Use cold water when rinsing the butter to firm it up quickly.
- For flavored butter, mix in herbs, garlic, or honey during the kneading step.
- If you're using a hand mixer, a deep mixing bowl will help minimize splatter.
Mistakes To Avoid
Beating the cream on high speed from the start can cause it to splash everywhere and jump straight from liquid to tiny, dry butter grains. The butter then packs together poorly and can feel crumbly instead of smooth and spreadable.
Stopping the mixer too early leaves the cream at the whipped stage, where it looks thick and fluffy but hasn’t separated. In that state, straining does almost nothing, and the result is just sweet whipped cream with no real butter formed.
Skipping the rinsing step leaves a lot of buttermilk trapped inside the butter. That leftover liquid makes the butter spoil faster and can give it a slightly sour, wet feel after a day or two in the fridge.
Adding all the salt before kneading can lead to uneven seasoning, with some bites very salty and others bland. When the salt isn’t worked in gradually, it doesn’t spread through the butter, and the texture can feel streaky where the salt clumps sit.
Equipment Used:
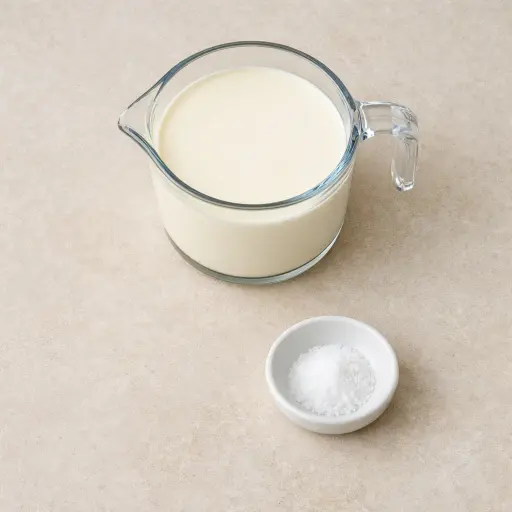
Ingredients
- 2 cups heavy cream
- 1/4 tsp salt
Step-by-step Instructions
- 1. Pour the heavy cream into a large mixing bowl.
- 2. Use a stand mixer or hand mixer to beat the cream on medium speed until it separates into solid butter and liquid buttermilk.
- 3. Once separated, strain the buttermilk and rinse the butter under cold water to remove excess buttermilk.
- 4. Knead the butter gently in a bowl, adding salt to taste.
- 5. Shape into a block or roll, wrap tightly, and store.
Trending Now

Zesty Summer Squash Casserole
This delightful summer squash casserole combines vibrant garden-fresh vegetables w...
View Recipe
Classic Cucumber Salad
A refreshing and light cucumber salad featuring crisp cucumbers and a tangy vinaig...
View Recipe
Classic Banana Bread
Classic Banana Bread is a timeless dessert beloved for its moist texture and sweet...
View Recipe
Traditional Dump Cake
Discover the timeless delight of the Traditional Dump Cake, a simple and scrumptio...
View RecipeFrequently Asked Questions
- Can I use light cream instead of heavy cream?
- It's best to stick with heavy cream due to its higher fat content, which is essential for separating into butter.
- How long will homemade butter last?
- When stored in the fridge, it should last about a week. For longer storage, consider freezing it.
Serving Ideas for Traditional Homemade Butter
Homemade butter shines when spread on fresh, crusty bread or warm scones. It's also fantastic melted over steamed vegetables or tossed with pasta. For a sweet treat, try it on pancakes or waffles with a drizzle of maple syrup.
More Baking Recipes
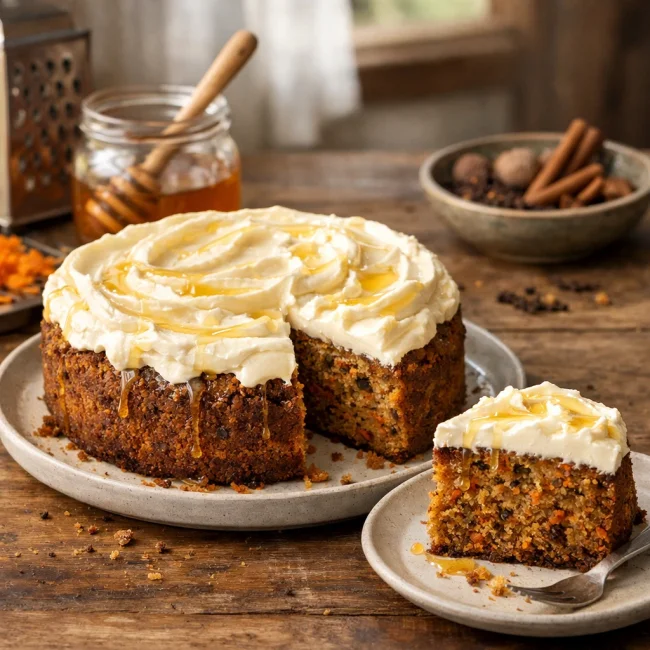
Spiced Honey Carrot Cake
Delight in the rich and moist Spiced Honey Carrot Cake that perfectly balances swe...
View Recipe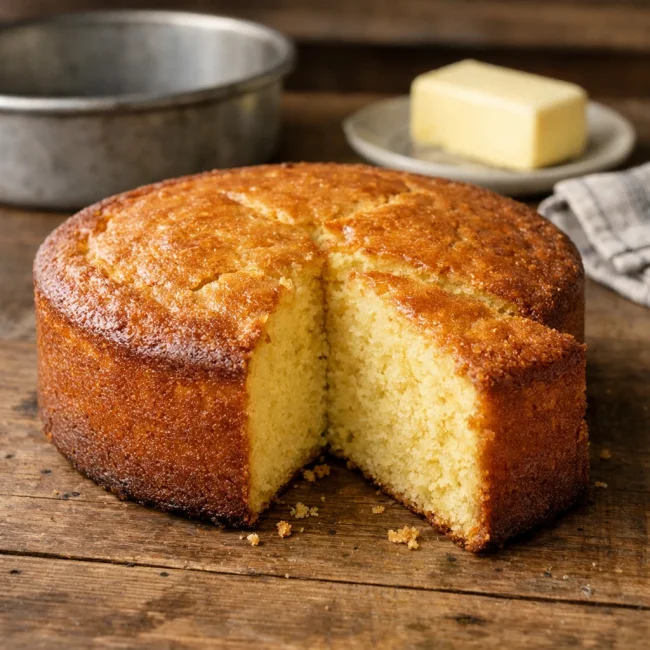
Old-Fashioned Butter Cake
A timeless classic, the Old-Fashioned Butter Cake is a rich, buttery treat perfect...
View Recipe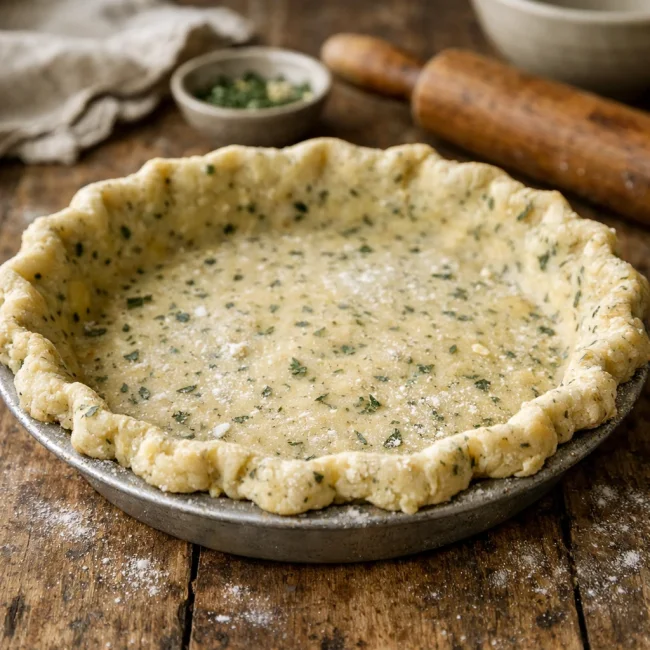
Rustic Herb Pie Crust
This Rustic Herb Pie Crust is a delightful twist on the classic pie base, infused ...
View Recipe
Traditional Key Lime Pie
Discover the rich and tangy taste of our Traditional Key Lime Pie, a classic desse...
View Recipe