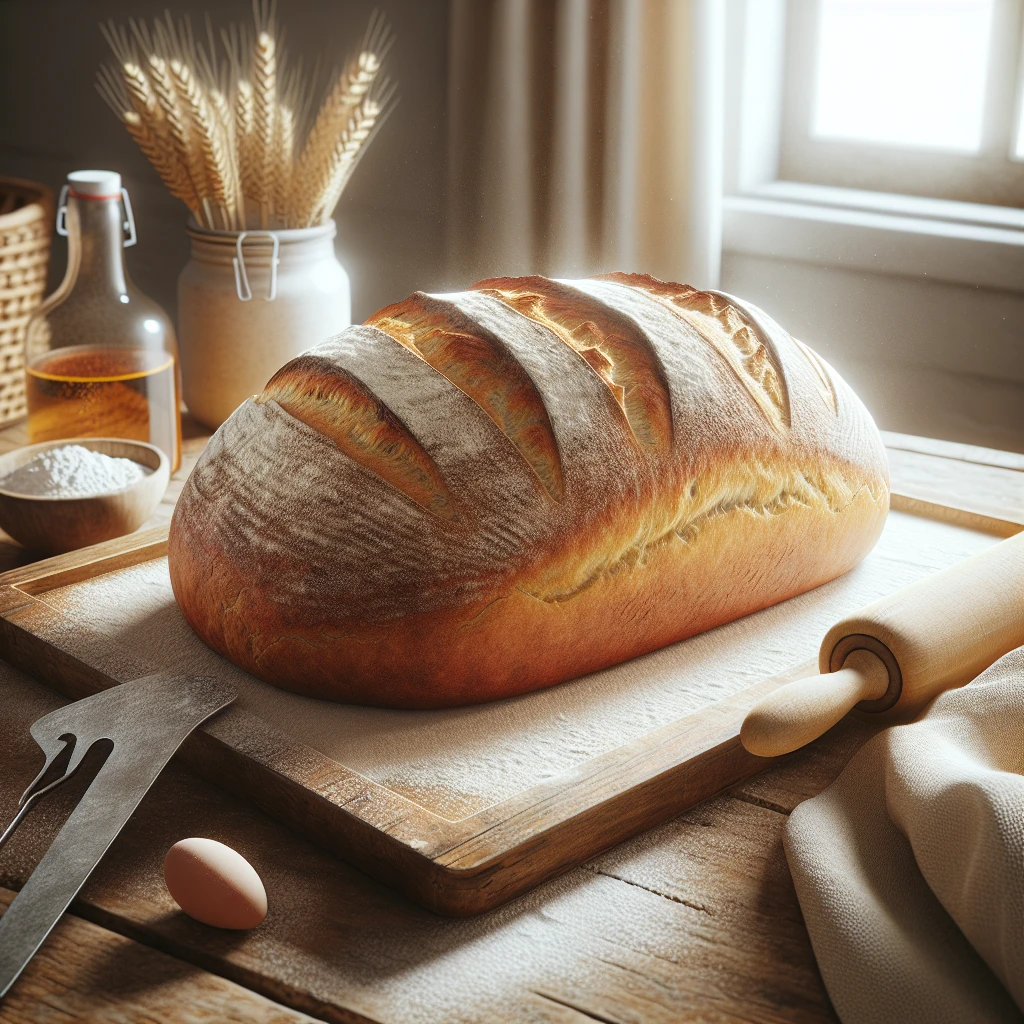
Traditional Homemade Bread
If the thought of warm, freshly baked bread makes your heart flutter, you're in the right place. This traditional homemade bread recipe is a simple yet rewarding way to bring the comforts of a bakery into your own kitchen. Perfect for beginners and seasoned bakers alike, it's all about that soft, chewy texture and irresistible aroma.
This post may contain affiliate links. As an Amazon Associate, we earn from qualifying purchases.
Ingredients for Traditional Homemade Bread
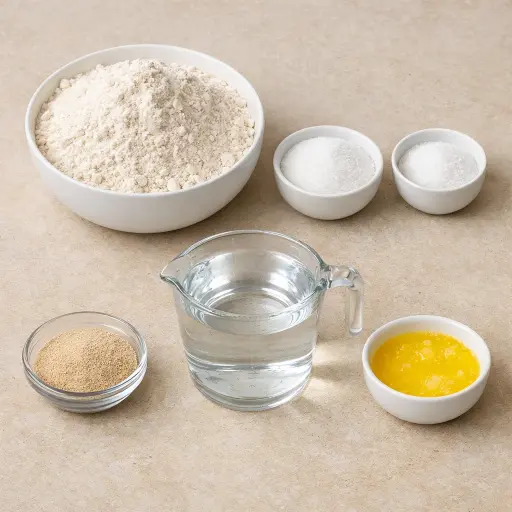
Flour: The backbone of your bread, providing structure. All-purpose flour works perfectly for a good balance of chewiness and fluffiness.
Salt: Enhances the flavor and controls yeast activity, giving your bread a nice rise without going overboard.
Sugar: Feeds the yeast, helping your dough rise, and adds a touch of sweetness to balance the salt.
Yeast: The magic ingredient that makes the bread rise, creating that airy texture we're after.
Warm water: Activates the yeast. Make sure it’s just warm (like a bath), not hot, to keep the yeast alive.
Butter: Adds richness and flavor, making the bread tender and delicious.
Why This Traditional Homemade Bread Works
At the start, warm water wakes up the yeast. The sugar gives the yeast something to eat, so after a few minutes the liquid turns foamy. That foam means the yeast is alive and filling the bowl with tiny gas bubbles. Once flour and salt go in, those bubbles start to get trapped inside the dough instead of floating away.
As the dough is kneaded, the flour and water join together and form long stretchy strands. Those strands act like a net. They hold on to the gas from the yeast, so the dough can puff up instead of spreading out. The melted butter coats some of the flour and keeps the bread softer, so the baked loaves don’t dry out or crumble.
During the rises, the yeast keeps making more gas, and the dough slowly swells as that gas stretches the gluten net. In the oven, the heat makes the gas expand fast, then the dough sets in place. By the time the loaves are golden, the inside has a steady structure with small air pockets, so the bread slices easily and stays tender.
Traditional Homemade Bread Tips & Tricks
- Always check your yeast's expiration date for the best rise.
- If your kitchen is cold, place the dough in a slightly warm oven to rise.
- For a crusty top, brush the loaves with water just before baking.
- Store extra bread in an airtight container or freeze for later use.
Mistakes To Avoid
Using water that is too hot kills the yeast before the dough even forms. The mixture never gets frothy, so the dough rises very little or not at all, and the bread comes out flat, heavy, and tight instead of light and airy.
Adding all the flour at once often leaves dry pockets and a stiff dough. The flour doesn’t hydrate evenly, kneading becomes harder, and the finished loaves bake up dense with a tough crumb instead of a smooth, stretchy texture.
Cutting the first rise short means the dough doesn’t build enough structure. The loaves may look fine going into the oven, but they bake up low, with a tight, gummy inside and not much spring.
Letting the second rise go too long causes the dough to overproof. In the oven, the loaves can collapse or sink in the middle, and the crumb turns out weak and full of big uneven holes instead of a steady, even texture.
Pulling the bread out of the oven too early leaves the center undercooked. The crust might look brown, but the inside stays damp and doughy, and the slices squash easily instead of holding their shape.
Equipment Used:
Ingredients
- 5 cups all-purpose flour
- 2 teaspoons salt
- 2 tablespoons sugar
- 2 packets active dry yeast
- 2 cups warm water (110°F)
- 2 tablespoons butter, melted
Step-by-step Instructions
- 1. In a large bowl, combine the warm water, yeast, and sugar. Stir gently and let it sit for about 5-10 minutes until frothy.
- 2. Add the melted butter, salt, and 3 cups of flour to the yeast mixture. Mix until a dough begins to form.
- 3. Gradually add the remaining flour, one cup at a time, kneading continuously until the dough is smooth and elastic, about 8-10 minutes.
- 4. Place the dough in a greased bowl, cover with a damp cloth, and let it rise in a warm place until doubled in size, approximately 1-1.5 hours.
- 5. Punch down the dough, then divide it into two equal portions. Shape each into a loaf and place in greased 9x5-inch loaf pans.
- 6. Cover again and let rise until doubled, about 30-45 minutes.
- 7. Preheat your oven to 375°F. Bake the loaves for 25-30 minutes until golden brown and hollow-sounding when tapped.
- 8. Remove from the oven and cool on a wire rack before slicing.
Trending Now

Classic Banana Bread
Classic Banana Bread is a timeless dessert beloved for its moist texture and sweet...
View Recipe
Classic Cucumber Salad
A refreshing and light cucumber salad featuring crisp cucumbers and a tangy vinaig...
View Recipe
Zesty Summer Squash Casserole
This delightful summer squash casserole combines vibrant garden-fresh vegetables w...
View Recipe
Traditional Dump Cake
Discover the timeless delight of the Traditional Dump Cake, a simple and scrumptio...
View RecipeFrequently Asked Questions
- Can I use whole wheat flour instead?
- Yes, you can substitute up to half of the all-purpose flour with whole wheat flour for a nuttier flavor.
- How can I tell if the bread is fully baked?
- Tap the bottom of the loaf; if it sounds hollow, it's done. You can also use a thermometer — the internal temperature should be around 190°F.
- What if my dough doesn't rise?
- Double-check your yeast's expiration date and ensure the water wasn't too hot. Try letting it rise in a warmer spot.
Serving Ideas for Traditional Homemade Bread
This bread is perfect for making gourmet sandwiches or as a side to a hearty soup. Try it toasted with a drizzle of olive oil and a sprinkle of sea salt for a simple, but satisfying snack. Or, make cinnamon toast for a sweet treat!
More Breads & Baked Goods Recipes

Traditional Italian Easter Bread
Savor the delightful taste of a classic Italian Easter bread, a sweet, soft, and s...
View Recipe
Old-Fashioned Pineapple Bread
A delightful and flavorful bread infused with juicy pineapple, perfect for breakfa...
View Recipe
Old-Fashioned Blueberry Muffins
Transport yourself to simpler times with these delightful old-fashioned blueberry ...
View Recipe
Strawberry Basil Scones
These tender scones combine the sweetness of fresh strawberries with a hint of pep...
View Recipe