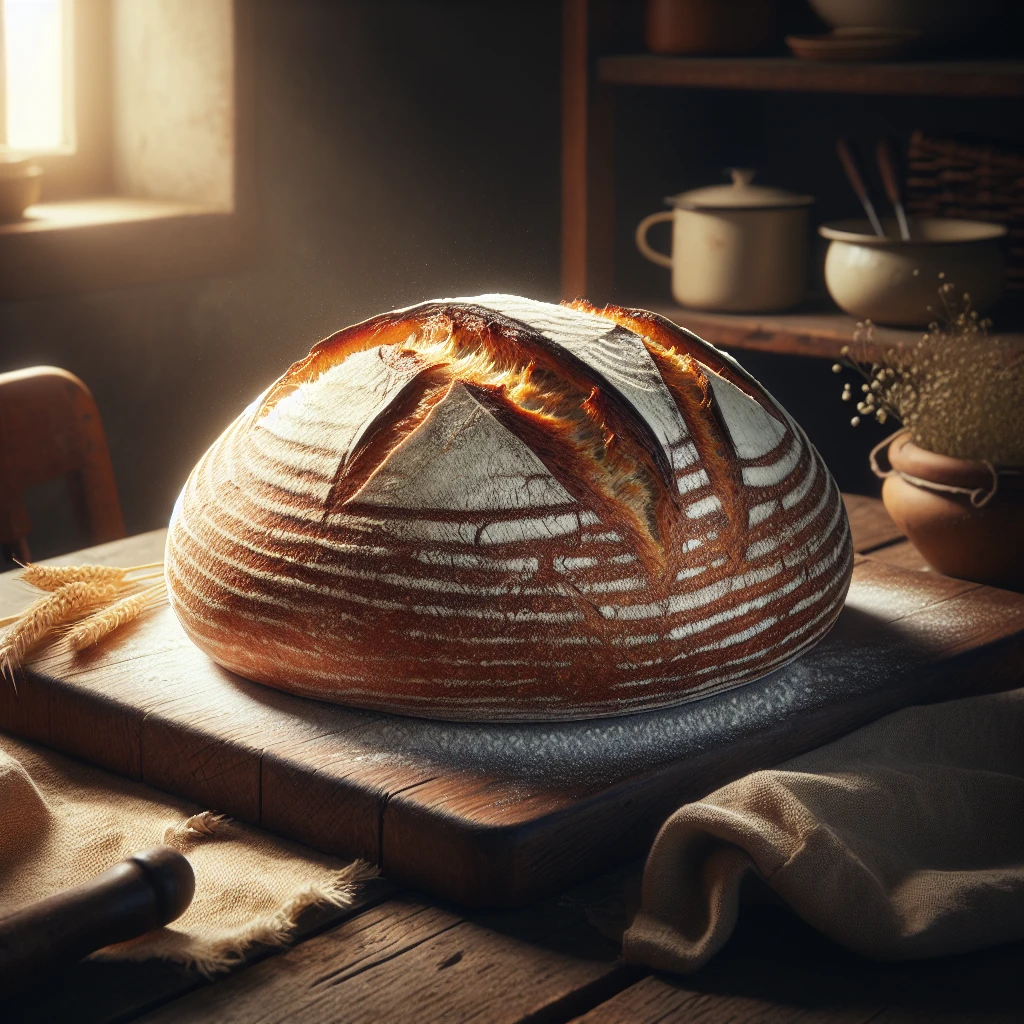
Traditional Hearth Bread
This Traditional Hearth Bread recipe is all about simplicity and classic flavors. With just a few pantry staples, you get a crusty, fragrant loaf that warms the heart and home. Perfect for novice bakers and seasoned pros alike, it’s a go-to for any occasion.
This post may contain affiliate links. As an Amazon Associate, we earn from qualifying purchases.
Ingredients for Traditional Hearth Bread

Flour is the backbone of your bread, providing structure and texture. We use all-purpose for a balanced loaf that’s neither too dense nor too light. Salt enhances flavor, ensuring your bread isn’t bland. Sugar acts as food for the yeast, helping the dough rise and adding a hint of sweetness. Yeast is what gives the bread its airy lift and beautiful texture. Using warm water is crucial, as it activates the yeast gently without killing it. Finally, a touch of olive oil adds richness and helps keep the bread tender.
Why This Traditional Hearth Bread Works
Warm water wakes up the yeast so it starts to bubble and grow. As it sits in the bowl with the flour, the yeast slowly eats the sugar and gives off tiny gas bubbles. Those bubbles get trapped in the dough. While the dough is being kneaded, the flour and water stretch into long strands that can hold those bubbles in. The dough starts out rough and sticky, then becomes smooth and stretchy, which means it can rise well.
During the first rise, those gas bubbles spread through the dough and push it up, so it doubles in size. Punching it down and shaping it into a round loaf evens out the bubbles so the bread bakes evenly. In the oven, the heat makes the trapped gas expand fast, so the loaf springs up and gets light inside. At the same time, the outside dries and browns, forming a crust, while the inside stays soft and a little chewy. Cooling on a rack lets the steam escape so the slices stay tender and don’t squash down.
Traditional Hearth Bread Tips & Tricks
- If your kitchen is chilly, let the dough rise in an oven that’s been pre-warmed to 200°F and then turned off.
- For a crustier loaf, place a pan of water in the oven while baking. The steam helps develop a beautiful crust.
- Don’t skip the cooling step—it keeps the bread from becoming gummy inside.
Mistakes To Avoid
Letting the water get too hot when dissolving the yeast can kill it. The mixture never gets foamy, so the dough barely rises, and the loaf comes out flat, heavy, and tight inside instead of airy.
Rushing the kneading step leaves the dough rough and uneven. The gluten doesn’t build up enough strength, so the bread spreads out instead of holding a nice round shape and bakes up dense with a crumbly, cake-like texture.
Skipping the first full rise or cutting it short means the dough doesn’t build enough gas. In the oven, the loaf rises only a little, stays low and squat, and the inside feels compact instead of light with small, even holes.
Letting the second rise go too long on the baking sheet can cause the dough to overproof. Once in the oven, it collapses instead of springing up, and the crust forms with a pale, weak structure and a slightly gummy center.
Pulling the bread out as soon as it looks brown on top often leaves the middle underbaked. The loaf may sound dull instead of hollow when tapped, and the inside can be damp and doughy rather than fully set.
Equipment Used:
Ingredients
- 5 cups all-purpose flour
- 2 tsp salt
- 2 tbsp sugar
- 2 tsp active dry yeast
- 2 cups warm water (110°F)
- 1 tbsp olive oil
Step-by-step Instructions
- 1. In a large bowl, combine flour, salt, and sugar.
- 2. Dissolve yeast in warm water, let stand until foamy, about 5 minutes.
- 3. Add yeast mixture and olive oil to dry ingredients; mix until a soft dough forms.
- 4. Knead the dough on a floured surface for 8-10 minutes until smooth and elastic.
- 5. Place dough in a lightly oiled bowl, cover with a damp cloth, and let rise in a warm place until doubled in size, about 1 hour.
- 6. Preheat oven to 425°F (220°C).
- 7. Punch down the dough and shape it into a round loaf.
- 8. Place on a greased baking sheet, cover, and let rise again for 30 minutes.
- 9. With a sharp knife, make a few shallow slashes on top of the loaf.
- 10. Bake in preheated oven for 25-30 minutes or until golden brown and sounds hollow when tapped.
- 11. Cool on a wire rack before slicing.
Trending Now

Old-Fashioned Bread Pudding
Discover the classic charm of Old-Fashioned Bread Pudding - a timeless dessert com...
View Recipe
Traditional Crisp Coleslaw
A classic coleslaw recipe featuring finely shredded cabbage and carrots tossed in ...
View Recipe
Traditional Italian Bruschetta
Experience the authentic taste of Italian bruschetta, a perfect blend of fresh tom...
View Recipe
Classic Banana Bread
Classic Banana Bread is a timeless dessert beloved for its moist texture and sweet...
View RecipeFrequently Asked Questions
- Can I use whole wheat flour?
- Yes, but it will change the texture. You might want to start by substituting half of the all-purpose flour with whole wheat.
- What if my dough doesn’t rise?
- Check your yeast’s expiration date and ensure the water wasn’t too hot. Try again with fresh yeast.
- Can I freeze this bread?
- Absolutely! Slice it first for easier toasting and store it in a freezer-safe bag for up to three months.
Serving Ideas for Traditional Hearth Bread
This bread shines alongside a hearty soup or stew. It's also fantastic toasted and topped with a smear of butter and homemade jam for breakfast. Or, go gourmet and use it for a classic bruschetta with fresh tomatoes and basil.
More Breads & Baked Goods Recipes

Traditional Italian Easter Bread
Savor the delightful taste of a classic Italian Easter bread, a sweet, soft, and s...
View Recipe
Old-Fashioned Pineapple Bread
A delightful and flavorful bread infused with juicy pineapple, perfect for breakfa...
View Recipe
Old-Fashioned Blueberry Muffins
Transport yourself to simpler times with these delightful old-fashioned blueberry ...
View Recipe
Strawberry Basil Scones
These tender scones combine the sweetness of fresh strawberries with a hint of pep...
View Recipe