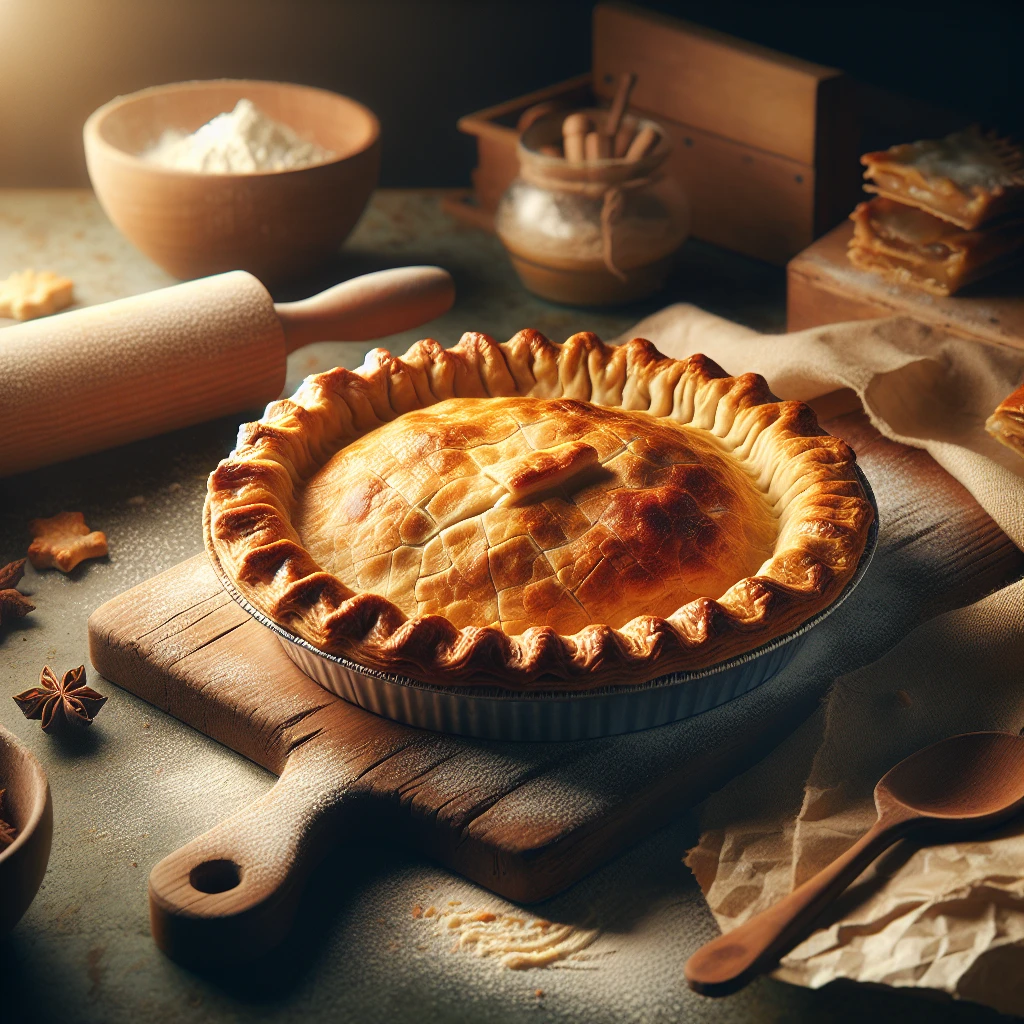
Traditional Flaky Pie Crust
There's something magical about a homemade pie crust — the way it crumbles and melts in your mouth is pure comfort. This Traditional Flaky Pie Crust recipe is a classic that every home baker should have in their repertoire. With just a handful of ingredients and a bit of patience, you'll be on your way to pie perfection.
This post may contain affiliate links. As an Amazon Associate, we earn from qualifying purchases.
Ingredients for Traditional Flaky Pie Crust
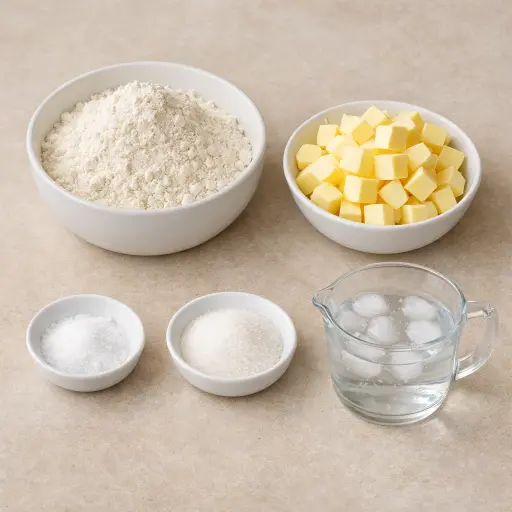
All-purpose flour is the backbone of the crust, providing structure and a neutral base for any filling. Unsalted butter, chilled and diced, is the key to flakiness; it creates layers as it melts during baking. Salt enhances the flavor of the crust, while a touch of sugar adds a hint of sweetness, balancing the buttery richness. Finally, ice water brings the dough together without warming the butter, crucial for maintaining those flaky layers.
Why This Traditional Flaky Pie Crust Works
Cold butter is the big thing here. Those little hard chunks of butter stay solid while the dough is mixed, because the water is added slowly and the dough is not worked much. So instead of a smooth, sticky dough, it stays a bit rough with visible bits of butter and dry flour spots. That “messy” look is what later turns into flakes.
During the long rest in the fridge, the flour soaks up the water and the dough evens out. Gluten relaxes, so the dough rolls out without snapping back. At the same time, the butter firms up again, so it is still cold and solid when it goes into the hot oven.
Once it bakes, those cold butter pieces start to melt and steam. The steam pushes apart the thin layers of dough that were rolled out, and the melted butter leaves little gaps. Those gaps turn into crisp, flaky layers instead of a tough, solid crust. Chilling the shaped crust one more time keeps the butter from melting too early, so the layers stay sharp and light.
Traditional Flaky Pie Crust Tips & Tricks
- Keep everything cold, from the butter to the bowls, to prevent the butter from melting before baking.
- If you see butter chunks in the dough, that’s a good sign! They’ll create pockets of flakiness.
- Use a glass or ceramic pie dish for even baking and a crisp crust.
- To prevent the crust from bubbling up, use pie weights or dried beans on parchment paper during blind baking.
Mistakes To Avoid
Adding too much water at once often turns the dough sticky and pasty instead of shaggy and clumpy. The flour then absorbs more water than needed, so extra flour gets worked in while fixing it. The final crust bakes up tough and bready instead of light and flaky.
Working the dough until it looks perfectly smooth causes the butter pieces to disappear into the flour. Once the butter is fully smeared in, there are no solid bits left to melt and create layers in the oven. The baked crust comes out dense, flat, and almost cracker-like.
Skipping or shortening the chilling time means the butter stays too soft and the gluten in the flour doesn’t relax. In the oven, the soft butter melts out quickly and the dough shrinks down the sides of the pan. The crust ends up greasy at the bottom, with slumped, uneven edges.
Rolling the dough too much on a heavily floured surface keeps packing in extra flour and warms the butter. This makes the dough crack at the edges while rolling and bake up dry and crumbly instead of tender.
Equipment Used:
Ingredients
- 2 1/2 cups all-purpose flour
- 1 cup unsalted butter, chilled and diced
- 1/2 teaspoon salt
- 1 teaspoon sugar
- 1/4 to 1/2 cup ice water
Step-by-step Instructions
- 1. In a large bowl, combine the flour, salt, and sugar. Add the diced butter and cut into the flour mixture until it resembles coarse crumbs.
- 2. Stir in the ice water, a tablespoon at a time, until the mixture forms a ball. Do not overwork the dough.
- 3. Wrap the dough in plastic wrap and refrigerate for at least 4 hours or overnight.
- 4. Roll out the dough on a floured surface to fit your pie pan. Place the crust in the pie pan and press evenly.
- 5. Trim and crimp the edges as desired. Chill the crust in the refrigerator for 30 minutes before baking.
Trending Now

Classic Cucumber Salad
A refreshing and light cucumber salad featuring crisp cucumbers and a tangy vinaig...
View Recipe
Classic Banana Bread
Classic Banana Bread is a timeless dessert beloved for its moist texture and sweet...
View Recipe
Zesty Summer Squash Casserole
This delightful summer squash casserole combines vibrant garden-fresh vegetables w...
View Recipe
Traditional Dump Cake
Discover the timeless delight of the Traditional Dump Cake, a simple and scrumptio...
View RecipeFrequently Asked Questions
- Can I make the dough ahead of time?
- Absolutely! The dough can be refrigerated for up to two days or frozen for up to three months.
- What if my dough is too sticky?
- Sprinkle a little more flour onto your work surface and dough until it’s manageable but avoid adding too much.
- Can I use salted butter?
- Yes, but reduce the added salt in the recipe to balance the flavors.
Serving Ideas for Traditional Flaky Pie Crust
This pie crust is versatile enough to complement any filling. For a sweet tooth, fill it with a classic apple or creamy pumpkin filling. On the savory side, a quiche loaded with cheese and veggies makes a delightful pairing. Serve with a dollop of whipped cream for sweet pies or a simple side salad for savory options.
More Baking Recipes
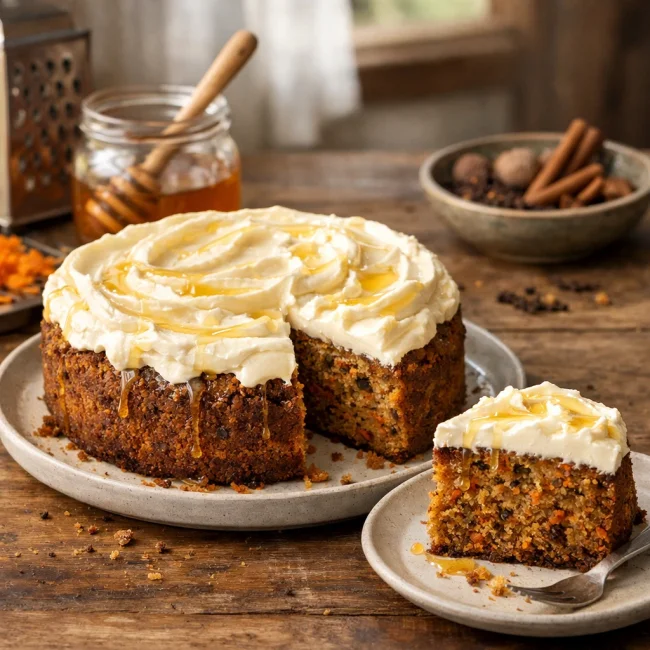
Spiced Honey Carrot Cake
Delight in the rich and moist Spiced Honey Carrot Cake that perfectly balances swe...
View Recipe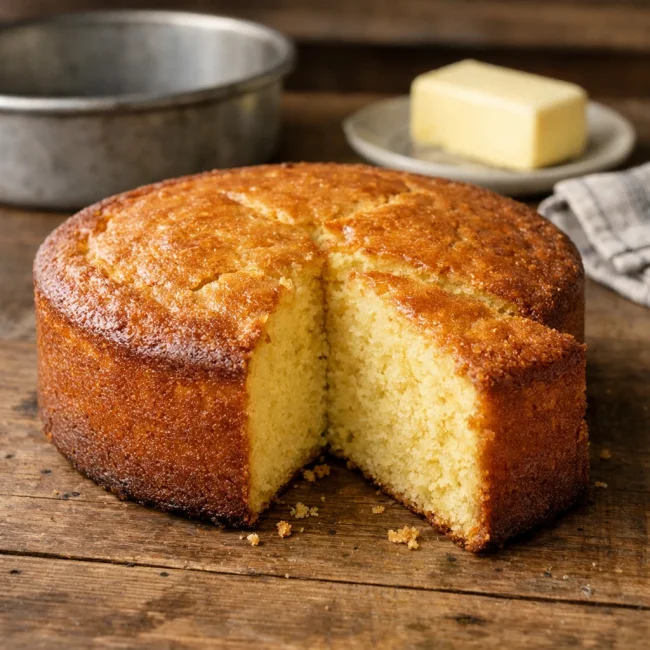
Old-Fashioned Butter Cake
A timeless classic, the Old-Fashioned Butter Cake is a rich, buttery treat perfect...
View Recipe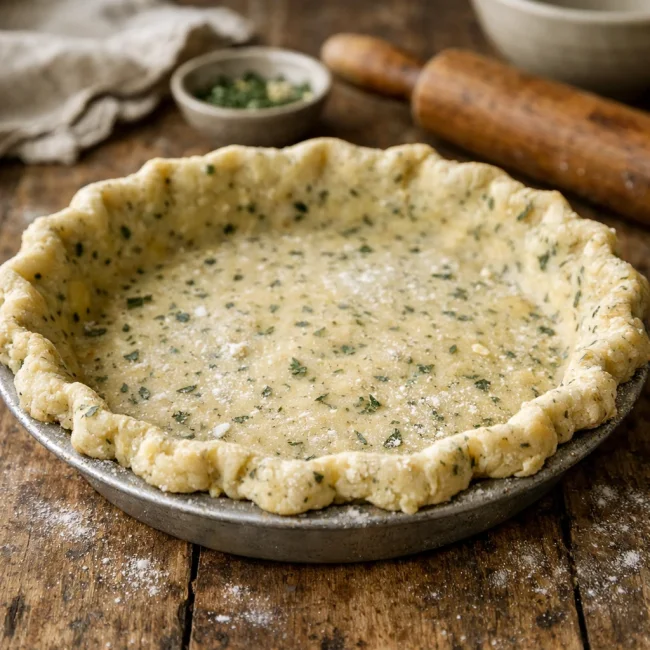
Rustic Herb Pie Crust
This Rustic Herb Pie Crust is a delightful twist on the classic pie base, infused ...
View Recipe
Traditional Key Lime Pie
Discover the rich and tangy taste of our Traditional Key Lime Pie, a classic desse...
View Recipe