Traditional English Scones
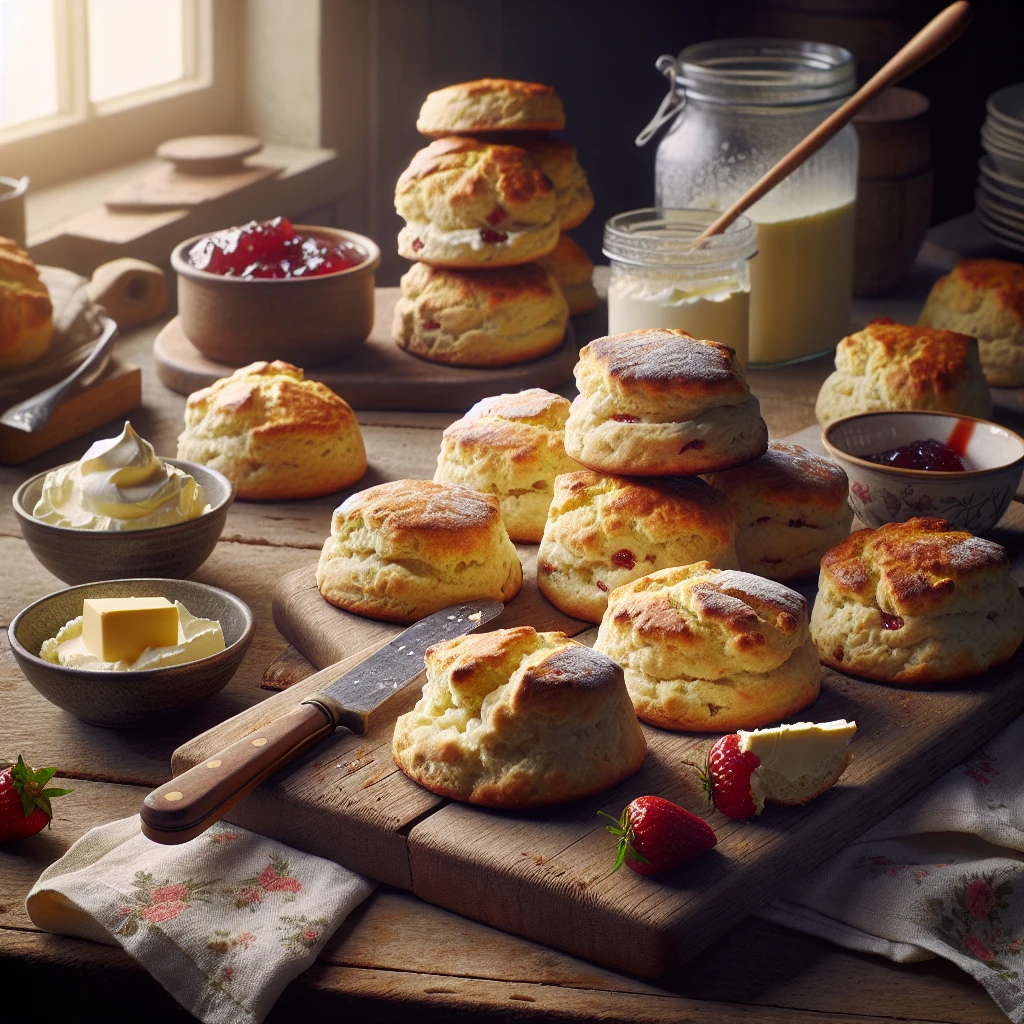
These traditional English scones are a delightful treat perfect for afternoon tea or a cozy morning breakfast. With their golden crust and fluffy interior, they’re the epitome of classic British baking, offering a simple yet satisfying indulgence.
This post may contain affiliate links. As an Amazon Associate, we earn from qualifying purchases.
Ingredients for Traditional English Scones
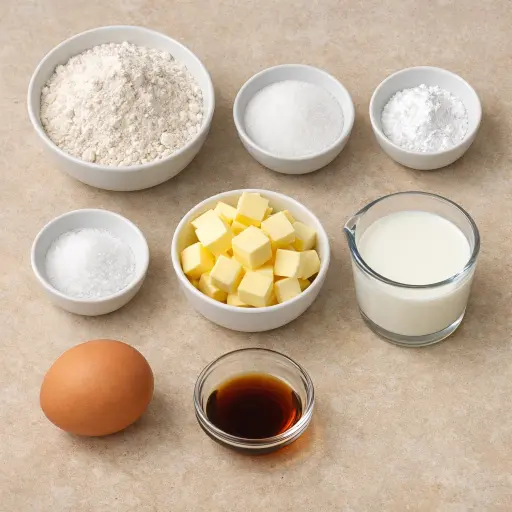
All-purpose flour forms the base of the scone, providing structure. Its subtle flavor is a blank canvas for the other ingredients. Granulated sugar adds just the right touch of sweetness without overpowering the other flavors. Baking powder is your leavening agent, lifting the dough to that perfect scone height. A pinch of salt enhances the overall flavor, balancing the sweetness. Unsalted butter, kept chilled, helps create the flaky layers by melding with the flour. Whole milk adds moisture, while binding the ingredients together. The egg contributes richness and aids in the scone’s rise. Finally, a dash of vanilla extract gives a subtle aroma that complements the buttery flavor.
Why This Traditional English Scones Works
Cold butter is doing most of the work here. When the butter is rubbed into the flour, it breaks into small, solid bits coated in flour. Those little chunks stay cold and firm in the dough. In the hot oven, the butter melts and leaves tiny gaps where it used to be, so the scones bake up light instead of dense. At the same time, the butter fat keeps the flour from soaking up too much liquid, so the inside stays tender and not chewy.
As the baking powder heats up, it starts to puff and push the dough upward. Because the dough was only mixed and kneaded gently, the flour doesn’t form tough strands, so it can rise easily. The egg and milk set as they bake and give the scones enough structure to hold their shape. By the time they are golden, the outside has firmed up, but the middle stays soft and slightly moist, ready to split and pile with cream and jam.
Traditional English Scones Tips & Tricks
- Keep your butter as cold as possible to achieve the best flakiness.
- If you don’t have a round cutter, a drinking glass can work in a pinch.
- For a shinier finish, brush the tops with a little milk before baking.
Mistakes To Avoid
Overbaking in a hot oven quickly dries out the scones. The outside turns dark and hard while the inside loses moisture and becomes crumbly and tough instead of soft and fluffy.
Overmixing the dough after the liquid goes in works the flour too much. The gluten tightens, so the scones rise less in the oven and come out dense and chewy instead of light.
Letting the butter get warm before it’s rubbed into the flour stops those little cold bits from staying in the dough. In the oven, there are fewer tiny steam pockets, so the scones don’t puff up as much and bake up flatter and heavier.
Pressing the dough too thin when shaping makes the scones bake too fast. They brown before they have a chance to rise properly, so they end up low, dry, and a bit hard.
Adding extra flour while kneading to make the dough “less sticky” quickly stiffens it. The dough turns tight and heavy, and the baked scones feel firm and bready instead of tender.
Equipment Used:
Pastry cutter, Baking sheet, Parchment paper, Mixing bowls, Whisk, Round cutter
Ingredients
- 2 cups all-purpose flour
- 1/4 cup granulated sugar
- 1 tablespoon baking powder
- 1/2 teaspoon salt
- 1/2 cup unsalted butter, chilled and cubed
- 2/3 cup whole milk
- 1 large egg
- 1 teaspoon vanilla extract
Step-by-step Instructions
- 1. Preheat oven to 400°F (200°C) and line a baking sheet with parchment paper.
- 2. In a large bowl, whisk together the flour, sugar, baking powder, and salt.
- 3. Add the cubed butter and use a pastry cutter or your fingers to blend until the mixture resembles coarse crumbs.
- 4. In a separate bowl, whisk together the milk, egg, and vanilla extract.
- 5. Pour the wet mixture into the dry ingredients, stirring just until combined and a dough forms.
- 6. Turn the dough onto a lightly floured surface and gently knead to bring it together.
- 7. Pat the dough into a 1-inch thick circle and cut out scones using a round cutter.
- 8. Place scones on the prepared baking sheet and bake for 15-18 minutes, or until golden brown.
- 9. Allow to cool slightly before serving warm, with clotted cream and jam.
Trending Now

Old-Fashioned Bread Pudding
Discover the classic charm of Old-Fashioned Bread Pudding - a timeless dessert com...
View Recipe
Traditional Italian Bruschetta
Experience the authentic taste of Italian bruschetta, a perfect blend of fresh tom...
View Recipe
Classic Green Beans
Discover the timeless delight of Classic Green Beans, a simple yet flavorful side ...
View Recipe
Classic Banana Bread
Classic Banana Bread is a timeless dessert beloved for its moist texture and sweet...
View RecipeFrequently Asked Questions
- Can I use self-rising flour instead of all-purpose flour?
- You can, but you’ll need to adjust the baking powder and salt since self-rising flour already contains leavening agents.
- Can these scones be frozen?
- Yes, you can freeze them before baking. Just shape the scones, freeze on a tray, and store in a freezer bag. Bake from frozen, adding a few extra minutes to the baking time.
Serving Ideas for Traditional English Scones
Traditional English scones truly shine when paired with clotted cream and a good jam, such as strawberry or raspberry. For a savory twist, serve them with a slice of sharp cheddar and a dollop of chutney. They’re also delightful with a pot of Earl Grey or your favorite herbal tea.
More Breads & Baked Goods Recipes

Traditional Italian Easter Bread
Savor the delightful taste of a classic Italian Easter bread, a sweet, soft, and s...
View Recipe
Old-Fashioned Pineapple Bread
A delightful and flavorful bread infused with juicy pineapple, perfect for breakfa...
View Recipe
Old-Fashioned Blueberry Muffins
Transport yourself to simpler times with these delightful old-fashioned blueberry ...
View Recipe
Strawberry Basil Scones
These tender scones combine the sweetness of fresh strawberries with a hint of pep...
View Recipe