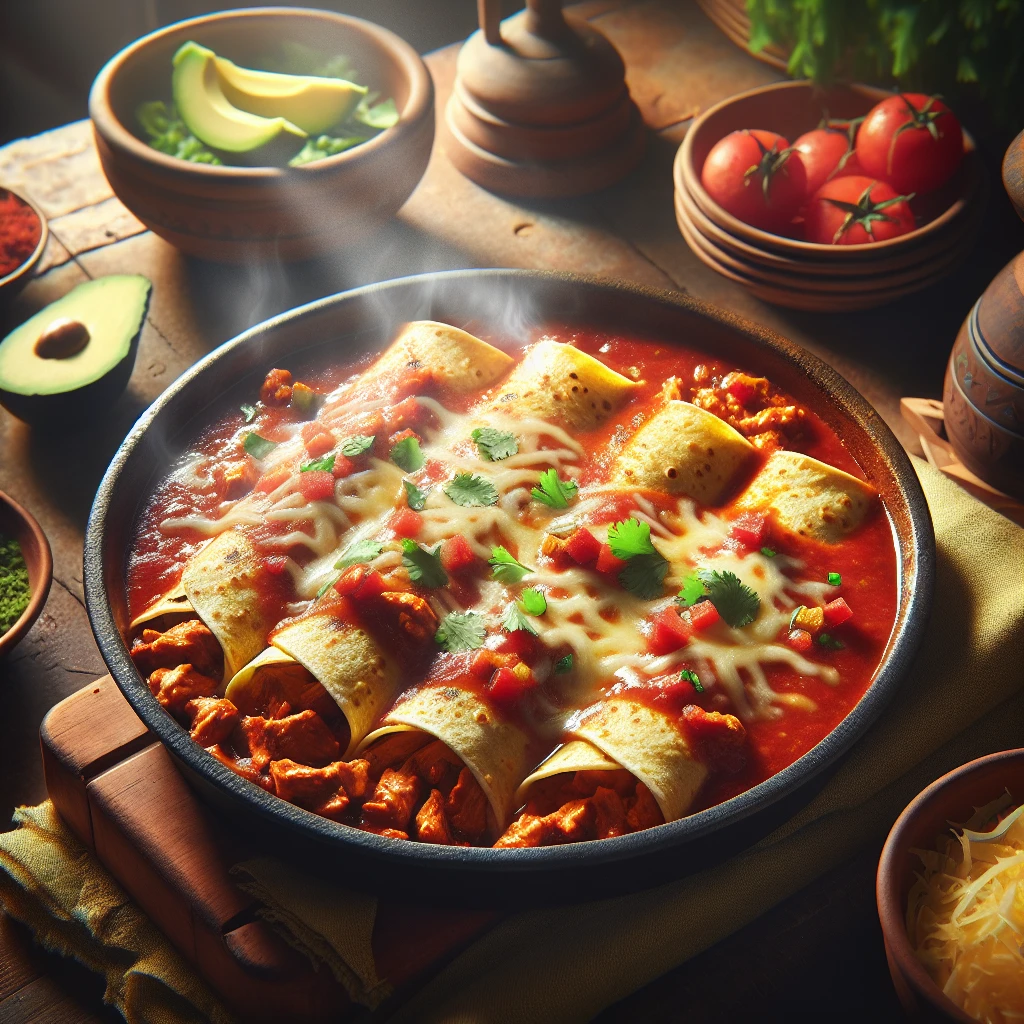
Traditional Enchiladas
If you're looking for a dish that brings vibrant Mexican flavors to your table with a comforting twist, these Traditional Enchiladas are just the ticket. Packed with tender chicken and a kick of spice, this recipe is an easy way to bring a little fiesta to your dinner routine.
This post may contain affiliate links. As an Amazon Associate, we earn from qualifying purchases.
Ingredients for Traditional Enchiladas
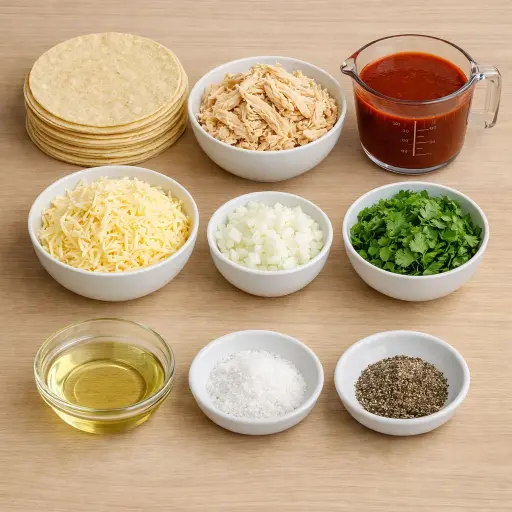
Corn tortillas are the backbone of enchiladas, providing a sturdy yet soft base for the filling. Don't worry if they're a bit stiff at first; a quick fry will make them pliable. The cooked, shredded chicken breast is your protein-packed filling, soaking up the flavors of the spices and onions. Red enchilada sauce is where the magic happens, infusing the dish with a deep, smoky flavor. You'll want a good Monterey Jack cheese for its meltability and mild, creamy taste. Onion adds a savory depth, while cilantro brings a fresh, herby finish. Vegetable oil helps in frying the tortillas, and a dash of salt and black pepper rounds out the seasoning.
Why This Traditional Enchiladas Works
During cooking, the onion softens in the oil and loses its sharp bite. It starts to taste sweeter and blends into the shredded chicken instead of standing out in harsh little bits. The oil also coats the chicken a little, so the meat doesn’t dry out later in the oven.
When the tortillas are lightly fried, they soak up a thin layer of oil and become flexible. Instead of cracking when rolled, they bend and wrap around the chicken without breaking. That light frying also keeps the tortillas from soaking up too much enchilada sauce and turning mushy.
In the oven, the sauce seeps into the tortillas just enough to soften them more, while the oil barrier keeps them holding together. The cheese on top melts and spreads, then settles into the gaps between the rolled tortillas. By the time it comes out, the tortillas are soft but not falling apart, the chicken stays moist inside, and everything is held in place under a melted, bubbly cheese layer.
Traditional Enchiladas Tips & Tricks
- Warm your tortillas before filling to prevent cracking. A quick fry or a brief microwave can do the trick.
- For a smokier flavor, try adding a dash of chipotle powder to the chicken mixture.
- If you like it spicy, mix some chopped jalapeños into the filling.
- Make ahead: Assemble the enchiladas, cover, and refrigerate for up to 24 hours before baking.
Mistakes To Avoid
Overbaking the enchiladas can dry everything out. The tortillas start to harden at the edges, the chicken loses moisture and turns stringy, and the cheese goes from melty to tough and greasy. The whole dish ends up chewy instead of soft and saucy.
Skipping the quick fry on the tortillas often leads to cracking. Dry tortillas tear when rolled and then split more in the oven, so the filling leaks out and the sauce soaks in unevenly. The result is a messy pan with some pieces soggy and others still stiff.
Pouring on too little sauce leaves the top tortillas exposed. The uncovered parts dry out in the oven, turning papery and hard, and the rolled tortillas stick to the dish instead of lifting out in neat pieces. Each bite ends up more like baked tacos than soft enchiladas.
Adding the cilantro before baking instead of at the end makes it wilt and darken. The leaves lose their fresh look and turn limp, so the top of the dish looks dull instead of bright and fresh.
Equipment Used:
Ingredients
- 12 corn tortillas
- 2 cups cooked, shredded chicken breast
- 2 cups red enchilada sauce
- 2 cups shredded Monterey Jack cheese
- 1/2 cup chopped onion
- 1/2 cup chopped cilantro
- 2 tablespoons vegetable oil
- 1/2 teaspoon salt
- 1/4 teaspoon black pepper
Step-by-step Instructions
- 1. Preheat your oven to 350°F (175°C).
- 2. In a skillet over medium heat, add vegetable oil and sauté the onion until translucent, about 5 minutes.
- 3. Add shredded chicken, salt, and pepper to the skillet; mix until well combined.
- 4. Lightly fry each corn tortilla in a separate skillet until soft, about 15 seconds on each side.
- 5. Fill each tortilla with the chicken mixture and roll tightly.
- 6. Place the filled tortillas seam-side down in a baking dish.
- 7. Pour the enchilada sauce evenly over the rolled tortillas.
- 8. Sprinkle the shredded cheese over the top.
- 9. Bake in the preheated oven for 20 minutes, or until the cheese is melted and bubbly.
- 10. Garnish with chopped cilantro before serving.
Trending Now

Old-Fashioned Bread Pudding
Discover the classic charm of Old-Fashioned Bread Pudding - a timeless dessert com...
View Recipe
Traditional Italian Bruschetta
Experience the authentic taste of Italian bruschetta, a perfect blend of fresh tom...
View Recipe
Classic Green Beans
Discover the timeless delight of Classic Green Beans, a simple yet flavorful side ...
View Recipe
Classic Banana Bread
Classic Banana Bread is a timeless dessert beloved for its moist texture and sweet...
View RecipeFrequently Asked Questions
- Can I use flour tortillas instead of corn?
- Yes, but the texture and flavor will be slightly different. Corn tortillas are traditional and hold up better to the sauce.
- Can I make this vegetarian?
- Absolutely, swap the chicken for sautéed vegetables or beans for a vegetarian version.
Serving Ideas for Traditional Enchiladas
These enchiladas pair beautifully with a side of Mexican rice or refried beans. For a refreshing contrast, serve with a simple green salad topped with avocado and lime vinaigrette. And if you're feeling festive, a side of guacamole or pico de gallo never hurts!
More Main Dishes Recipes
Unique Homemade Corned Beef
Discover the ultimate homemade corned beef recipe that balances rich flavors and t...
View Recipe
Spicy Lime Seared Ahi Tuna
Experience a burst of flavor with our Spicy Lime Seared Ahi Tuna, a perfect fusion...
View Recipe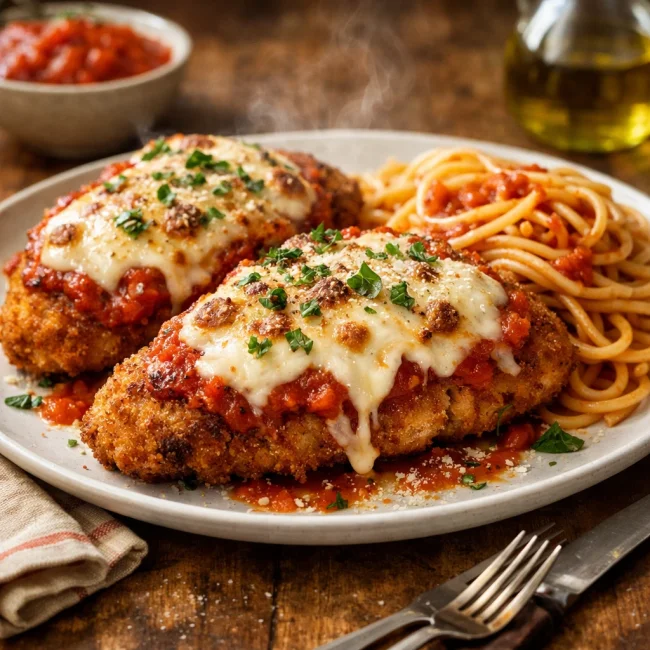
Traditional Chicken Parmesan
Savor the authentic taste of Italian cuisine with our Traditional Chicken Parmesan...
View Recipe
Seared Ahi Tuna
Experience the sublime taste of seared Ahi tuna, a Japanese-inspired dish that hig...
View Recipe