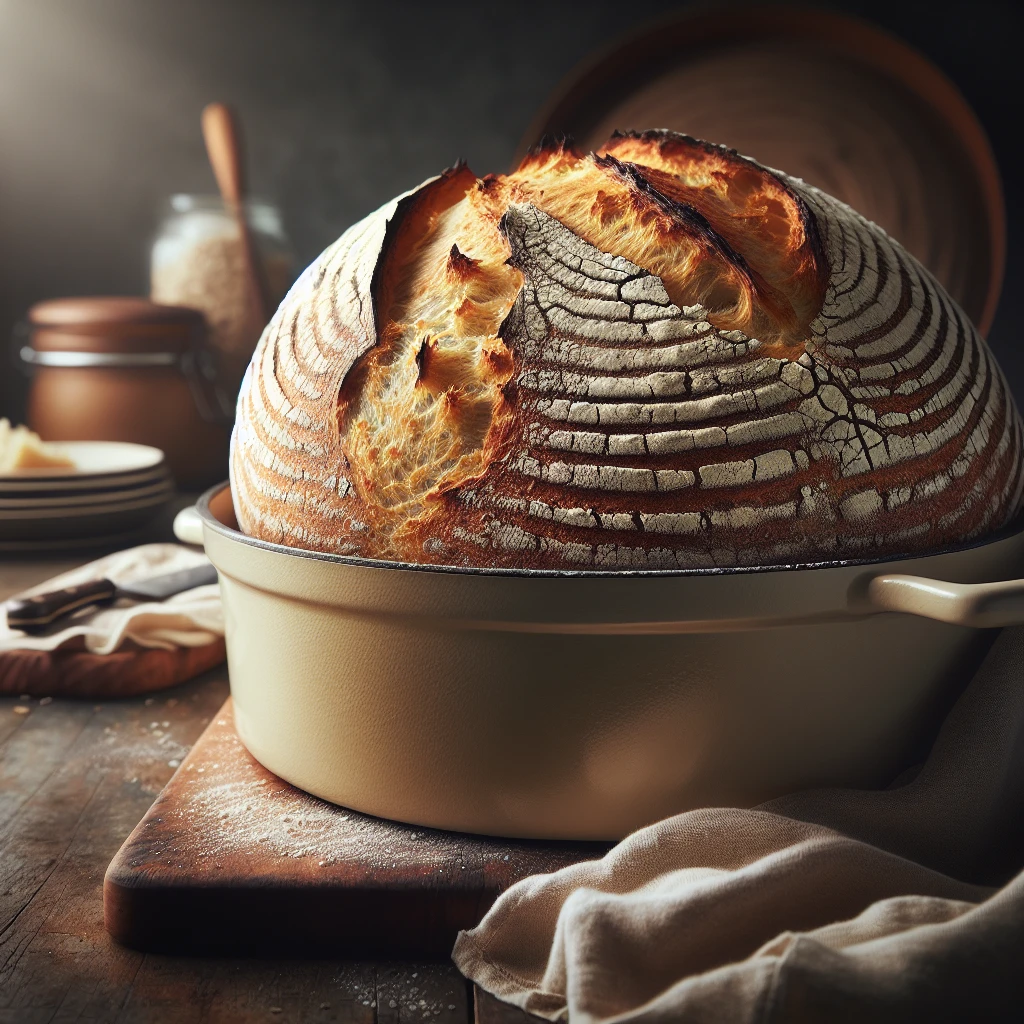
Traditional Dutch Oven Bread
Traditional Dutch Oven Bread is one of those simple yet magical recipes that transforms basic ingredients into something extraordinary. With a crispy crust and soft, chewy interior, this bread is a heartwarming addition to any meal or a delight on its own.
This post may contain affiliate links. As an Amazon Associate, we earn from qualifying purchases.
Ingredients for Traditional Dutch Oven Bread
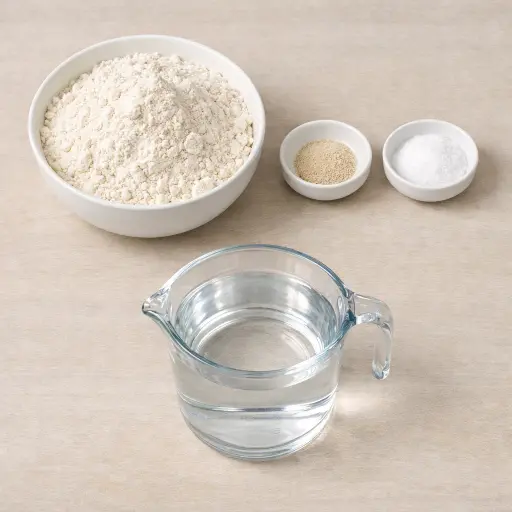
All-purpose flour forms the base of our bread, providing structure and that all-important chew. We want a good quality flour for the best texture.
Active dry yeast is the powerhouse behind the bread rising, even in such a small quantity. With a long resting period, it works its magic slowly, developing flavor along the way.
Salt enhances the flavor of the bread. It’s a small amount but essential for taste.
Warm water brings everything together, activating the yeast and forming our dough. Aim for warm water, not hot, to keep the yeast happy.
Why This Traditional Dutch Oven Bread Works
During the long rest, the tiny amount of yeast has plenty of time to work through the flour and water. The dough slowly fills with gas and stretches, so it looks bubbly and loose. Gluten strands form on their own without much kneading, so the dough can hold that gas inside. Salt keeps the yeast from racing too fast, so the dough rises slowly and evenly instead of blowing up and collapsing.
Once the Dutch oven is blazing hot, the wet dough hits that heat and reacts fast. The water in the dough turns to steam and pushes out against the stretchy gluten, so the bread rises a lot in the first minutes. The heavy pot and lid trap that steam around the dough, which keeps the surface soft long enough for the loaf to expand instead of cracking in random spots. After the lid comes off, the outside dries out and browns, so the crust turns deep golden and crisp while the inside stays moist and airy.
Traditional Dutch Oven Bread Tips & Tricks
- For a more flavorful bread, extend the resting time to the full 18 hours.
- If your kitchen is particularly cold, place the dough in a warmer spot, like on top of the fridge.
- Use parchment paper in the Dutch oven for easier cleanup.
Mistakes To Avoid
Letting the dough rest too little time means the yeast barely wakes up, so the dough doesn’t puff up and stays tight. In the oven, this kind of dough rises only a little and bakes into a heavy, dense loaf instead of one with big air pockets.
Using water that is too hot can kill most of the yeast right at the start. The dough then sits for hours without really growing, and the baked bread comes out flat, pale, and gummy in the center.
Skipping the preheat of the Dutch oven keeps the crust from forming fast. The dough spreads out instead of springing up, so the loaf bakes wide and squat with a soft, thin crust instead of a firm, crackly one.
Adding a lot of extra flour while shaping can dry out the surface of the dough. In the oven, that dry outer layer hardens quickly, so the inside has trouble expanding and the bread ends up with a thick, tough crust and a tighter crumb.
Equipment Used:
Dutch oven, Mixing bowl, Measuring cups, Measuring spoons, Plastic wrap
Ingredients
- 3 cups all-purpose flour
- 1/4 teaspoon active dry yeast
- 1 1/4 teaspoons salt
- 1 1/2 cups warm water
Step-by-step Instructions
- 1. In a large bowl, combine the flour, yeast, and salt.
- 2. Gradually add the warm water, stirring until a shaggy dough forms.
- 3. Cover the bowl with plastic wrap and let it rest at room temperature for 12-18 hours until the surface is dotted with bubbles and the dough is doubled in size.
- 4. Preheat your oven to 450°F and place a Dutch oven with its lid in the preheating oven.
- 5. Meanwhile, turn the dough out onto a floured surface and quickly shape it into a ball.
- 6. Carefully remove the preheated Dutch oven, place the dough inside, cover with the lid, and bake for 30 minutes.
- 7. Remove the lid and bake for an additional 15 minutes until the bread is a deep golden brown.
- 8. Carefully transfer the bread to a rack to cool completely.
Trending Now

Oven-Baked Pork Chops
Enjoy a delightful dinner with these tender and juicy oven-baked pork chops, seaso...
View Recipe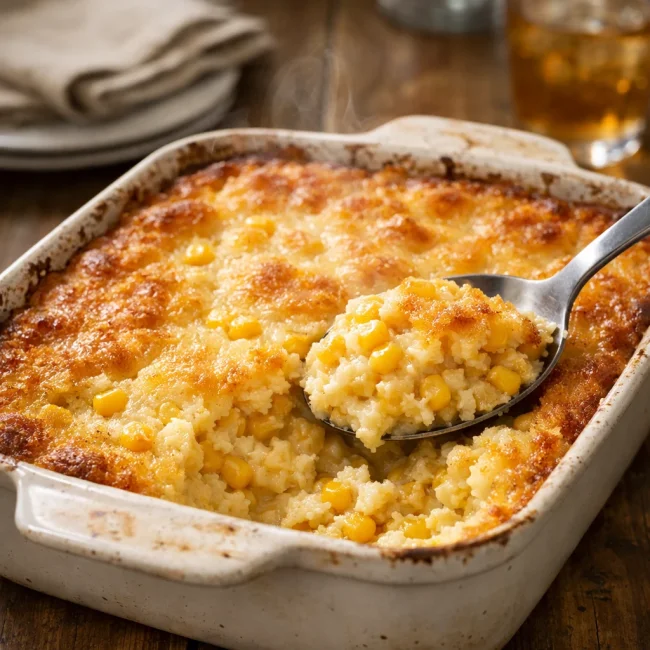
Traditional Corn Casserole
A delightful corn casserole dish that embodies the comforting flavors of sweet cor...
View Recipe
Traditional Cucumber and Tomato Salad
A refreshing and simple salad combining crisp cucumbers and juicy tomatoes, season...
View Recipe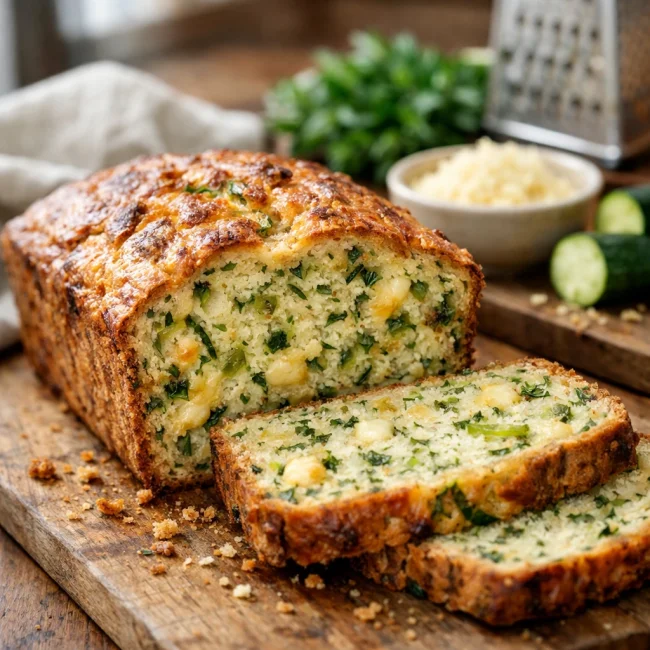
Savory Zucchini Bread
Savory Zucchini Bread is a delectable twist on traditional zucchini recipes, combi...
View RecipeFrequently Asked Questions
- Can I use whole wheat flour?
- Yes, but it will change the texture slightly. Try substituting half of the all-purpose flour with whole wheat for a hearty loaf.
- How do I store leftovers?
- Wrap the bread in a clean kitchen towel and store at room temperature for up to two days. For longer storage, freeze the bread and reheat in the oven.
- What if I don't have a Dutch oven?
- You can use any heavy oven-safe pot with a lid. Cast iron works great!
Serving Ideas for Traditional Dutch Oven Bread
This bread is incredibly versatile. Serve it warm with a slather of salted butter for a simple treat. It pairs beautifully with soups and stews, acting as the perfect vessel for sopping up every last drop. For breakfast, toast slices and top with avocado or your favorite jam.
More Breads & Baked Goods Recipes

Traditional Italian Easter Bread
Savor the delightful taste of a classic Italian Easter bread, a sweet, soft, and s...
View Recipe
Old-Fashioned Pineapple Bread
A delightful and flavorful bread infused with juicy pineapple, perfect for breakfa...
View Recipe
Old-Fashioned Blueberry Muffins
Transport yourself to simpler times with these delightful old-fashioned blueberry ...
View Recipe
Strawberry Basil Scones
These tender scones combine the sweetness of fresh strawberries with a hint of pep...
View Recipe