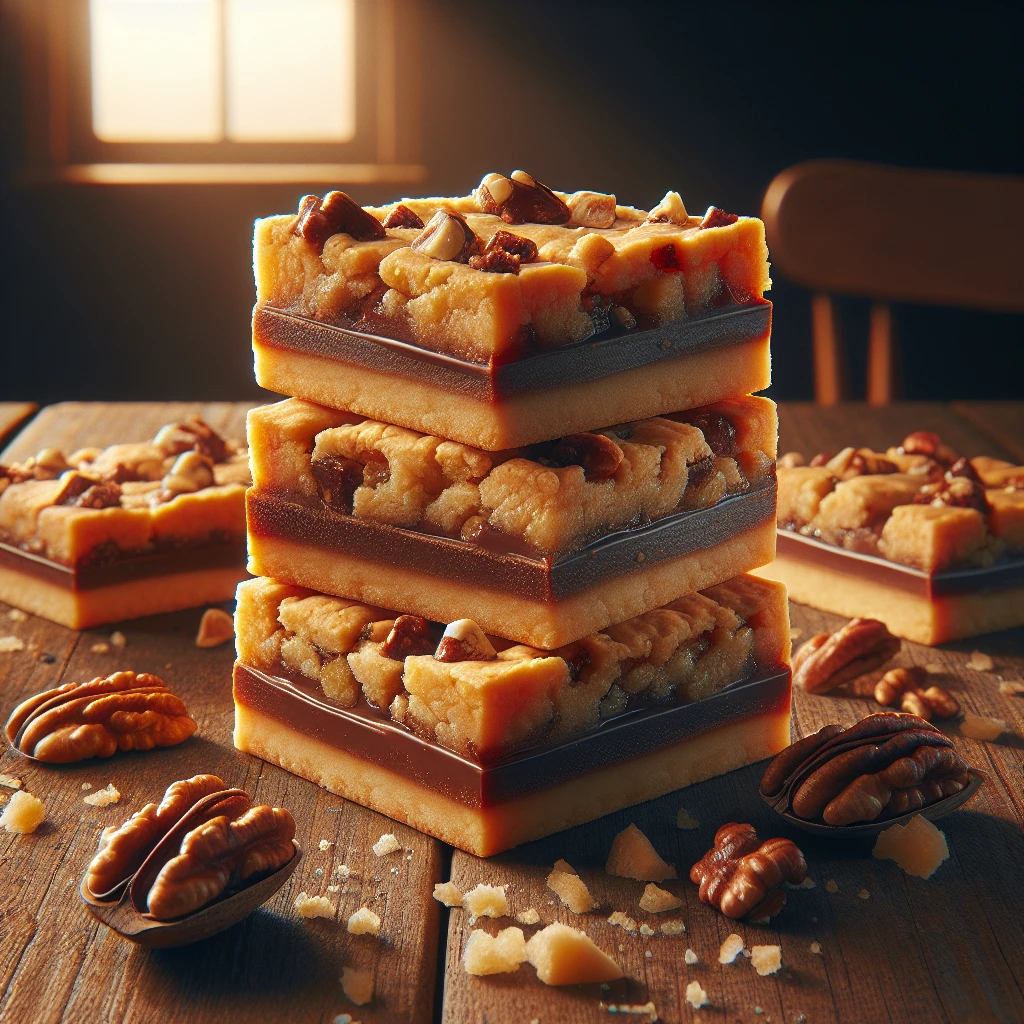
Traditional Cookie Squares
These Traditional Cookie Squares are a delightful treat that combines layers of texture and flavor in every bite. They're perfect for gatherings or a cozy afternoon snack, offering a nostalgic nod to simpler, sweeter times.
This post may contain affiliate links. As an Amazon Associate, we earn from qualifying purchases.
Ingredients for Traditional Cookie Squares

Butter: This melted goodness is the base layer, providing richness and helping to bind the crust.
Graham cracker crumbs: These form the crust, offering a slightly sweet and crunchy foundation.
Semi-sweet chocolate chips: Bring a classic chocolaty taste without overpowering sweetness.
Butterscotch chips: Add warmth and a buttery flavor that complements the chocolate.
Sweetened shredded coconut: Lends a chewy texture and a hint of tropical flavor.
Chopped walnuts: Provide a nutty crunch and depth to each bite.
Sweetened condensed milk: This magic ingredient binds everything together and adds a creamy sweetness.
Why This Traditional Cookie Squares Works
In the oven, the butter and sweetened condensed milk melt and sink down into the graham cracker crumbs and all the layers. The crumbs soak up the butter and milk and start to act like a soft cookie base instead of loose crumbs. As everything heats, the condensed milk thickens and turns sticky, so it holds the chocolate chips, butterscotch chips, coconut, and walnuts in place.
During baking, the edges of the pan get hotter first, so the sugars in the milk and chips brown a little and firm up. That’s why the sides look golden and set before the center. Over time, the coconut dries out a bit on top and the nuts toast, while underneath they stay surrounded by that thick, sweet layer.
Once the pan cools, the melted chips and thickened condensed milk go from soft and gooey to firm and sliceable. Cooling lets the butter and sugars solidify again, so the whole thing cuts into neat squares that don’t fall apart, even though there are no eggs or flour holding it together.
Traditional Cookie Squares Tips & Tricks
- Line your baking pan with parchment paper for easy removal and cleanup.
- Press the graham cracker crust firmly to prevent it from crumbling when cutting.
- Allow the squares to cool completely before cutting to ensure neat slices.
Mistakes To Avoid
Letting the bars bake too long can turn the edges hard and almost crunchy while the center dries out. The sweetened condensed milk and sugars keep cooking and start to caramelize past the sweet, chewy stage. The result is a pan that looks fine but cuts into tough, overly stiff squares instead of soft, sticky ones.
Pouring the sweetened condensed milk in one thick line instead of drizzling it evenly causes uneven baking. Some spots get flooded and stay gooey and under-set, while dry patches of coconut and crumbs on the sides can burn. The finished pan ends up with pockets that won’t hold together and other areas that are hard and overdone.
Skipping the light press on the graham cracker crumbs leaves a loose, sandy base. When the bars bake, the butter and condensed milk run underneath instead of soaking into a firm crust. After cooling, the bottom layer crumbles and falls apart when sliced, so the squares don’t hold their shape.
Equipment Used:
Ingredients
- 1/2 cup melted butter
- 1 1/2 cups graham cracker crumbs
- 1 cup semi-sweet chocolate chips
- 1 cup butterscotch chips
- 1 1/3 cups sweetened shredded coconut
- 1 cup chopped walnuts
- 1 can (14 ounces) sweetened condensed milk
Step-by-step Instructions
- 1. Preheat oven to 350°F (175°C).
- 2. Pour melted butter into a 9x13-inch baking pan.
- 3. Sprinkle graham cracker crumbs evenly over the butter, pressing lightly to form a crust.
- 4. Layer chocolate chips, butterscotch chips, and coconut over the crust.
- 5. Sprinkle walnuts evenly across the top.
- 6. Drizzle sweetened condensed milk over the entire mixture.
- 7. Bake in preheated oven for 25 to 30 minutes until edges are golden brown.
- 8. Let cool completely in the pan before slicing into squares.
Trending Now

Old-Fashioned Bread Pudding
Discover the classic charm of Old-Fashioned Bread Pudding - a timeless dessert com...
View Recipe
Classic Green Beans
Discover the timeless delight of Classic Green Beans, a simple yet flavorful side ...
View Recipe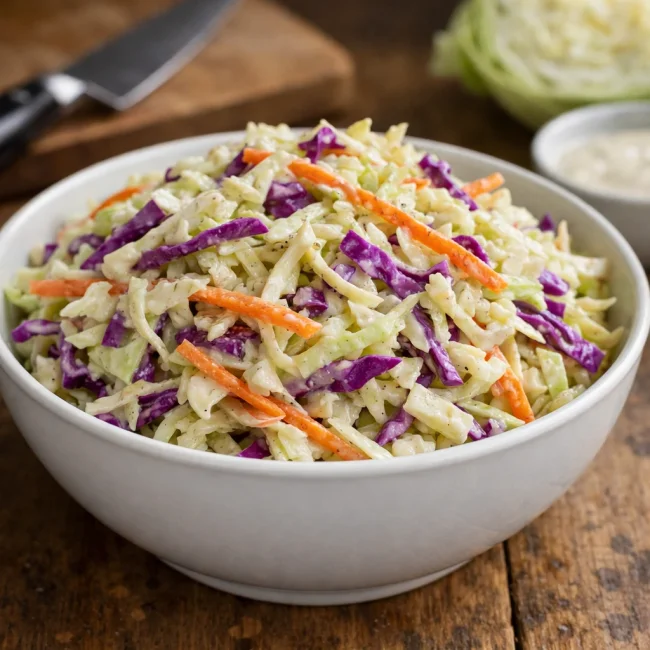
Traditional Crisp Coleslaw
A classic coleslaw recipe featuring finely shredded cabbage and carrots tossed in ...
View Recipe
Traditional Italian Bruschetta
Experience the authentic taste of Italian bruschetta, a perfect blend of fresh tom...
View RecipeFrequently Asked Questions
- Can I use a different type of nut?
- Absolutely! Pecans or almonds would work beautifully in place of walnuts.
- What if I'm not a fan of coconut?
- You can skip the coconut and add more nuts or even dried fruit for a different texture.
- How should I store these cookie squares?
- Keep them in an airtight container at room temperature for up to a week. They also freeze well for up to three months.
Serving Ideas for Traditional Cookie Squares
These cookie squares are delightful on their own, but if you want to elevate them, serve with a scoop of vanilla ice cream or a dollop of whipped cream. For a bit of contrast, a sprinkle of flaky sea salt on top before baking can add a sophisticated touch.
More Desserts Recipes

Rustic Vanilla Peach Cobbler
This rustic vanilla peach cobbler combines a rich, buttery crust with the sweet, v...
View Recipe
Traditional Lemon Curd
A classic, tangy lemon curd that is perfect for enhancing desserts, breakfast dish...
View Recipe
Traditional Cream Cheese Pie
A delightful and timeless dessert, Traditional Cream Cheese Pie offers a rich and ...
View Recipe
Timeless Cream Puff Delight
Indulge in a delectable Timeless Cream Puff Delight, a classic dessert featuring a...
View Recipe