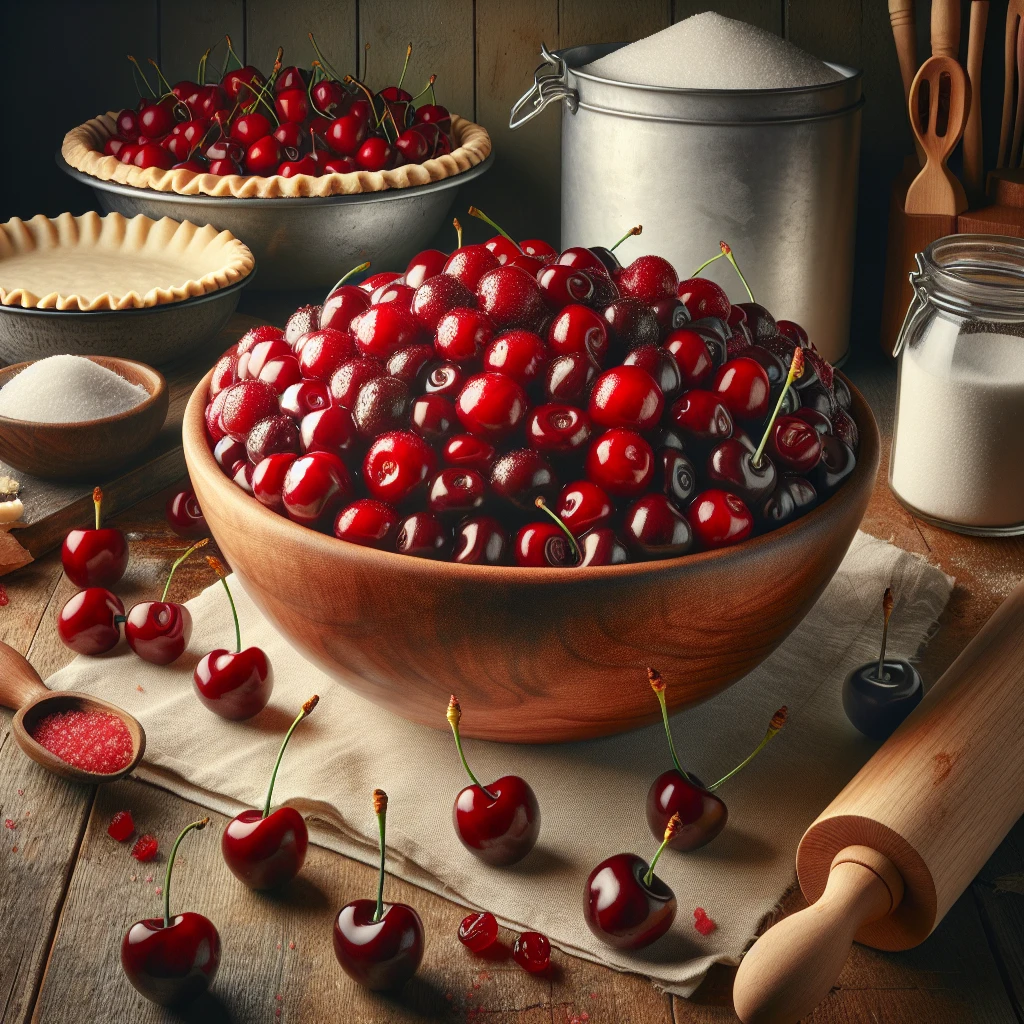
Traditional Cherry Pie Filling
There's something timeless about a homemade cherry pie, especially when the filling is made from scratch. This traditional cherry pie filling is a celebration of tart cherries, bringing a burst of fruity flavor that’s both nostalgic and utterly satisfying.
Ingredients for Traditional Cherry Pie Filling
Granulated sugar provides the sweet counterpoint to the tartness of the cherries, making the filling perfectly balanced. Cornstarch is our thickener here, ensuring the filling holds together beautifully without being runny. A pinch of salt enhances all the flavors, bringing out the natural sweetness. The hero of our dish, tart cherries, offers that classic pie flavor you're looking for. A hint of lemon juice adds brightness and prevents the fruit from browning. Just a touch of almond extract complements the cherries with a subtle nutty aroma, while a dab of unsalted butter enriches the filling with a smooth, glossy finish.
Traditional Cherry Pie Filling Tips & Tricks
- If using frozen cherries, let them thaw and drain the excess liquid before adding them to the saucepan.
- Avoid overcooking: Once the filling thickens and bubbles, reduce the heat promptly to prevent it from becoming gummy.
- For a smoother texture, mash some of the cherries with a fork while cooking.
Serving Ideas for Traditional Cherry Pie Filling
This cherry pie filling is a classic, but don’t stop at pies! Try it as a topping for vanilla ice cream or layer it into a parfait with whipped cream and crushed cookies. It’s also fantastic spooned over pancakes or waffles for a special breakfast treat.
Frequently Asked Questions
- Can I use sweet cherries instead of tart cherries?
- Yes, but you may want to reduce the sugar slightly to avoid an overly sweet filling.
- How long can I store this filling?
- It can be refrigerated in an airtight container for up to a week or frozen for up to 3 months.
Traditional Cherry Pie Filling Recipe Walkthrough
Start by gathering your ingredients and a medium-sized saucepan. First, combine the sugar, cornstarch, and salt directly in the saucepan. This dry mixture will be the foundation of your thickened cherry filling.
Next, add in the pitted cherries and lemon juice. Stir everything together until the cherries are thoroughly coated with the dry mix. This step ensures that every piece of fruit will contribute to the overall texture and flavor of your filling.
Place the saucepan over medium heat. As you cook, stir frequently; this prevents the bottom from burning and helps the cornstarch dissolve smoothly. Soon, you’ll notice the mixture begins to thicken and bubble. This bubbling is your cue to lower the heat and let it all simmer gently for about 5 minutes.
During this simmering stage, keep stirring occasionally. You want that perfect consistency—thick but not too stiff. Once you're satisfied with the texture, remove the pan from the heat and stir in the almond extract and butter. These last additions melt into the filling, adding depth and richness. Allow the filling to cool completely before using it in your pie or storing it for later.
Why This Traditional Cherry Pie Filling Works
- Tart and Sweet Balance: Perfectly balances the natural tartness of cherries with just the right amount of sweetness.
- Simple Ingredients: Uses common pantry staples, making it easy to whip up anytime.
- Versatile Usage: Not only for pies, but great for tarts, crumbles, and even as a topping for ice cream.
- Make-Ahead Friendly: Can be made in advance and stored, saving you time on busy days.
Ingredients
- 1 cup granulated sugar
- 1/4 cup cornstarch
- 1/8 teaspoon salt
- 4 cups pitted tart cherries (fresh or frozen)
- 1 tablespoon lemon juice
- 1/4 teaspoon almond extract
- 1 tablespoon unsalted butter
Step-by-step Instructions
- 1. In a medium saucepan, combine sugar, cornstarch, and salt.
- 2. Stir in pitted cherries and lemon juice, mixing until cherries are well coated.
- 3. Over medium heat, cook the mixture, stirring frequently, until it thickens and begins to bubble.
- 4. Reduce heat and let it simmer for about 5 minutes, continuing to stir occasionally.
- 5. Remove from the heat and stir in almond extract and butter until fully incorporated.
- 6. Allow the filling to cool completely before using it in your pie or storing it.
