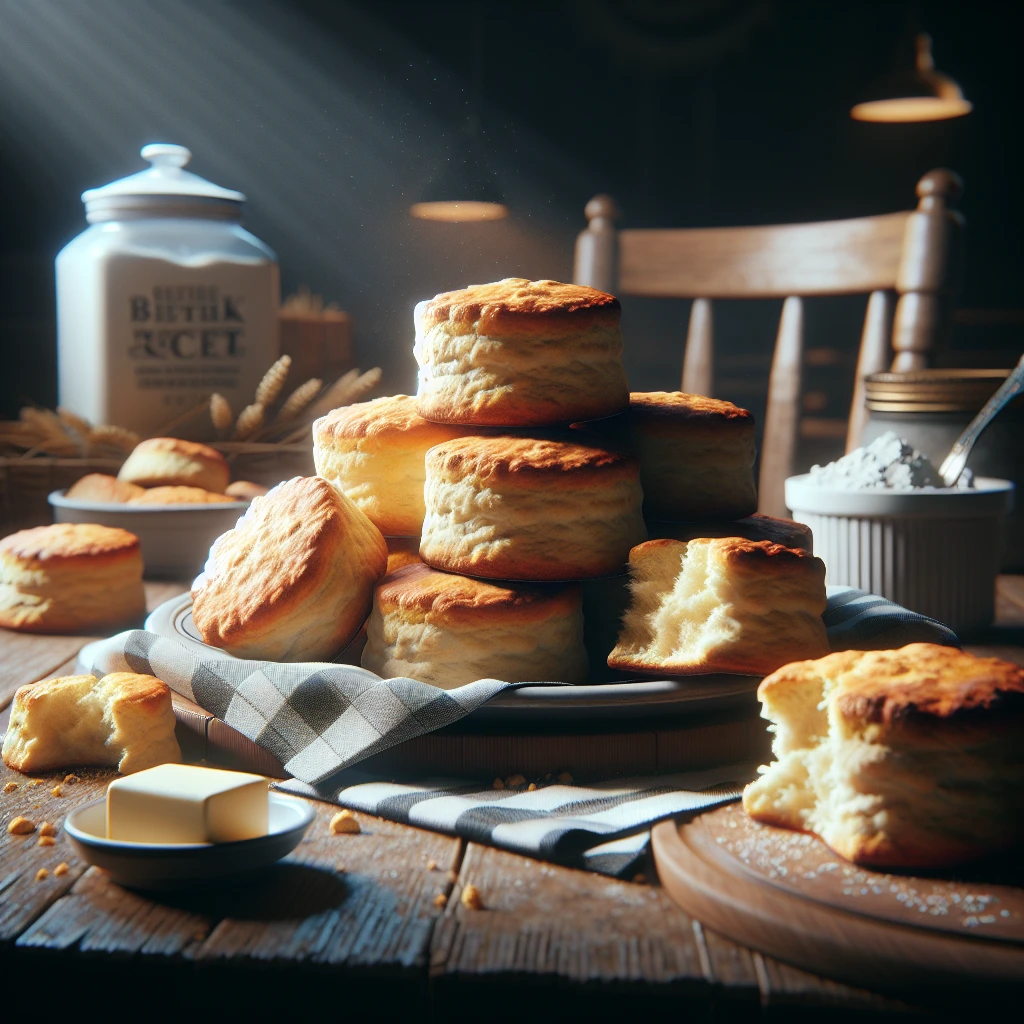
Traditional Buttermilk Biscuits
Welcome to the world of traditional buttermilk biscuits! These biscuits are all about comfort and simplicity, with a buttery flavor and flaky texture that’s hard to resist. Perfect for breakfast, brunch, or as a side to your favorite meal, they’re a versatile addition to your baking repertoire.
This post may contain affiliate links. As an Amazon Associate, we earn from qualifying purchases.
Ingredients for Traditional Buttermilk Biscuits
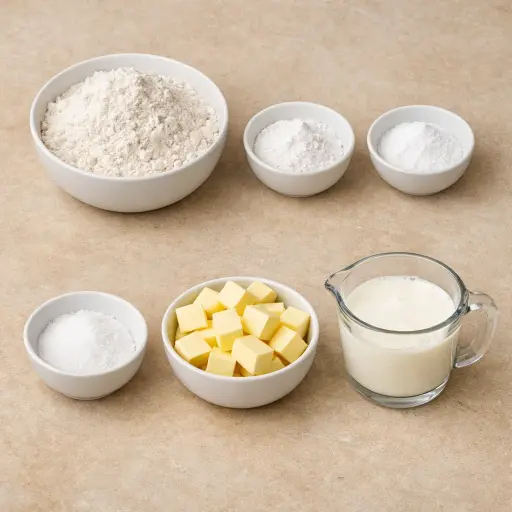
Let’s break down what makes these biscuits shine. Starting with all-purpose flour, it provides the structure and base. The baking powder and baking soda work together to give the biscuits their rise, ensuring they’re not dense but delightfully fluffy. A pinch of salt balances the flavors. The star of the show, unsalted butter, brings richness and that classic biscuit taste. It’s crucial to keep it cold for the flakiest layers. Finally, buttermilk adds tanginess and moisture, bringing everything together in perfect harmony.
Why This Traditional Buttermilk Biscuits Works
In the bowl, the dry ingredients spread the baking powder and baking soda evenly through the flour. Once the cold butter goes in and gets cut into small bits, those little chunks stay separate and coated in flour. They don’t melt yet; they just sit there like tiny pebbles. When the cold buttermilk is stirred in, the flour soaks it up and starts to stick, but the butter pieces are still solid and scattered through the dough.
On the counter, gentle kneading pulls the dough together without smashing the butter. Rolling it out keeps those butter pockets layered inside. In the hot oven, the butter finally melts and leaves little gaps where it used to be. At the same time, the baking powder and baking soda react and puff up the dough. Those empty spaces from the melted butter and the rising from the leaveners line up, so the biscuits lift high and stay soft inside instead of baking into something dense and tough.
Traditional Buttermilk Biscuits Tips & Tricks
- Use very cold butter and buttermilk for the flakiest biscuits.
- Don’t skip the step of chilling your butter; it makes a big difference in texture.
- If you don’t have a biscuit cutter, a drinking glass can work in a pinch.
- For extra flavor, brush the tops with melted butter before baking.
Mistakes To Avoid
Letting the butter warm up too much before it’s mixed in makes the dough greasy instead of crumbly. The butter then melts too fast in the oven instead of creating little steam pockets. The biscuits come out flat and a bit tough instead of tall and flaky.
Overworking the dough after the buttermilk goes in quickly turns it from soft to elastic. The flour soaks up more liquid and the butter smears instead of staying in small pieces. The baked biscuits end up dense and chewy instead of light.
Rolling the dough too thin means the biscuits don’t have enough height to rise properly. In the oven they brown fast but don’t get those soft, layered centers. The result is crisp, almost cracker-like biscuits with dry middles.
Letting the buttermilk or dough sit around and warm up before baking makes the rise weaker. The cold butter starts to soften and blend into the flour instead of staying in chunks. The biscuits bake up shorter with fewer visible layers.
Equipment Used:
Ingredients
- 2 cups all-purpose flour
- 1 tablespoon baking powder
- 1/2 teaspoon baking soda
- 1 teaspoon salt
- 1/2 cup unsalted butter, chilled and cubed
- 3/4 cup buttermilk, cold
Step-by-step Instructions
- 1. Preheat your oven to 450°F (232°C).
- 2. In a large bowl, whisk together the flour, baking powder, baking soda, and salt.
- 3. Add the chilled butter cubes to the flour mixture and cut in the butter using a pastry cutter or fork until the mixture resembles coarse crumbs.
- 4. Make a well in the center of the flour mixture and pour in the cold buttermilk. Stir gently with a fork until the dough begins to come together.
- 5. Turn the dough onto a lightly floured surface and knead gently until it forms a cohesive ball (about 5-6 times).
- 6. Roll the dough out to about 1/2-inch thickness and cut out biscuits using a floured biscuit cutter.
- 7. Place the biscuits on a baking sheet lined with parchment paper, ensuring they are close together but not touching.
- 8. Bake for 10-12 minutes or until the tops are golden brown.
- 9. Serve warm with butter, jam, or honey.
Trending Now

Zesty Summer Squash Casserole
This delightful summer squash casserole combines vibrant garden-fresh vegetables w...
View Recipe
Classic Cucumber Salad
A refreshing and light cucumber salad featuring crisp cucumbers and a tangy vinaig...
View Recipe
Classic Banana Bread
Classic Banana Bread is a timeless dessert beloved for its moist texture and sweet...
View Recipe
Traditional Dump Cake
Discover the timeless delight of the Traditional Dump Cake, a simple and scrumptio...
View RecipeFrequently Asked Questions
- Can I make these biscuits without buttermilk?
- Yes, you can substitute with regular milk and add a tablespoon of lemon juice or vinegar to mimic the acidity of buttermilk.
- How do I store leftover biscuits?
- Store them in an airtight container at room temperature for up to two days. You can also freeze them for longer storage.
- My biscuits didn’t rise much. What went wrong?
- Make sure your baking powder and soda are fresh. Also, ensure your oven is fully preheated before baking.
Serving Ideas for Traditional Buttermilk Biscuits
These biscuits pair wonderfully with a hearty sausage gravy for a classic breakfast dish. For a sweet twist, try serving them with fresh strawberries and whipped cream. They’re also perfect alongside a chicken stew or a bowl of soup, adding a comforting touch to any meal.
More Breads & Baked Goods Recipes

Traditional Italian Easter Bread
Savor the delightful taste of a classic Italian Easter bread, a sweet, soft, and s...
View Recipe
Old-Fashioned Pineapple Bread
A delightful and flavorful bread infused with juicy pineapple, perfect for breakfa...
View Recipe
Old-Fashioned Blueberry Muffins
Transport yourself to simpler times with these delightful old-fashioned blueberry ...
View Recipe
Strawberry Basil Scones
These tender scones combine the sweetness of fresh strawberries with a hint of pep...
View Recipe