Traditional Baked Butternut Squash
If you're on the hunt for a comforting and simple fall dish, look no further than this Traditional Baked Butternut Squash. It's a celebration of autumn's best flavors, combining the natural sweetness of squash with a hint of maple and cinnamon.

This post may contain affiliate links. As an Amazon Associate, we earn from qualifying purchases.
Ingredients for Traditional Baked Butternut Squash
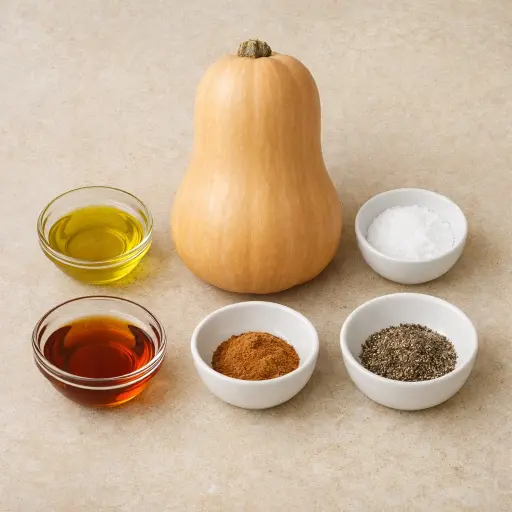
Butternut squash is the star of the show, offering a creamy texture and a slightly nutty flavor. Olive oil helps to caramelize the squash, giving it a lovely golden color. Salt and black pepper enhance the natural flavors without overpowering them. Maple syrup adds a gentle sweetness that pairs beautifully with the earthy squash, while ground cinnamon provides a warm, aromatic touch that makes the dish feel festive and cozy.
Why This Traditional Baked Butternut Squash Works
In the oven, the butternut squash slowly softens all the way through. The steady heat breaks down the firm flesh, so the cubes go from hard and squeaky to tender and creamy inside. Cutting the squash into even pieces means they all soften at about the same time, so some don’t dry out while others stay tough.
As the squash bakes, the olive oil coats each piece and keeps the edges from drying out. The oil also lets the sides brown a bit where they touch the hot pan. Those browned spots taste sweeter and a little nutty. Salt and pepper are already on the squash, so that seasoning sinks in while it cooks instead of just sitting on top.
Once the maple syrup and cinnamon warm up in the oven, they start to stick to the surface of the squash. The syrup thickens and clings to the edges, so the outside becomes slightly sticky and caramelized while the inside stays soft. After it comes out of the oven and cools a little, the texture settles and the cubes hold their shape but still feel tender when bitten.
Traditional Baked Butternut Squash Tips & Tricks
- For easier peeling, microwave the squash for 1-2 minutes to soften the skin.
- If you prefer a spicier kick, add a pinch of cayenne pepper with the salt and pepper.
- Use parchment paper on the baking sheet for easier cleanup.
- Flip the squash halfway through baking for even caramelization.
Mistakes To Avoid
Cutting the squash into very different sizes often leads to half the pieces turning mushy while the bigger chunks stay firm in the center. The small cubes collapse and dry out on the tray, while the larger ones never get fully tender, so the pan ends up with mixed, uneven texture.
Crowding all the squash onto a small baking sheet keeps the pieces from roasting properly. Instead of getting a light crust and caramelized edges, the squash steams in its own moisture and stays soft and a bit soggy on the outside.
Adding a heavy drizzle of maple syrup too early or in big puddles can cause burning on the spots where it pools. Those areas darken fast and turn hard or bitter on the surface while the rest of the squash is still just starting to brown.
Baking at a much higher temperature than listed often makes the edges scorch before the centers soften. The squash looks done from the outside, but when bitten into, the middle can still feel firm and slightly raw.
Equipment Used:
Ingredients
- 1 medium butternut squash
- 2 tbsp olive oil
- 1 tsp salt
- 1/2 tsp black pepper
- 2 tbsp maple syrup
- 1/2 tsp ground cinnamon
Step-by-step Instructions
- 1. Preheat the oven to 375°F (190°C).
- 2. Peel the butternut squash, cut it in half lengthwise, and remove the seeds.
- 3. Slice the squash into even cubes, approximately 1 inch in size.
- 4. In a large bowl, toss the squash cubes with olive oil, salt, and black pepper.
- 5. Spread the seasoned squash evenly on a baking sheet.
- 6. Drizzle maple syrup over the squash and sprinkle with ground cinnamon.
- 7. Bake in the preheated oven for 25-30 minutes, or until tender and slightly caramelized.
- 8. Remove from the oven and let it cool slightly before serving.
Trending Now

Old-Fashioned Bread Pudding
Discover the classic charm of Old-Fashioned Bread Pudding - a timeless dessert com...
View Recipe
Traditional Italian Bruschetta
Experience the authentic taste of Italian bruschetta, a perfect blend of fresh tom...
View Recipe
Classic Green Beans
Discover the timeless delight of Classic Green Beans, a simple yet flavorful side ...
View Recipe
Classic Banana Bread
Classic Banana Bread is a timeless dessert beloved for its moist texture and sweet...
View RecipeFrequently Asked Questions
- Can I use another type of squash?
- Yes, acorn or kabocha squash can be used, though cooking times may vary slightly.
- How do I store leftovers?
- Keep any leftovers in an airtight container in the fridge for up to 3 days. Reheat in the oven for the best texture.
- Can I make this recipe vegan?
- The recipe is already vegan, just ensure your maple syrup is pure.
Serving Ideas for Traditional Baked Butternut Squash
This baked butternut squash is a versatile side dish that pairs well with roasted chicken, pork chops, or grilled fish. For a vegetarian meal, serve it alongside quinoa or a hearty grain salad. You can also toss it with arugula and goat cheese for a delicious warm salad.
More Side Dishes Recipes
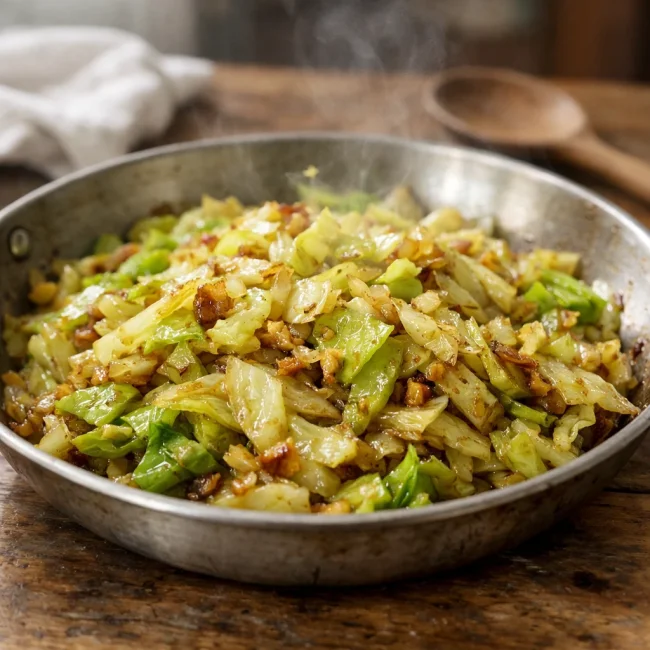
Savory Sautéed Cabbage
This savory sautéed cabbage dish brings out the natural sweetness and crispness of...
View Recipe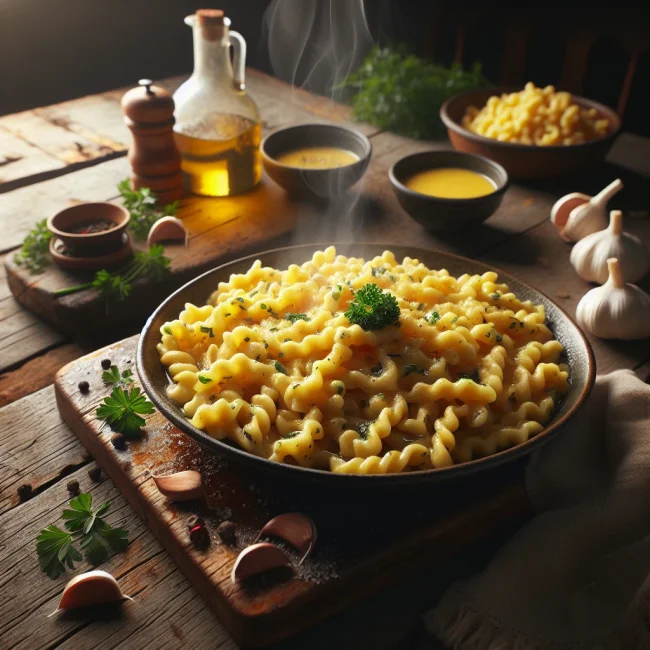
Herbed Spaetzle with Garlic Butter
Discover the delightful twist on traditional German Spaetzle with this easy-to-mak...
View Recipe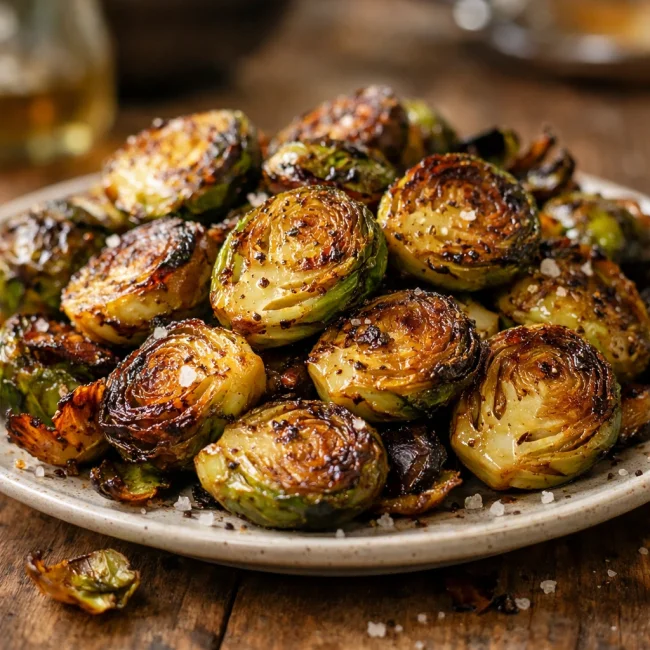
Golden Crispy Brussels Sprouts
Delight in the golden perfection of these crispy Brussels sprouts, a delightful si...
View Recipe
Marjoram-Seasoned Roasted Vegetables
Marjoram-Seasoned Roasted Vegetables bring a delightful floral note to roasted zuc...
View Recipe