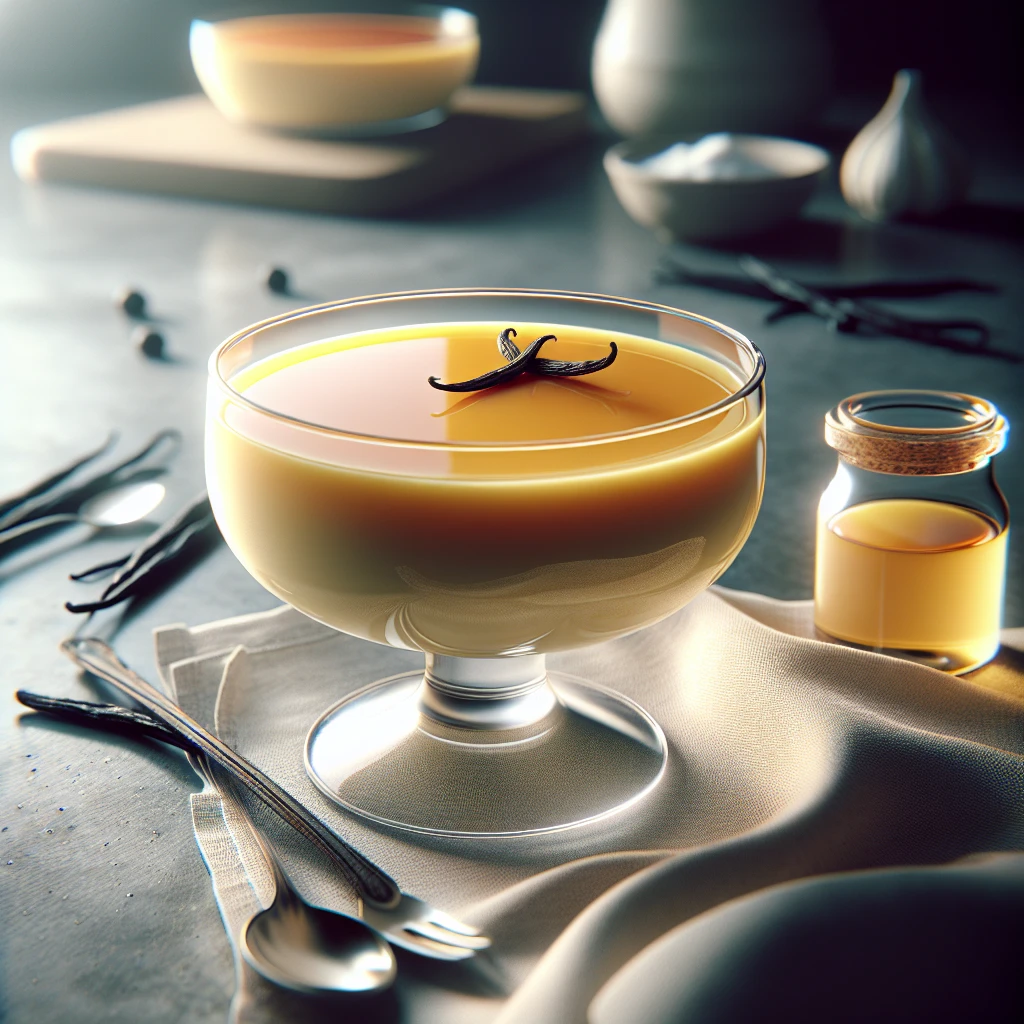
Timeless Vanilla Custard
Welcome to the world of homemade custard! This Timeless Vanilla Custard is a silky, smooth dessert that will transport you back to simpler times. It's the perfect way to end a meal with elegance and is surprisingly simple to whip up.
This post may contain affiliate links. As an Amazon Associate, we earn from qualifying purchases.
Ingredients for Timeless Vanilla Custard
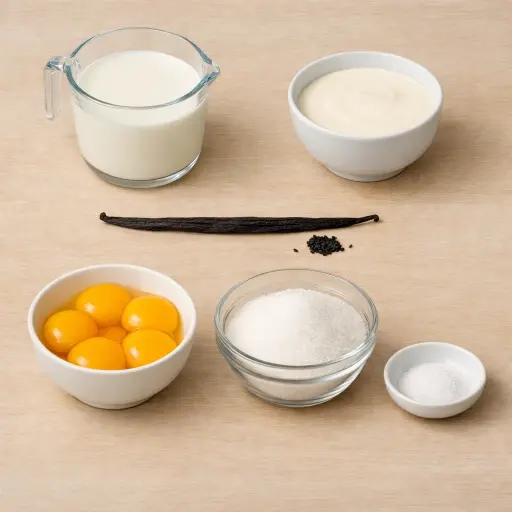
The base of this custard consists of whole milk and heavy cream, which together create a rich and luxurious texture. The vanilla bean is the star of the show, providing a depth of flavor that you just can't get from extract. Egg yolks thicken the mixture into a luscious pudding, while granulated sugar adds the perfect touch of sweetness. Finally, a pinch of salt enhances the flavors without being noticeable on its own.
Why This Timeless Vanilla Custard Works
As the milk and cream warm with the vanilla bean, the fat in the dairy loosens up and spreads that vanilla all through the liquid. Nothing is thick yet; it still pours like milk. In the bowl, the egg yolks and sugar get whisked until they look lighter and a bit creamy. The sugar starts to dissolve into the yolks, so they mix more easily with the hot dairy.
When the hot milk and cream are slowly whisked into the yolks, the eggs start to warm up gently instead of cooking in clumps. At this stage the liquid still seems thin, but the yolks are getting ready to thicken it. Once everything goes back in the pan over low heat, the egg yolks slowly firm up and grab onto the milk and cream. Over a few minutes, the custard changes from loose and milky to smooth and thick enough to coat a spoon.
After straining and chilling, the custard sets even more. Cooling lets the fat in the cream firm up and the cooked yolks finish tightening, so it ends up silky and holds its shape on a spoon.
Timeless Vanilla Custard Tips & Tricks
- Use fresh, high-quality eggs for the best texture and flavor.
- For an extra touch of elegance, top with a sprinkle of freshly grated nutmeg before serving.
- If you don’t have a vanilla bean, substitute with high-quality vanilla extract, but add it after cooking.
Mistakes To Avoid
Letting the custard cook too hot or too long on the stove makes the eggs set in little bits instead of staying smooth. The mixture starts to look grainy or curdled, and no amount of stirring will bring it back. The final custard ends up lumpy and slightly watery instead of silky and even.
Pouring the hot milk and cream into the egg yolks too fast causes the yolks to cook on contact. Little scrambled egg pieces form in the bowl, and they stay in the custard even after cooking. The finished dessert feels rough on the tongue instead of creamy.
Skipping the straining step leaves any cooked egg bits, vanilla pod fibers, or foam in the custard. Those tiny pieces stay suspended and break up the smooth texture. The custard may taste fine but feels uneven and slightly gritty.
Not pressing the plastic wrap directly onto the surface lets a thick skin form on top as it cools. That skin dries out and clumps when stirred back in. The custard then has chewy bits and loses that clean, glossy surface.
Ingredients
- 2 cups whole milk
- 1 cup heavy cream
- 1 vanilla bean, split and scraped
- 4 large egg yolks
- 1/2 cup granulated sugar
- 1/4 teaspoon salt
Step-by-step Instructions
- 1. In a medium saucepan, combine the milk, heavy cream, and vanilla bean seeds. Heat over medium heat until just simmering.
- 2. In a separate bowl, whisk together the egg yolks, sugar, and salt until pale and slightly thickened.
- 3. Gradually add the hot milk mixture to the egg yolk mixture, whisking constantly to temper the eggs.
- 4. Return the combined mixture to the saucepan and cook over low heat, stirring constantly, until the custard thickens and coats the back of a spoon.
- 5. Remove from heat and strain into a bowl. Allow to cool slightly before covering with plastic wrap, pressing directly onto the surface to prevent a skin from forming.
- 6. Chill in the refrigerator until ready to serve.
Trending Now

Old-Fashioned Bread Pudding
Discover the classic charm of Old-Fashioned Bread Pudding - a timeless dessert com...
View Recipe
Classic Green Beans
Discover the timeless delight of Classic Green Beans, a simple yet flavorful side ...
View Recipe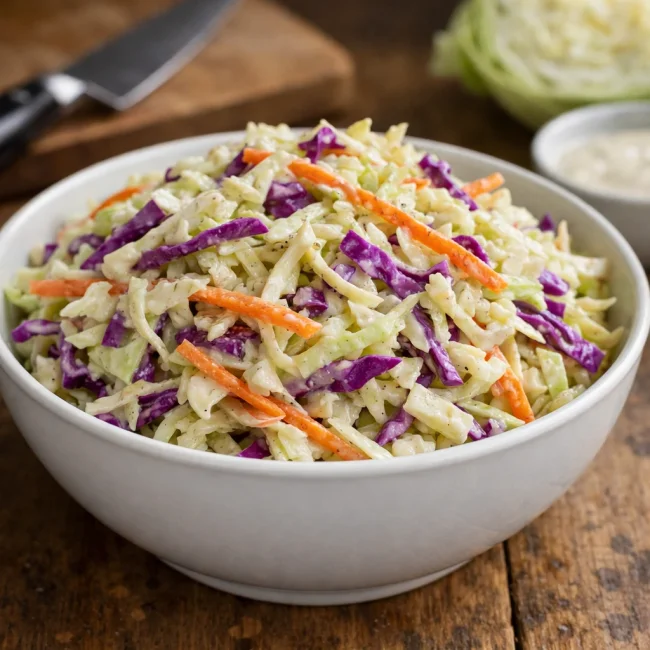
Traditional Crisp Coleslaw
A classic coleslaw recipe featuring finely shredded cabbage and carrots tossed in ...
View Recipe
Traditional Italian Bruschetta
Experience the authentic taste of Italian bruschetta, a perfect blend of fresh tom...
View RecipeFrequently Asked Questions
- Can I make this custard ahead of time?
- Absolutely! It's perfect for making a day in advance. Just keep it chilled until you're ready to serve.
- What if my custard turns out lumpy?
- Don't worry! Strain it again through a fine-mesh sieve to smooth it out.
- How long does this custard last in the fridge?
- It can be stored in the refrigerator for up to 3 days.
Serving Ideas for Timeless Vanilla Custard
This custard pairs beautifully with fresh berries or a drizzle of caramel sauce. For a bit of crunch, try serving it with a side of biscotti or a delicate almond tuile. It also makes a luxurious base for a trifle or as a filling for pastries.
More Desserts Recipes

Rustic Vanilla Peach Cobbler
This rustic vanilla peach cobbler combines a rich, buttery crust with the sweet, v...
View Recipe
Traditional Lemon Curd
A classic, tangy lemon curd that is perfect for enhancing desserts, breakfast dish...
View Recipe
Traditional Cream Cheese Pie
A delightful and timeless dessert, Traditional Cream Cheese Pie offers a rich and ...
View Recipe
Timeless Cream Puff Delight
Indulge in a delectable Timeless Cream Puff Delight, a classic dessert featuring a...
View Recipe