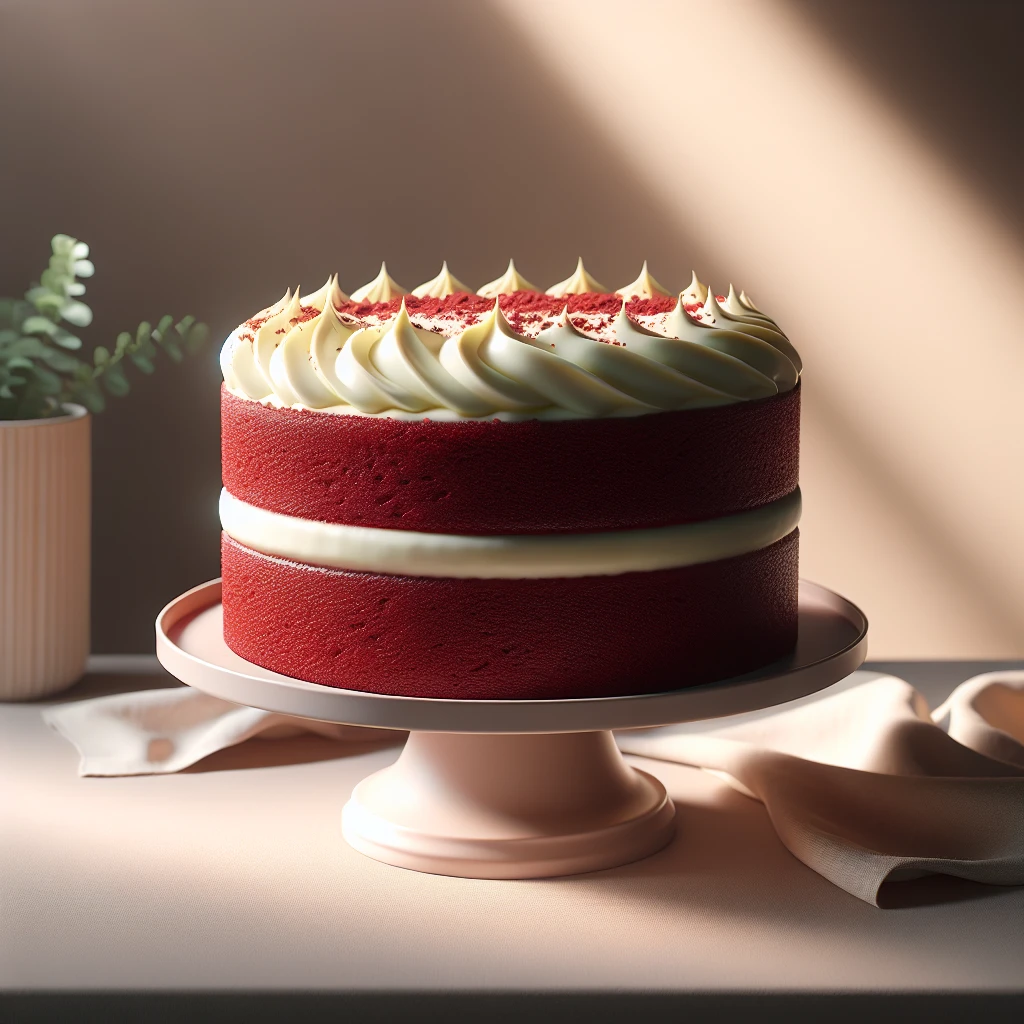
Timeless Red Velvet Cake
There’s just something timeless about a Red Velvet Cake, isn’t there? With its striking color and distinct flavor, this cake is a showstopper for any special occasion. Today, we’re diving into a delicious recipe that balances flavor and texture perfectly.
This post may contain affiliate links. As an Amazon Associate, we earn from qualifying purchases.
Ingredients for Timeless Red Velvet Cake
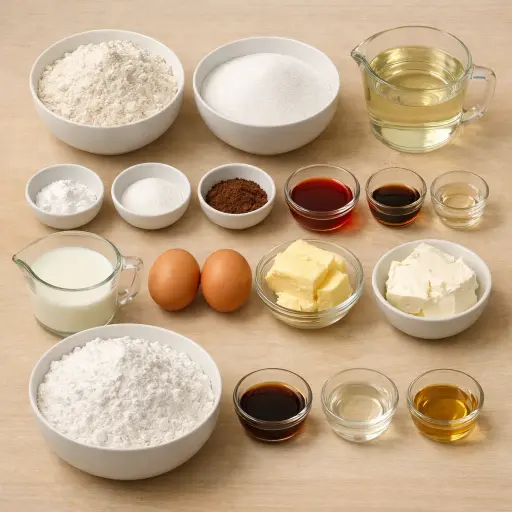
The backbone of any cake, flour gives structure. Too much can make your cake tough, so measure carefully. Sugar adds sweetness and aids in browning, while baking soda helps the cake rise. A pinch of salt enhances all other flavors.
Cocoa powder is key for that subtle chocolatey hint without overpowering the cake's classic flavor. Vegetable oil ensures your cake stays moist, and buttermilk brings a slight tanginess while reacting with the baking soda for extra fluffiness.
Eggs are the binding agents, holding everything together. The red food coloring is what gives the cake its signature hue, while vanilla extract adds depth. A touch of white distilled vinegar enhances the color and texture.
For the frosting, butter and cream cheese create a rich, creamy base, while powdered sugar sweetens the mix without grittiness. A splash of vanilla extract ties it all together with its fragrant aroma.
Why This Timeless Red Velvet Cake Works
In the oven, the baking soda, vinegar, and buttermilk react and fill the batter with tiny bubbles. Those bubbles stay trapped in the flour and cocoa, so the cake rises and stays light instead of dense. Because the recipe uses oil instead of butter in the batter, the fat stays liquid even when the cake cools, so the crumb stays soft and moist instead of firming up.
As the cake bakes, the eggs set and hold everything together, while the sugar melts into the liquid and keeps the texture tender. A small amount of cocoa powder keeps the cake from tasting like plain vanilla, but not enough to make it heavy or dark, so the red color shows clearly.
For the frosting, soft butter and cream cheese blend into a smooth base. Powdered sugar thickens that mixture until it can sit on the cake without sliding off. Once the cake layers cool, the frosting spreads easily and clings to the surface, giving a creamy coating that contrasts with the fluffy cake.
Timeless Red Velvet Cake Tips & Tricks
- Use gel food coloring for a more vibrant red with less liquid.
- Ensure your eggs and buttermilk are at room temperature for a smoother batter.
- For even layers, weigh the batter as you divide it between pans.
Mistakes To Avoid
Overbaking the layers easily turns this cake dry and crumbly. Once it goes past done, the edges harden, the middle loses its soft, velvety feel, and the layers crack when stacked and frosted.
Skipping room-temperature buttermilk and eggs often leads to a lumpy batter. Cold liquids make the oil and eggs seize up in bits, so the batter doesn’t mix smoothly and bakes into an uneven, slightly rubbery crumb.
Overmixing after the wet and dry ingredients are combined makes the cake dense instead of light. Too much stirring works the flour too hard, so the baked layers rise less and feel tight and bready instead of soft.
Pouring warm cake into frosting or frosting while the layers are even slightly warm causes the cream cheese frosting to melt and slide. The butter and cream cheese loosen, the frosting turns runny, and the layers can shift or lean.
Using cold butter or cream cheese for the frosting leaves small lumps that never fully smooth out. The frosting ends up with tiny chunks and can tear the cake surface instead of spreading in a clean, even layer.
Equipment Used:
Ingredients
- 2 1/2 cups all-purpose flour
- 1 1/2 cups granulated sugar
- 1 teaspoon baking soda
- 1 teaspoon salt
- 1 teaspoon cocoa powder
- 1 1/2 cups vegetable oil
- 1 cup buttermilk, at room temperature
- 2 large eggs, at room temperature
- 2 tablespoons red food coloring
- 1 teaspoon vanilla extract
- 1 teaspoon white distilled vinegar
- 1/2 cup unsalted butter, softened
- 8 oz cream cheese, softened
- 4 cups powdered sugar
- 1 teaspoon vanilla extract
Step-by-step Instructions
- 1. Preheat your oven to 350°F and grease two 9-inch round cake pans.
- 2. In a large bowl, sift together the flour, sugar, baking soda, salt, and cocoa powder.
- 3. In another bowl, whisk together the oil, buttermilk, eggs, food coloring, vanilla extract, and vinegar.
- 4. Gradually add the wet ingredients to the dry ingredients, mixing until just combined.
- 5. Divide the batter evenly between the prepared cake pans.
- 6. Bake for 30-35 minutes, or until a toothpick inserted into the center comes out clean.
- 7. Let the cakes cool in the pans for 10 minutes, then turn them out onto a wire rack to cool completely.
- 8. For the frosting, beat the butter and cream cheese together until creamy.
- 9. Gradually add the powdered sugar and vanilla extract, beating until smooth.
- 10. Once the cakes are completely cool, spread the frosting over the top of one cake and place the other cake on top.
- 11. Frost the top and sides of the cake with the remaining frosting.
Trending Now
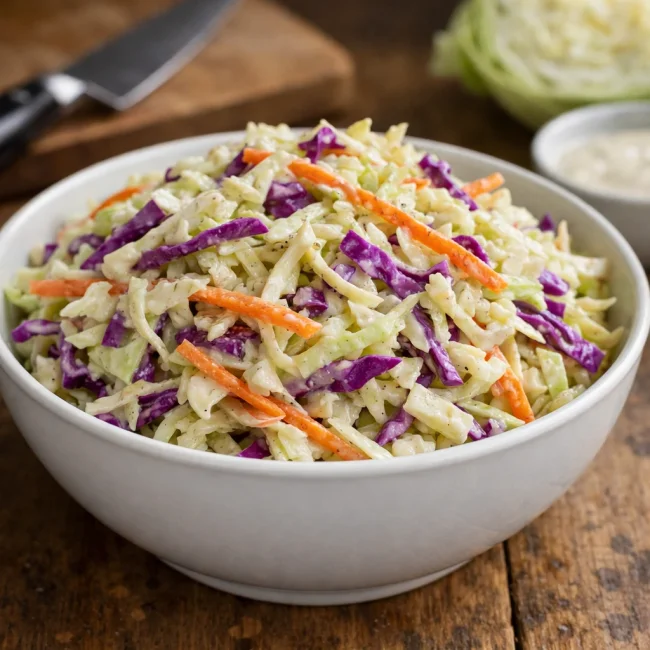
Traditional Crisp Coleslaw
A classic coleslaw recipe featuring finely shredded cabbage and carrots tossed in ...
View Recipe
Traditional Italian Bruschetta
Experience the authentic taste of Italian bruschetta, a perfect blend of fresh tom...
View Recipe
Classic Green Beans
Discover the timeless delight of Classic Green Beans, a simple yet flavorful side ...
View Recipe
Old-Fashioned Bread Pudding
Discover the classic charm of Old-Fashioned Bread Pudding - a timeless dessert com...
View RecipeFrequently Asked Questions
- Can I use a different type of oil?
- Yes, you can substitute with canola oil or melted coconut oil, but keep in mind it might slightly alter the flavor.
- What if I don't have buttermilk?
- You can make a substitute by mixing 1 cup of milk with 1 tablespoon of lemon juice or vinegar. Let it sit for 5 minutes before using.
Serving Ideas for Timeless Red Velvet Cake
This cake pairs beautifully with a scoop of vanilla ice cream or a dollop of whipped cream. If you’re serving it at a party, garnish with a sprinkle of cocoa powder or a few fresh berries for added flair.
More Desserts Recipes

Rustic Vanilla Peach Cobbler
This rustic vanilla peach cobbler combines a rich, buttery crust with the sweet, v...
View Recipe
Traditional Lemon Curd
A classic, tangy lemon curd that is perfect for enhancing desserts, breakfast dish...
View Recipe
Traditional Cream Cheese Pie
A delightful and timeless dessert, Traditional Cream Cheese Pie offers a rich and ...
View Recipe
Timeless Cream Puff Delight
Indulge in a delectable Timeless Cream Puff Delight, a classic dessert featuring a...
View Recipe