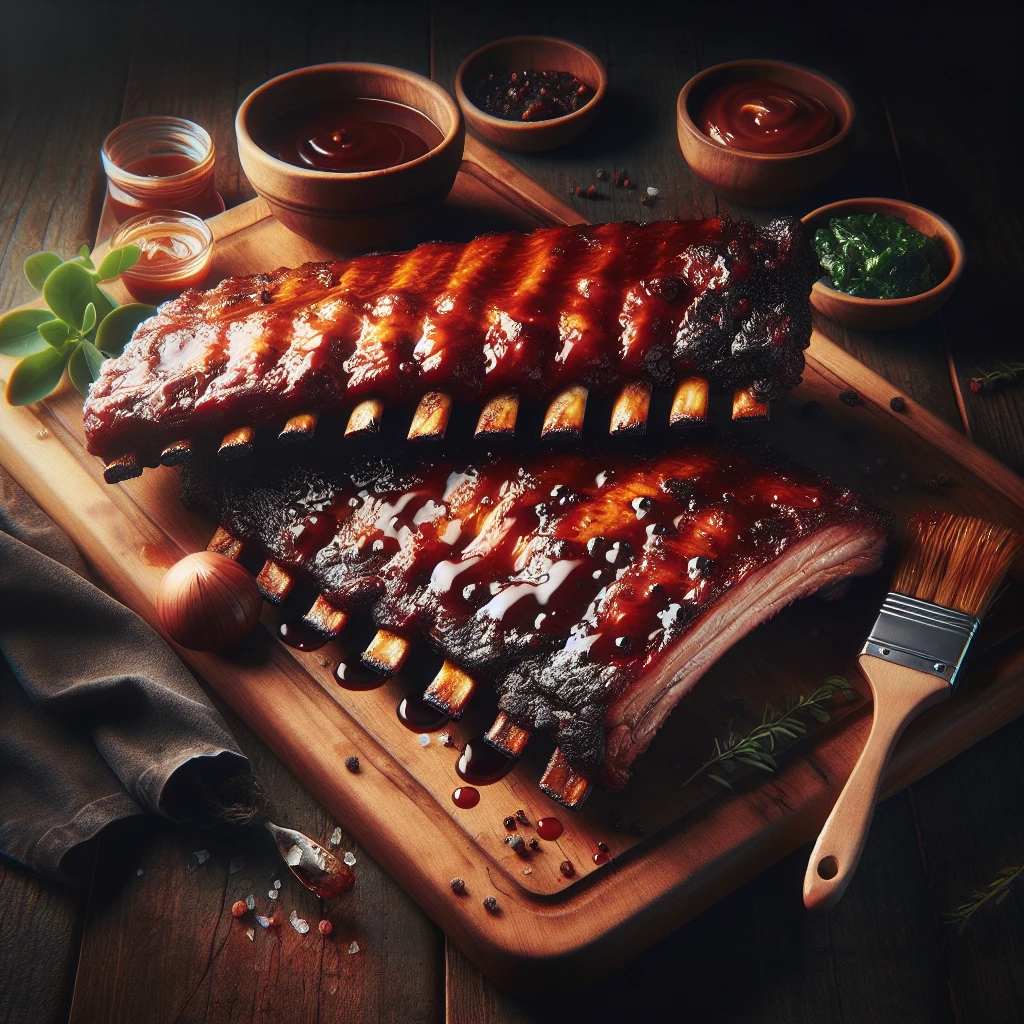
Sweet and Smoky Oven-Baked BBQ Ribs
Sweet and Smoky Oven-Baked BBQ Ribs are the ultimate comfort food, perfect for any gathering or a cozy meal at home. This recipe brings together the rich flavor of smoked paprika with a hint of sweetness from brown sugar, creating ribs that are fall-off-the-bone tender and irresistibly sticky.
This post may contain affiliate links. As an Amazon Associate, we earn from qualifying purchases.
Ingredients for Sweet and Smoky Oven-Baked BBQ Ribs
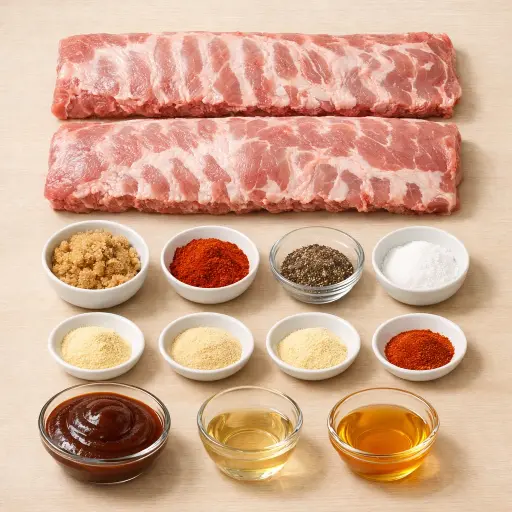
Pork ribs are the star of the show, providing a rich, meaty base that soaks up the flavors beautifully. The brown sugar adds a caramel-like sweetness and helps form a delicious crust. Smoked paprika infuses the ribs with a deep, smoky flavor without needing a smoker. A touch of black pepper and salt enhances all the other spices. Garlic powder and onion powder give a savory depth, while a pinch of cayenne pepper adds just the right amount of heat. The BBQ sauce, with its tangy and sweet profile, is elevated by the addition of apple cider vinegar and honey, creating a perfectly balanced glaze.
Why This Sweet and Smoky Oven-Baked BBQ Ribs Works
In the oven, the ribs sit in low, steady heat for a long time. Wrapped in foil, their own juices stay trapped around the meat instead of drying out in the hot air. Over a couple of hours, the tough parts in the ribs slowly soften, so the meat loosens from the bone and becomes tender instead of chewy. The brown sugar and spices on the outside melt into those juices and soak into the meat while it cooks.
Once the ribs are soft, the foil comes off and the sauce goes on. At this stage, the meat is already tender, so the hotter oven can focus on the outside. The BBQ sauce, vinegar, and honey spread over the ribs and start to thicken and darken in the heat. Sugar in the rub and sauce dries a bit on the surface and forms a sticky, slightly chewy coating. After resting, the juices settle back into the meat, so the ribs slice cleanly and stay moist.
Sweet and Smoky Oven-Baked BBQ Ribs Tips & Tricks
- Removing the membrane from the ribs helps them become more tender and flavorful.
- For a smokier flavor, try using a smoked BBQ sauce.
- If you like extra heat, increase the cayenne pepper or add a dash of hot sauce to the BBQ glaze.
- Letting the ribs rest after cooking ensures they stay juicy when you cut into them.
Mistakes To Avoid
Leaving the membrane on the back of the ribs keeps the rub and steam from really getting into the meat. The membrane tightens as it cooks, so the ribs stay a bit tough and chewy instead of pulling cleanly from the bone.
Wrapping the ribs loosely in foil or leaving gaps lets steam escape. Without that trapped moisture, the meat dries out during the long bake and ends up stringy instead of soft and tender.
Pulling the ribs from the oven too early means the connective tissue inside has not broken down yet. The racks might look done on the outside, but the meat clings hard to the bone and feels rubbery when sliced.
Cranking the oven hotter than 300°F to “speed things up” causes the outside of the ribs to cook fast while the inside stays tight. The sugar in the rub can darken or burn on the surface while the meat never reaches that fall-apart stage.
Skipping the rest at the end sends hot juices running out as soon as the ribs are cut. The meat then cools off dry and a bit tough instead of staying moist and easy to bite.
Equipment Used:
Ingredients
- 2 racks of pork ribs
- 1/4 cup brown sugar
- 1 tbsp smoked paprika
- 1 tsp black pepper
- 1 tsp salt
- 1/2 tsp garlic powder
- 1/2 tsp onion powder
- 1/4 tsp cayenne pepper
- 1 cup BBQ sauce
- 2 tbsp apple cider vinegar
- 1 tbsp honey
Step-by-step Instructions
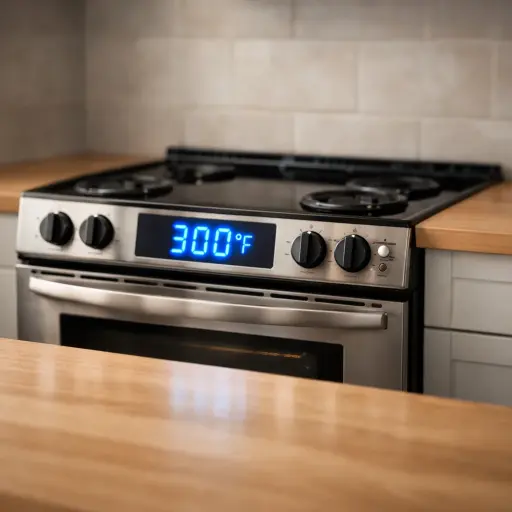
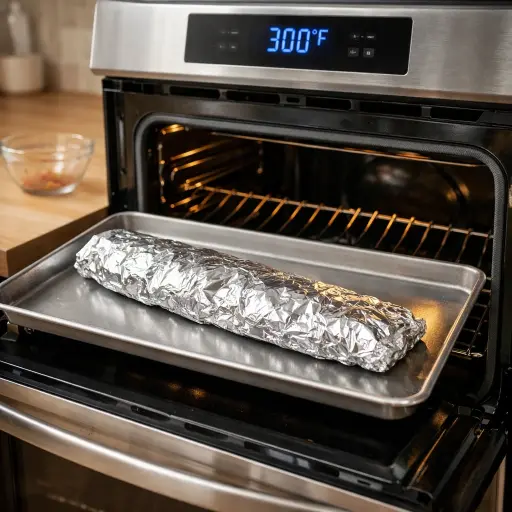
- 1. Preheat your oven to 300°F (150°C).
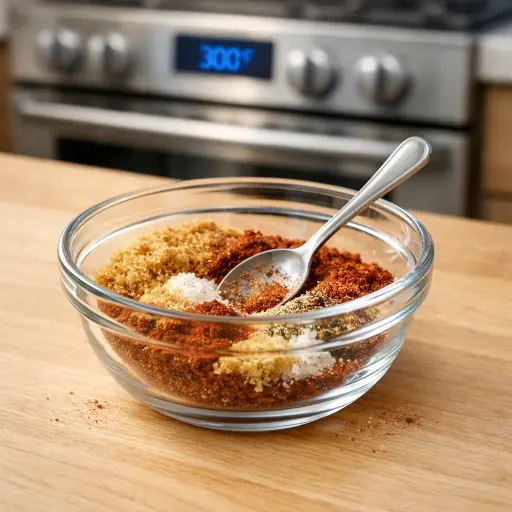
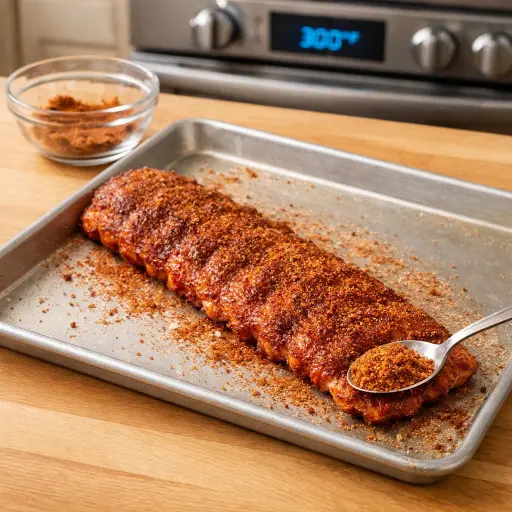
- 2. In a small bowl, combine brown sugar, smoked paprika, black pepper, salt, garlic powder, onion powder, and cayenne pepper to create the rub.
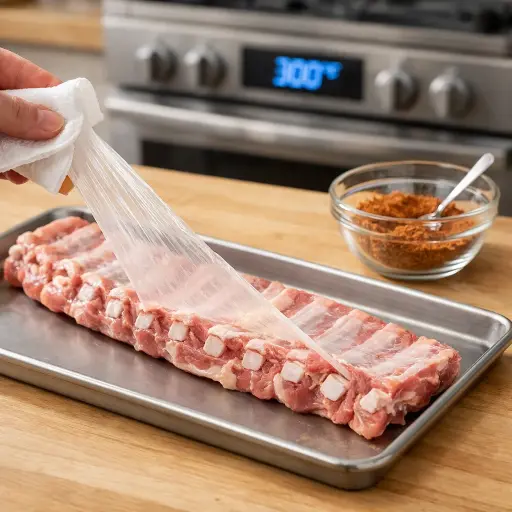
- 3. Pat dry the ribs with a paper towel and remove the membrane if present.
- 4. Generously coat the ribs with the spice rub on all sides.
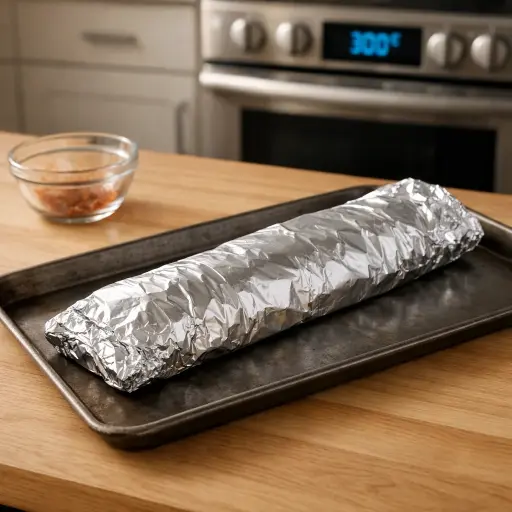
- 5. Wrap the ribs tightly in aluminum foil and place them on a baking sheet.
- 6. Bake in the preheated oven for 2.5 to 3 hours until the ribs are tender.
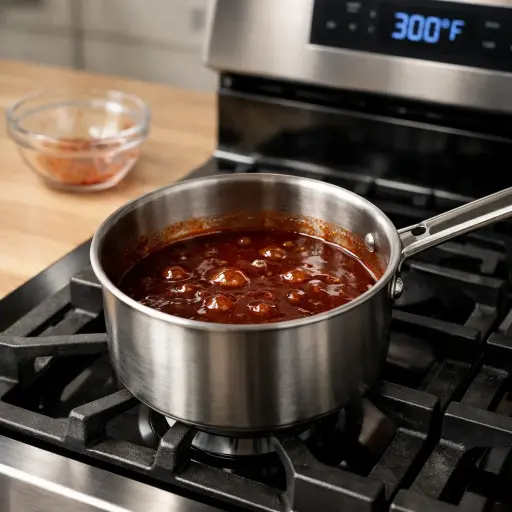
- 7. In a saucepan, mix BBQ sauce, apple cider vinegar, and honey, then simmer for 5 minutes.
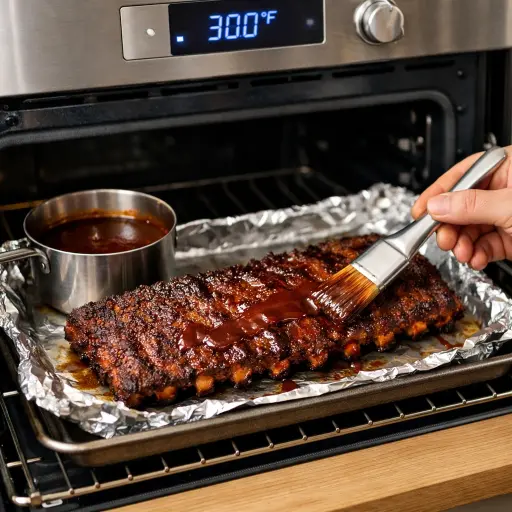
- 8. Remove ribs from the oven, unwrap from foil, and brush generously with the BBQ sauce mixture.
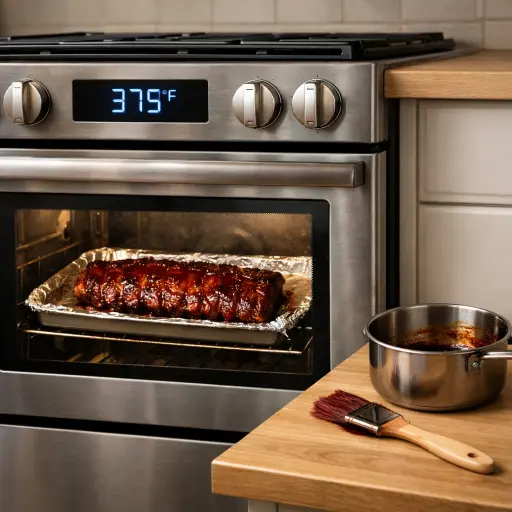
- 9. Increase oven temperature to 375°F (190°C) and return ribs to the oven for another 20 minutes to let the sauce caramelize.
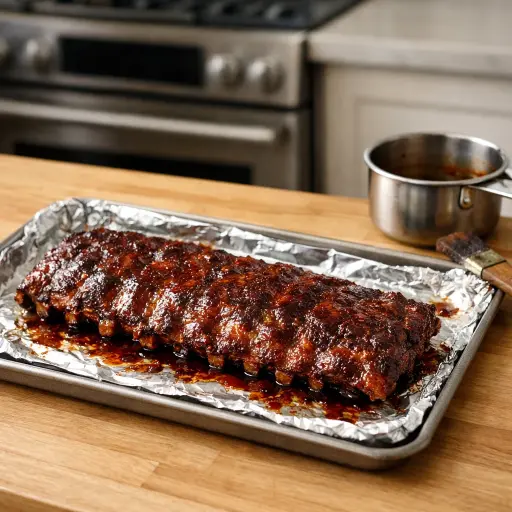
- 10. Allow the ribs to rest for 10 minutes before slicing and serving.
Trending Now
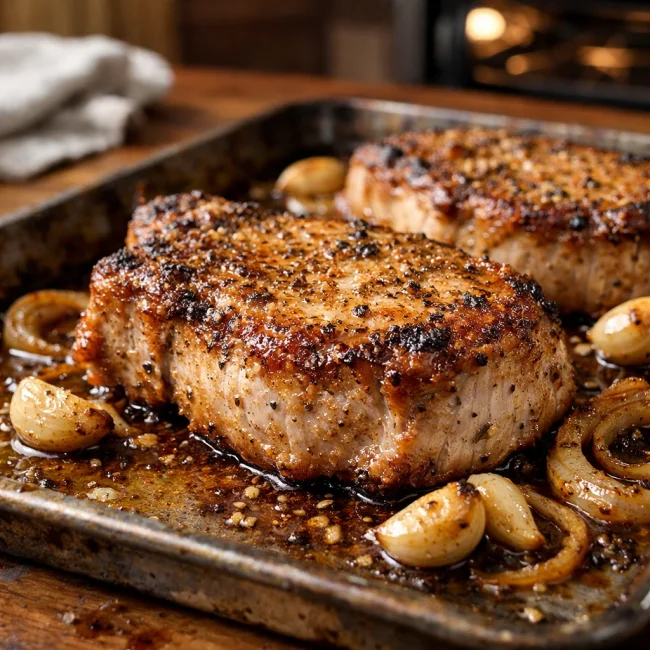
Oven-Baked Pork Chops
Enjoy a delightful dinner with these tender and juicy oven-baked pork chops, seaso...
View Recipe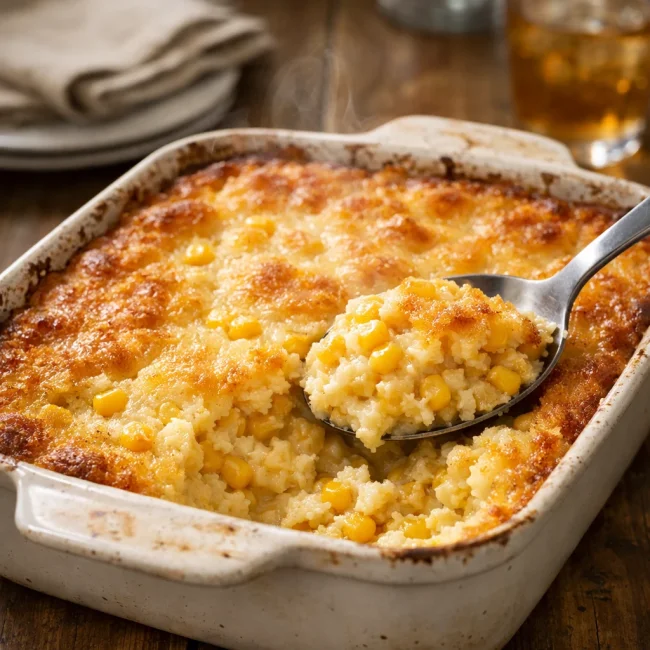
Traditional Corn Casserole
A delightful corn casserole dish that embodies the comforting flavors of sweet cor...
View Recipe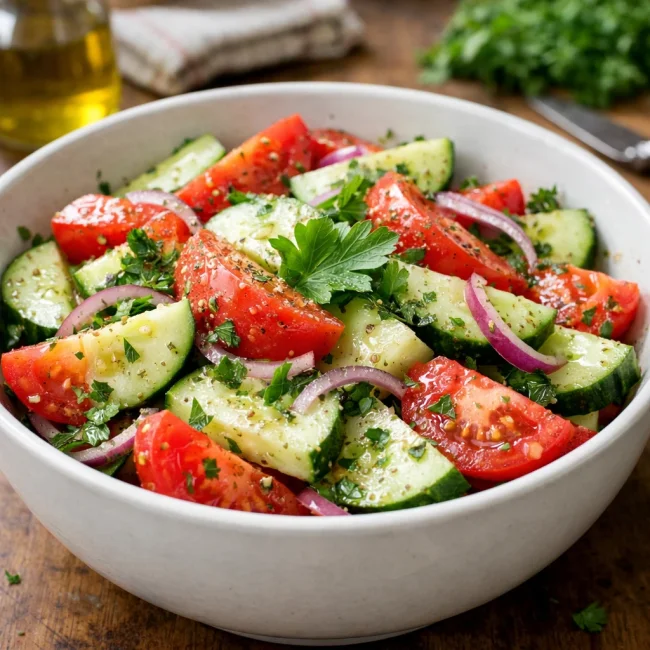
Traditional Cucumber and Tomato Salad
A refreshing and simple salad combining crisp cucumbers and juicy tomatoes, season...
View Recipe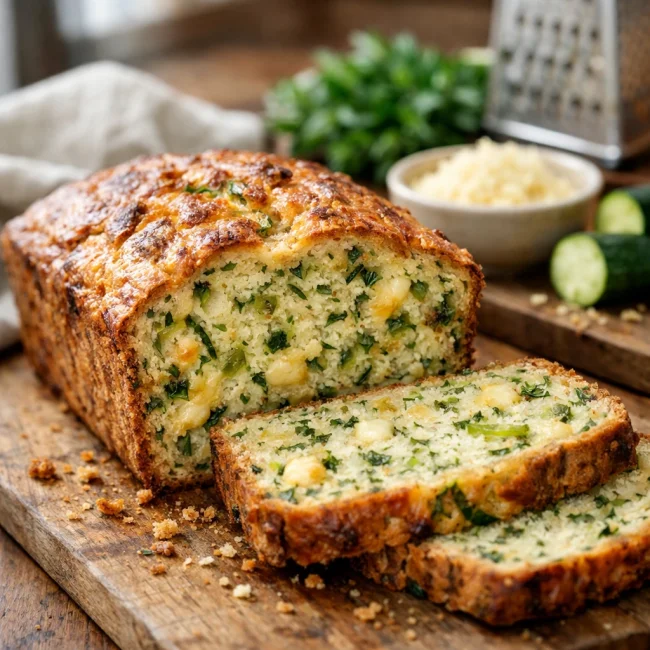
Savory Zucchini Bread
Savory Zucchini Bread is a delectable twist on traditional zucchini recipes, combi...
View RecipeFrequently Asked Questions
- Can I use beef ribs instead?
- Yes, beef ribs can be used, but they may require a longer cooking time to become tender.
- What if I don't have apple cider vinegar?
- You can substitute it with white vinegar or even a splash of lemon juice for acidity.
Serving Ideas for Sweet and Smoky Oven-Baked BBQ Ribs
Pair these ribs with classic sides like coleslaw, cornbread, or a fresh green salad. For a backyard BBQ vibe, serve with grilled corn on the cob and baked beans. A cold, crisp beer or a refreshing lemonade also complements these ribs beautifully.
More Grilling & BBQ Recipes
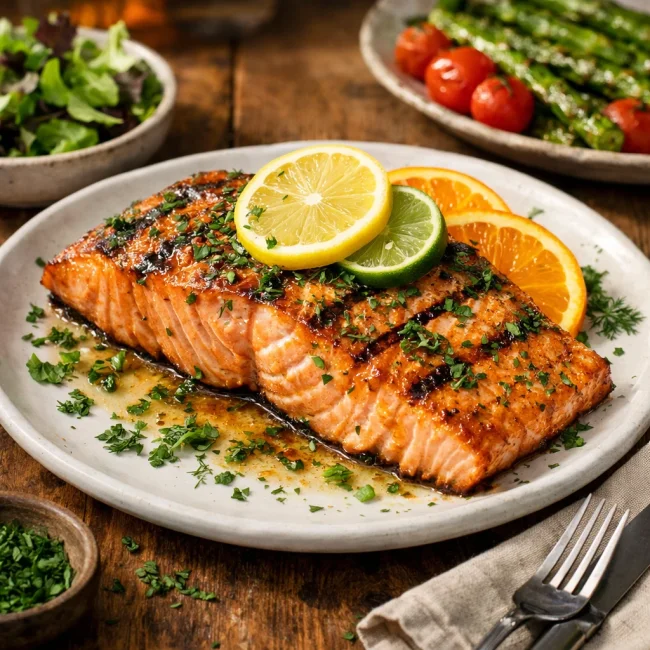
Citrus Herb Grilled Salmon
Discover the burst of flavors in our Citrus Herb Grilled Salmon recipe. This delig...
View Recipe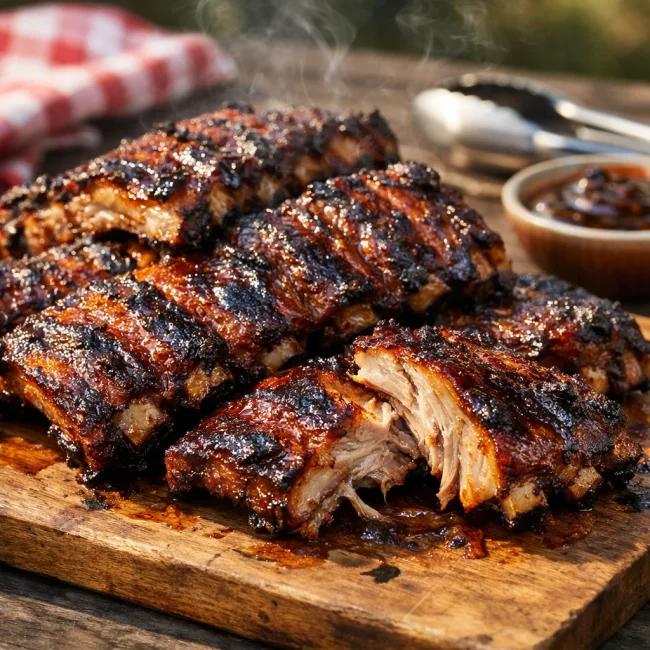
Smoky Maple Bourbon Baby Back Ribs
Savor the taste of summer with our Smoky Maple Bourbon Baby Back Ribs recipe, infu...
View Recipe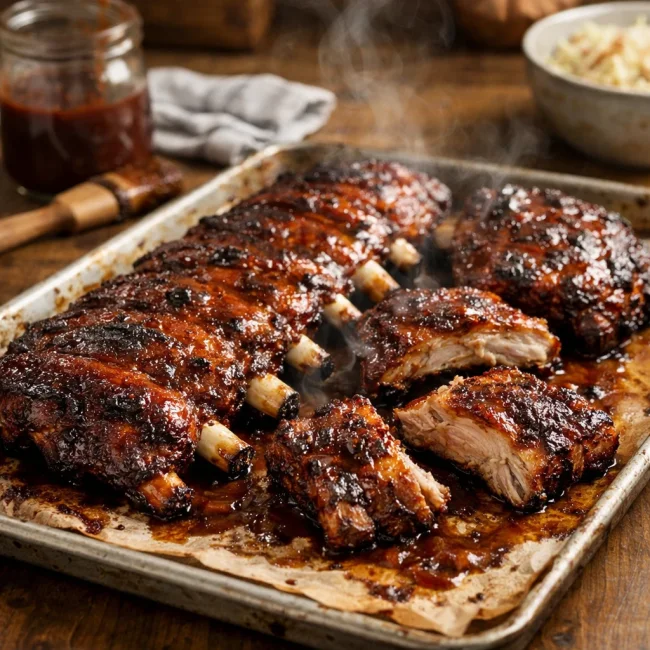
Oven-Baked BBQ Ribs
Enjoy tender ribs with a smoky BBQ sauce, slow-cooked in the oven for that fall-of...
View Recipe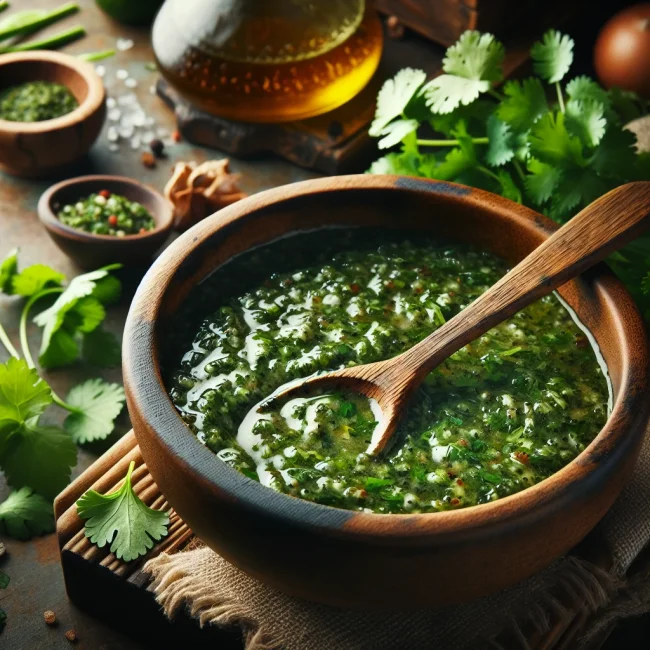
Cilantro Mint Chimichurri
A zesty variation of the classic chimichurri, featuring vibrant cilantro and refre...
View Recipe