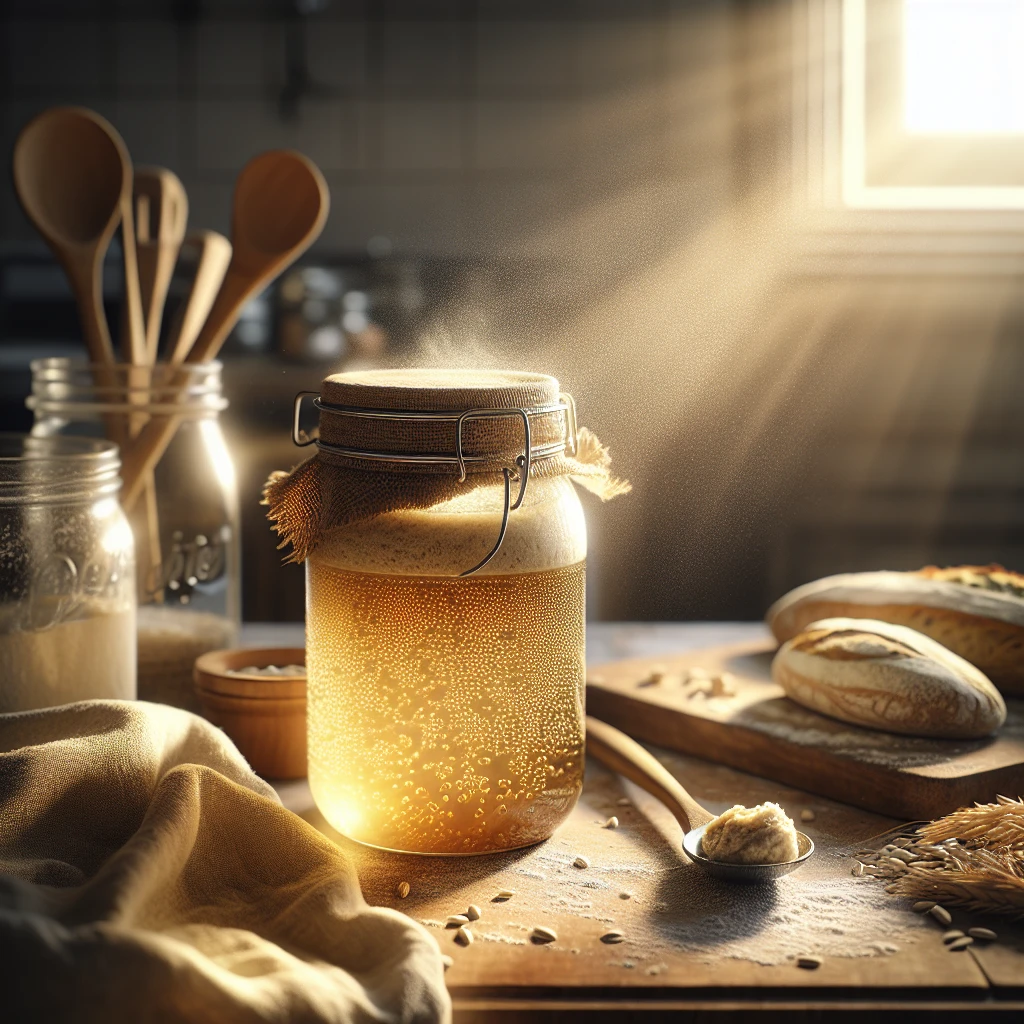
Sun-Kissed Sourdough Starter
Welcome to the world of homemade sourdough! This Sun-Kissed Sourdough Starter combines a hint of sweetness from apples and raisins with the tangy charm of traditional sourdough. Perfect for those seeking a dependable starter with a unique twist.
This post may contain affiliate links. As an Amazon Associate, we earn from qualifying purchases.
Ingredients for Sun-Kissed Sourdough Starter
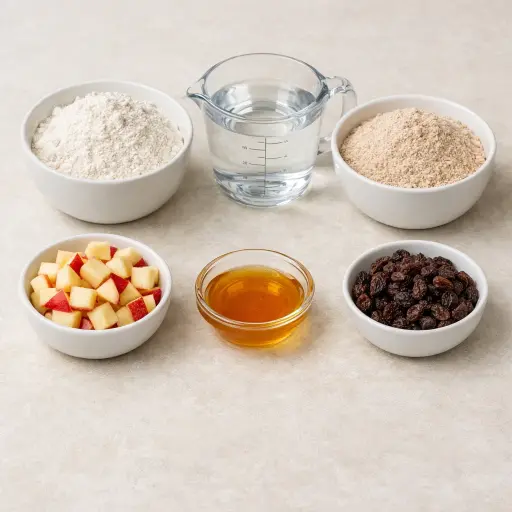
All-purpose flour serves as the base, providing a balanced texture. Whole wheat flour adds a nuttier flavor and more nutrients, supporting fermentation. Filtered water is crucial for consistency and encourages the growth of natural yeast. Organic apple offers natural sugars and a touch of sweetness, while honey jumpstarts fermentation with its sugars. Finally, raisins introduce natural yeast and enhance the starter’s complexity.
Why This Sun-Kissed Sourdough Starter Works
Over several days, the flour and water sit out with the apple, honey, and later the raisins, and wild yeast from the air and from the fruit move into the jar. At first the mix is quiet and heavy, but as the yeast start eating the natural sugars from the apple, honey, and raisins, they begin to give off gas. Little bubbles show up and the starter feels lighter and a bit stretchy instead of pasty.
As more flour and water are added, the fresh food keeps the yeast active while the extra is thrown away so the jar does not get crowded. Whole wheat flour brings in more natural yeast and bacteria from the grain, so the starter wakes up faster and bubbles more. Over time, the good bacteria make the mix a little sour, which keeps bad germs away. By day six, the starter rises and falls in a steady way, showing that the yeast and bacteria have settled into a strong, stable pattern that can lift bread dough.
Sun-Kissed Sourdough Starter Tips & Tricks
- Use a clear glass container to easily monitor bubble activity and growth.
- If your starter doesn’t bubble by Day 2, give it another day before feeding.
- Maintain a warm environment; around 70°F is ideal for fermentation.
- Save discarded starter for pancakes or waffles to minimize waste.
Mistakes To Avoid
Keeping the starter too cold or too hot throws it off completely. In a chilly kitchen it barely bubbles, stays pasty, and never gains enough strength to rise bread. In a very warm spot it ferments too fast, turns sharp and runny, and can stop bubbling altogether after a few days.
Covering the container too tightly causes trouble. With a sealed lid, gas builds up, the mix can separate into a thick lump and a layer of liquid, and the wild yeast has less fresh air to grow. The result is a sluggish starter that smells harsh and doesn’t rise well.
Leaving the apple pieces in past Day 3 often leads to a messy starter. The fruit breaks down, goes mushy, and can start molding before the yeast is strong. Once that happens, the whole batch usually needs to be thrown out.
Using chlorinated tap water slows everything down. The chlorine can weaken the natural yeast, so the mixture stays flat, smells off, and never gets that light, foamy texture needed for baking.
Equipment Used:
Ingredients
- 2 cups all-purpose flour
- 1 cup whole wheat flour
- 2 cups filtered water
- 1 organic apple (unpeeled, cored, and chopped)
- 1 tablespoon honey
- 1/4 cup raisins
Step-by-step Instructions
- 1. Day 1: Mix 1 cup all-purpose flour and 1 cup filtered water in a large glass container. Stir in the chopped apple and honey. Cover loosely with a cloth and let it sit at room temperature for 24 hours.
- 2. Day 2: Check for bubbles. If present, add 1/2 cup all-purpose flour and 1/2 cup filtered water. Stir well and loosely cover. Let it sit for another 24 hours.
- 3. Day 3: Remove the apple pieces and discard. Add 1/2 cup whole wheat flour and 1/2 cup filtered water. Stir, cover loosely, and let it rest for 24 hours.
- 4. Day 4: Add raisins to the mixture. Stir and let it sit for another 24 hours.
- 5. Day 5: Discard half of the starter. Add 1/2 cup all-purpose flour and 1/2 cup filtered water. Stir, cover, and let sit until the next day.
- 6. Day 6: Your starter should be bubbly and ready to use. Discard half, then refresh with 1/2 cup all-purpose flour and 1/2 cup filtered water daily if not using immediately.
Trending Now
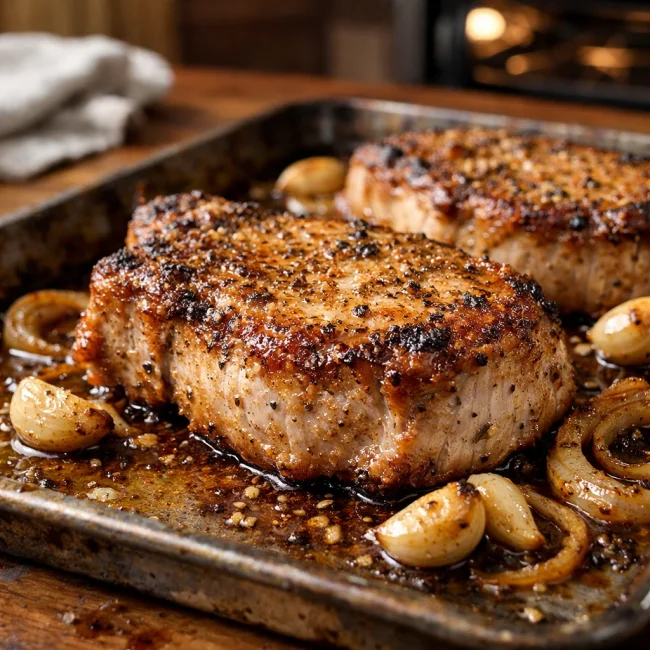
Oven-Baked Pork Chops
Enjoy a delightful dinner with these tender and juicy oven-baked pork chops, seaso...
View Recipe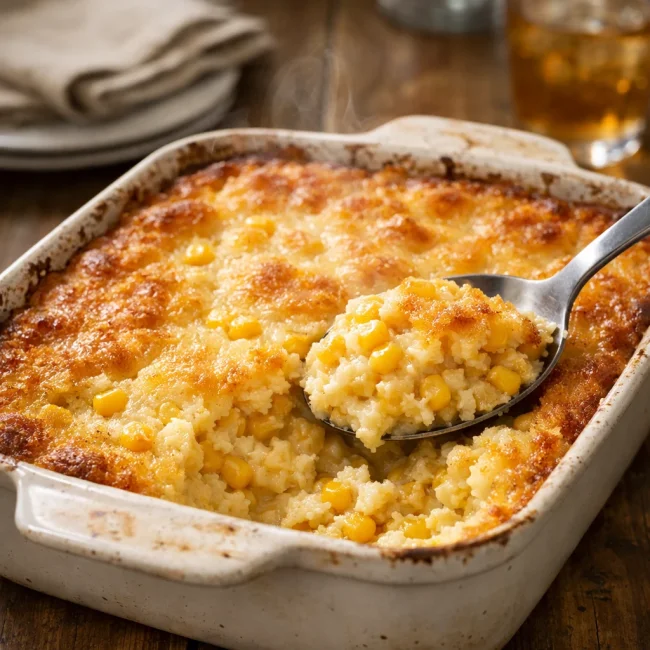
Traditional Corn Casserole
A delightful corn casserole dish that embodies the comforting flavors of sweet cor...
View Recipe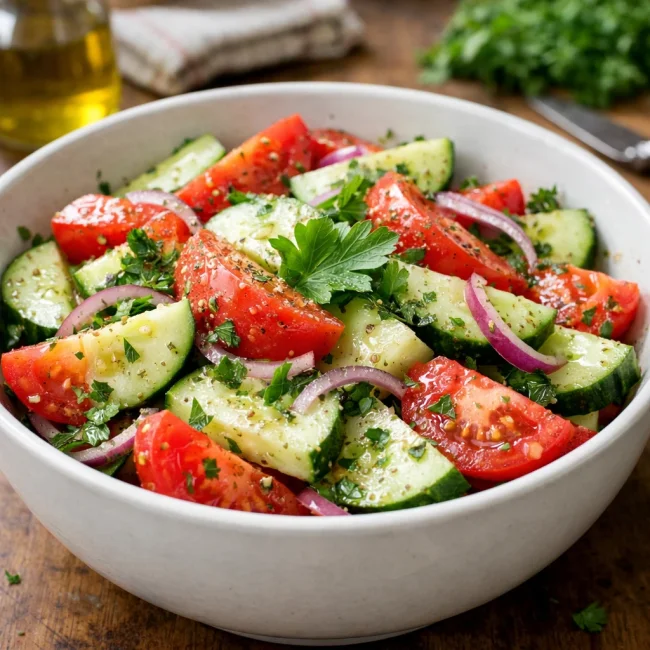
Traditional Cucumber and Tomato Salad
A refreshing and simple salad combining crisp cucumbers and juicy tomatoes, season...
View Recipe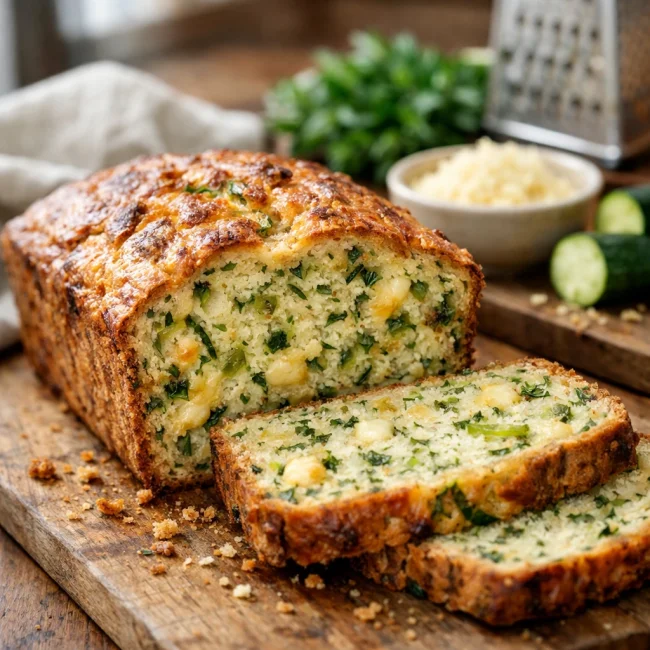
Savory Zucchini Bread
Savory Zucchini Bread is a delectable twist on traditional zucchini recipes, combi...
View RecipeFrequently Asked Questions
- What if my starter isn’t bubbling?
- Give it more time. Ensure it's in a warm spot and check that you're using non-chlorinated water.
- Why do I need to discard half the starter?
- Discarding ensures the starter doesn’t become too acidic and maintains a healthy yeast-to-bacteria ratio.
Serving Ideas for Sun-Kissed Sourdough Starter
This starter is ideal for creating rustic sourdough loaves that pair beautifully with hearty soups or a simple olive oil dip. Try using the starter in pancakes, where the sourdough tang complements maple syrup and fresh berries.
More Breads & Baked Goods Recipes

Traditional Italian Easter Bread
Savor the delightful taste of a classic Italian Easter bread, a sweet, soft, and s...
View Recipe
Old-Fashioned Pineapple Bread
A delightful and flavorful bread infused with juicy pineapple, perfect for breakfa...
View Recipe
Old-Fashioned Blueberry Muffins
Transport yourself to simpler times with these delightful old-fashioned blueberry ...
View Recipe
Strawberry Basil Scones
These tender scones combine the sweetness of fresh strawberries with a hint of pep...
View Recipe