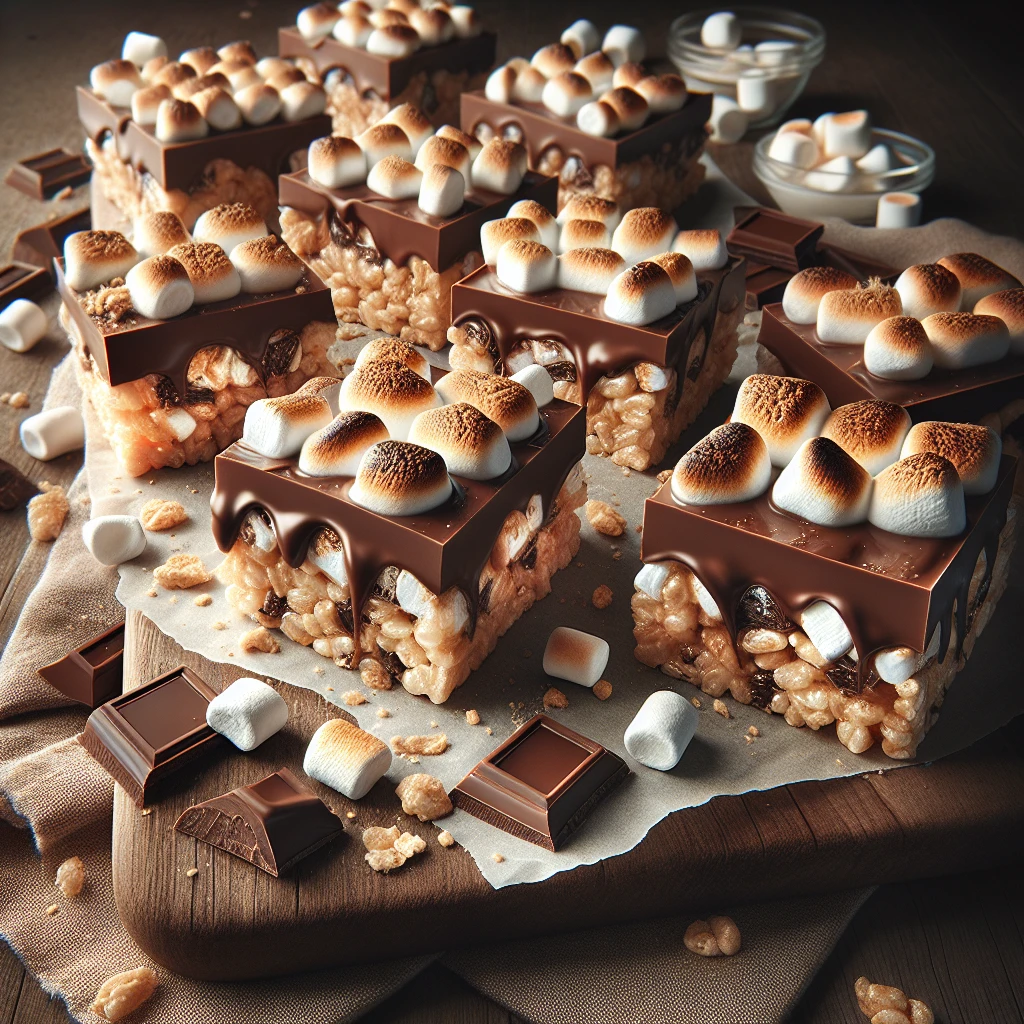
S'mores Rice Krispies Treats
If you're looking to elevate your Rice Krispies treats game, these S'mores Rice Krispies Treats are the way to go. Combining the gooey, crunchy texture of classic treats with the nostalgic flavors of s'mores, this recipe is a delightful twist that's perfect for any gathering or an indulgent treat for yourself.
This post may contain affiliate links. As an Amazon Associate, we earn from qualifying purchases.
Ingredients for S'mores Rice Krispies Treats
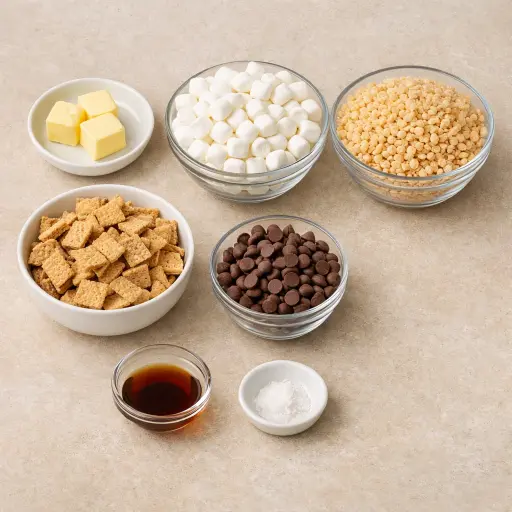
Butter gives these treats a rich flavor and helps everything stick together smoothly. You’ll want to use unsalted butter to control the saltiness of the final product. Mini marshmallows are the glue that holds everything together, adding that essential gooey texture. Rice Krispies cereal provides the classic crunch, while graham cracker pieces add a bit of that campfire authenticity. Milk chocolate chips melt into the mix, offering a creamy chocolate taste throughout. A touch of vanilla extract enhances the sweetness, and a pinch of salt balances the flavors perfectly.
Why This S'mores Rice Krispies Treats Works
As the butter and marshmallows melt together over low heat, they turn into a thick, sticky syrup. The vanilla and salt spread through that warm marshmallow mix, so every bite tastes the same instead of having plain spots. Because the heat is gentle, the marshmallows melt smoothly instead of drying out or getting hard, which keeps the treats soft and chewy later.
Once the Rice Krispies and graham cracker pieces go in, that sticky marshmallow coats every little bump and corner. The cereal and crackers act like a light, crunchy frame, and the marshmallow glue holds everything in place as it cools. Folding in only half the chocolate chips at first keeps them from all melting away, so some stay in little pockets inside. After the pan is pressed and the rest of the chocolate chips are pushed on top, they soften just enough from the warmth to stick, then firm up again as the bars cool, giving clean squares that hold together but still bite easily.
S'mores Rice Krispies Treats Tips & Tricks
- Use fresh marshmallows for the best gooeyness. Stale marshmallows won't melt as smoothly.
- Grease your spatula and hands to prevent sticking when pressing the mixture into the pan.
- For an extra chocolatey treat, drizzle some melted chocolate over the top before the final set.
Mistakes To Avoid
Letting the marshmallows cook over medium or high heat makes them bubble and brown instead of just melt. Once that happens, the sugar tightens up and the mixture turns thick and tough. The finished bars end up hard and chewy instead of soft and stretchy.
Adding the cereal and graham crackers while the pot is still over the heat causes everything to keep cooking. The cereal can go slightly stale and the graham pieces lose their light crunch, so the bars taste oddly flat and dense instead of crisp and snappy.
Stirring the mixture too aggressively crushes the Rice Krispies and graham chunks. Instead of staying in little pieces, they break down into crumbs and pack together. The treats then set up as a heavy, compact slab instead of light bars with pockets of crunch.
Skipping the cooling time in the pan means the bars are cut while still warm and soft. The squares don’t hold their shape, the chocolate chips smear and melt across the surface, and the pieces end up messy and saggy instead of clean and firm.
Equipment Used:
Ingredients
- 3 tbsp unsalted butter
- 10 oz mini marshmallows
- 6 cups Rice Krispies cereal
- 8 full-size graham cracker sheets, roughly chopped
- 1 cup milk chocolate chips
- 1/2 tsp vanilla extract
- Pinch of salt
Step-by-step Instructions
- 1. In a large saucepan, melt the butter over low heat.
- 2. Add the mini marshmallows and stir until completely melted.
- 3. Remove the saucepan from heat and stir in the vanilla extract and a pinch of salt.
- 4. Gently fold in the Rice Krispies cereal, graham cracker pieces, and half of the chocolate chips until evenly coated.
- 5. Spread the mixture into a greased 9x13 inch pan, pressing it down evenly with a greased spatula.
- 6. Sprinkle the remaining chocolate chips on top and press them lightly into the treats.
- 7. Allow the treats to cool and set for at least 30 minutes before cutting into squares.
Trending Now
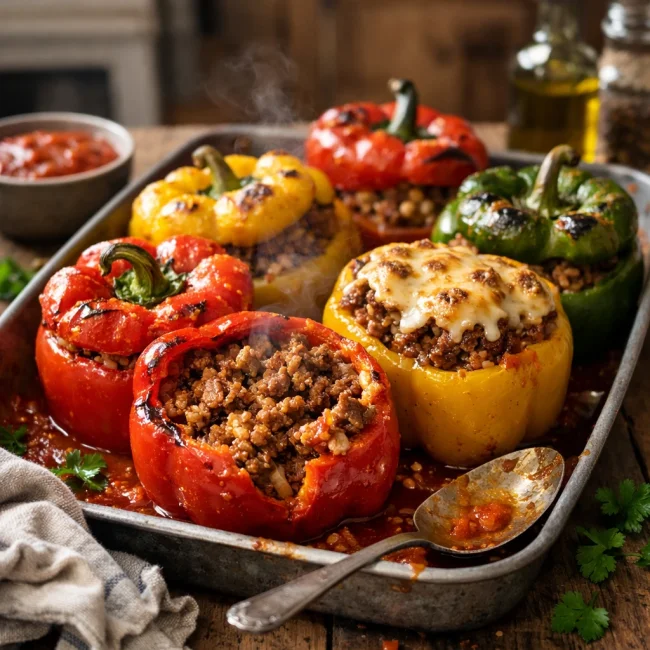
Traditional Stuffed Peppers
Explore the delightful blend of seasoned beef, rice, and tomato sauce nestled in v...
View Recipe
Traditional Lemon Pound Cake
A delightful and moist traditional lemon pound cake infused with the fresh zest an...
View Recipe
Old-Fashioned Bread Pudding
Discover the classic charm of Old-Fashioned Bread Pudding - a timeless dessert com...
View Recipe
Classic Sloppy Joes
Bring back childhood memories with these hearty and savory sloppy joes. Made with ...
View RecipeFrequently Asked Questions
- Can I use regular marshmallows instead of mini marshmallows?
- Yes, you can use regular marshmallows, but chop them into smaller pieces so they melt evenly.
- How do I store these treats?
- Keep them in an airtight container at room temperature for up to a week.
- Can I use dark chocolate chips instead?
- Absolutely! Dark chocolate will add a richer flavor that contrasts nicely with the sweetness.
Serving Ideas for S'mores Rice Krispies Treats
Enjoy these treats as a sweet snack on their own or serve them alongside a scoop of vanilla ice cream for a decadent dessert. They also pair wonderfully with a cold glass of milk or a hot mug of cocoa for that ultimate s'mores experience.
More Desserts Recipes

Rustic Vanilla Peach Cobbler
This rustic vanilla peach cobbler combines a rich, buttery crust with the sweet, v...
View Recipe
Traditional Lemon Curd
A classic, tangy lemon curd that is perfect for enhancing desserts, breakfast dish...
View Recipe
Traditional Cream Cheese Pie
A delightful and timeless dessert, Traditional Cream Cheese Pie offers a rich and ...
View Recipe
Timeless Cream Puff Delight
Indulge in a delectable Timeless Cream Puff Delight, a classic dessert featuring a...
View Recipe