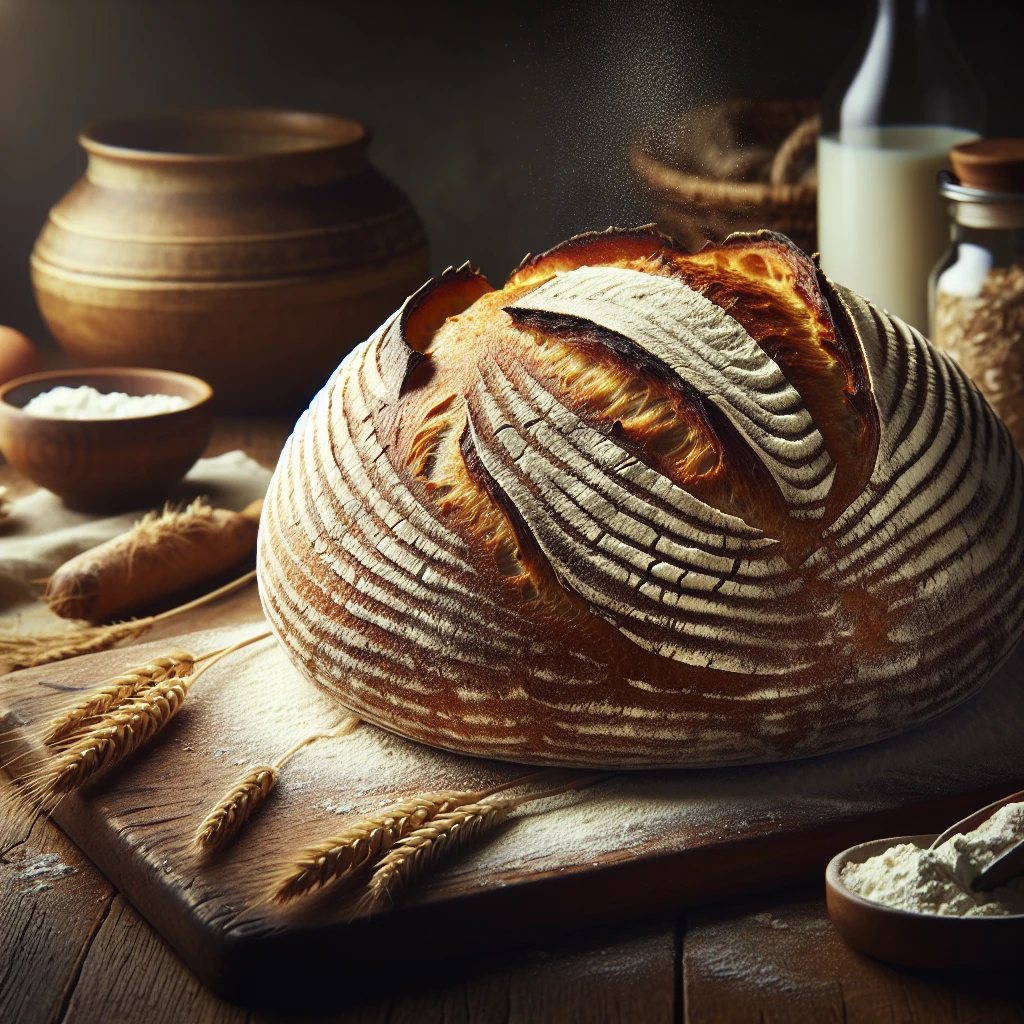
Rustic Sourdough Loaf
Welcome to the world of rustic baking with this simple yet rewarding Rustic Sourdough Loaf. A true classic, this recipe captures the magic of sourdough with minimal ingredients and hands-on time. Perfect for both beginners and seasoned bakers, this loaf promises a crusty exterior and a chewy, tangy crumb.
This post may contain affiliate links. As an Amazon Associate, we earn from qualifying purchases.
Ingredients for Rustic Sourdough Loaf
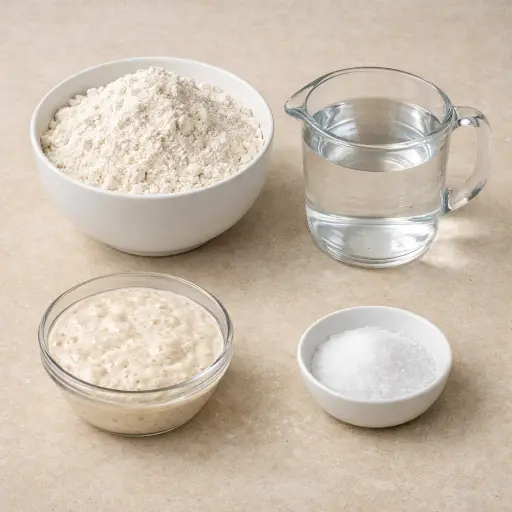
The heart of this recipe is the all-purpose flour, forming the base of your loaf while allowing the sourdough's flavor to shine. The sourdough starter is the hero, providing that characteristic tangy taste and natural leavening. With just the right amount of salt, we enhance the flavors, while warm water helps activate the starter and create the right dough consistency.
Why This Rustic Sourdough Loaf Works
At the start, the flour, water, starter, and salt are mixed just enough so everything is wet. During that first 30‑minute rest, the flour soaks up the water and the gluten in the flour starts lining up on its own. The dough feels softer and smoother without much work. With each round of stretch and folds, the dough is gently pulled and stacked on itself, so those gluten strands link up more. Over time, the dough goes from shaggy and loose to stretchy and strong, so it can trap gas without tearing.
As the dough sits for those long room‑temperature rises, the sourdough starter slowly eats the flour and makes gas. That gas stays inside the stretchy dough and makes bubbles, which later become the holes in the bread. In the hot Dutch oven, the tight lid keeps steam around the dough. The outside stays moist for the first part of baking, so the loaf can rise a bit more before the crust sets. Once the lid comes off, the surface dries out and browns, giving a crisp shell around a chewy, open crumb.
Rustic Sourdough Loaf Tips & Tricks
- Make sure your sourdough starter is active; it should be bubbly and doubled in size before using.
- Maintain the dough's hydration by keeping the cloth damp during resting periods.
- If you don't have a Dutch oven, a heavy oven-safe pot with a lid will work just as well.
Mistakes To Avoid
Using a weak or sleepy starter is a common problem. When the starter isn’t bubbly and active, the dough rises very slowly or barely at all, so the loaf stays flat and tight instead of puffing up with big air pockets.
Letting the dough sit in a very warm spot for the full rise can cause it to overproof. In that case the dough gets very loose and fragile, spreads out instead of holding a round shape, and bakes into a wide, low loaf with a gummy center.
Skipping or rushing the stretch-and-folds often leads to a dense crumb. Without those gentle pulls, the gluten doesn’t line up well, the dough can’t trap gas evenly, and the finished bread slices come out heavy with small, tight holes.
Putting the dough into a Dutch oven that isn’t fully preheated keeps the crust from forming properly. The loaf then rises less in the oven, the bottom can bake up pale and soft, and the crust never gets that firm, crackly shell.
Equipment Used:
Ingredients
- 4 cups all-purpose flour
- 2 cups warm water (about 110°F)
- 1 cup active sourdough starter
- 2 teaspoons salt
Step-by-step Instructions
- 1. In a large mixing bowl, combine the flour and salt.
- 2. Add the active sourdough starter and warm water to the flour mixture.
- 3. Stir the mixture until a sticky dough forms.
- 4. Cover the bowl with a damp cloth and let it rest for 30 minutes.
- 5. Perform a series of stretch and folds on the dough every 30 minutes for 2 hours.
- 6. After the last fold, let the dough rise at room temperature for 4-5 hours, or until doubled in size.
- 7. Preheat your oven to 450°F (232°C) and place a Dutch oven inside to heat up.
- 8. Carefully transfer the dough onto a lightly floured surface and shape into a round loaf.
- 9. Place the shaped dough onto a piece of parchment paper and cover with a cloth.
- 10. Let the dough rest for 30 minutes while the oven heats.
- 11. Remove the Dutch oven from the oven, place the dough (with parchment) inside, cover with a lid, and bake for 20 minutes.
- 12. Remove the lid and continue to bake for an additional 25-30 minutes, or until the crust is golden brown and crisp.
- 13. Cool completely on a wire rack before slicing.
Trending Now

Oven-Baked Pork Chops
Enjoy a delightful dinner with these tender and juicy oven-baked pork chops, seaso...
View Recipe
Traditional Corn Casserole
A delightful corn casserole dish that embodies the comforting flavors of sweet cor...
View Recipe
Traditional Cucumber and Tomato Salad
A refreshing and simple salad combining crisp cucumbers and juicy tomatoes, season...
View Recipe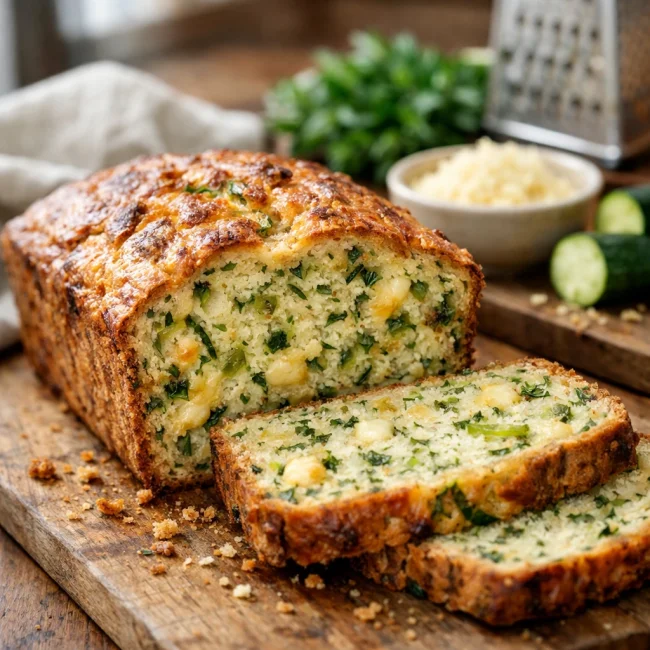
Savory Zucchini Bread
Savory Zucchini Bread is a delectable twist on traditional zucchini recipes, combi...
View RecipeFrequently Asked Questions
- Can I use whole wheat flour instead of all-purpose flour?
- Yes, but it will change the texture and flavor slightly. You may need to adjust the water content.
- How do I know when my sourdough starter is ready to use?
- Your starter is ready when it is bubbly and has doubled in size after a feeding.
Serving Ideas for Rustic Sourdough Loaf
This Rustic Sourdough Loaf pairs beautifully with a hearty vegetable soup or a slice of aged cheese. It also makes the perfect base for a gourmet sandwich with fresh veggies, hummus, and your favorite cold cuts. For a sweet twist, try it with butter and a drizzle of honey.
More Breads & Baked Goods Recipes

Traditional Italian Easter Bread
Savor the delightful taste of a classic Italian Easter bread, a sweet, soft, and s...
View Recipe
Old-Fashioned Pineapple Bread
A delightful and flavorful bread infused with juicy pineapple, perfect for breakfa...
View Recipe
Old-Fashioned Blueberry Muffins
Transport yourself to simpler times with these delightful old-fashioned blueberry ...
View Recipe
Strawberry Basil Scones
These tender scones combine the sweetness of fresh strawberries with a hint of pep...
View Recipe