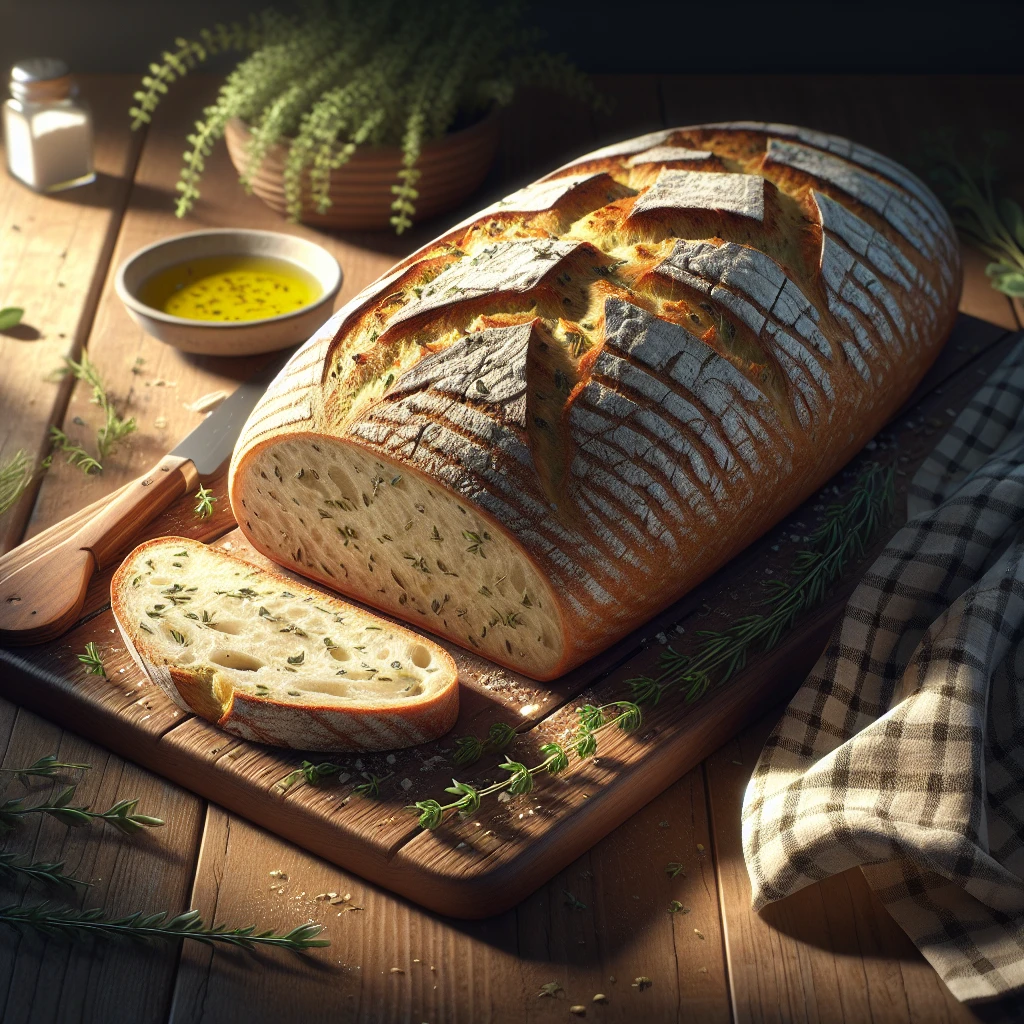
Rustic Herbed French Bread
Rustic Herbed French Bread is a delightful twist on a classic favorite, bringing aromatic herbs into every bite. This recipe offers a satisfying crunch with a soft, flavorful interior, perfect for any occasion.
This post may contain affiliate links. As an Amazon Associate, we earn from qualifying purchases.
Ingredients for Rustic Herbed French Bread
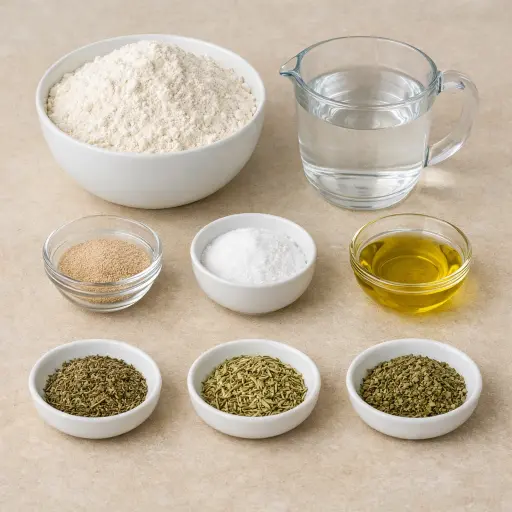
Flour is our main structure, giving the bread its body. Use all-purpose for its versatility. Warm water activates the yeast, creating the rise and texture. Active dry yeast is the magic behind the bread's rise and airiness. Salt enhances flavor and controls yeast activity. Olive oil adds moisture and a hint of richness. The herbs — thyme, rosemary, and oregano — infuse the bread with a savory aroma that's simply irresistible.
Why This Rustic Herbed French Bread Works
Warm water wakes up the yeast so it starts to bubble and fill the bowl with tiny gas pockets. As the yeast feeds on the flour, it keeps making more of these bubbles. While that happens, the flour and water join together and form gluten, which is like stretchy strings running through the dough. Kneading stretches and lines up those strings so the dough can trap the gas instead of letting it escape.
During the first rise, those gas pockets grow and push against the gluten, so the dough slowly puffs up and gets airy instead of dense. The herbs and olive oil spread through the dough while it rises, so every bite has some of that herby taste, and the oil keeps the inside from drying out too much.
In the hot oven, the water in the dough turns to steam and expands fast, giving the loaves one last big rise. The outside dries first and firms up into a crust, while the inside stays soft and full of little holes from all the trapped gas.
Rustic Herbed French Bread Tips & Tricks
- If your kitchen is cold, let the dough rise in the oven with just the light on.
- For a crispier crust, place a small pan of water in the oven while baking.
- Make sure your yeast is fresh; expired yeast won't rise well.
- Experiment with fresh herbs if you have them on hand!
Mistakes To Avoid
Using water that is too hot kills the yeast before the dough even starts rising. The dough then sits heavy in the bowl, barely puffing up, and the finished loaves come out flat, dense, and gummy in the center instead of airy.
Adding all the flour at once often leaves dry pockets that never fully hydrate. During kneading, those dry spots stay stiff, so the dough doesn’t stretch well, and the baked bread ends up with tough, uneven crumbs and hard little lumps inside.
Cutting the kneading time short keeps the gluten from forming properly. The dough tears instead of stretching, so in the oven the loaves spread out instead of lifting, and the bread bakes up squat, with a tight, slightly chewy texture instead of a light, open one.
Letting the shaped loaves rise too long on the tray makes the dough overproof. In the oven, the loaves deflate instead of springing up, and the crust bakes thin and fragile while the inside feels a bit collapsed and uneven.
Equipment Used:
Ingredients
- 4 cups all-purpose flour
- 1 1/2 cups warm water
- 2 1/4 tsp active dry yeast
- 1 1/2 tsp salt
- 1 tbsp olive oil
- 1 tsp dried thyme
- 1 tsp dried rosemary
- 1 tsp dried oregano
Step-by-step Instructions
- 1. In a large bowl, dissolve yeast in warm water and let it sit until foamy, about 5 minutes.
- 2. Add olive oil, salt, and herbs to the yeast mixture and mix well.
- 3. Gradually add the flour, stirring as you go, until the dough begins to come together.
- 4. Knead the dough on a floured surface until smooth and elastic, about 10 minutes.
- 5. Place the dough in a greased bowl, cover, and let it rise in a warm place until doubled in size, about 1 hour.
- 6. Punch down the dough, divide it into two pieces, and shape each piece into a loaf.
- 7. Place the loaves on a greased baking sheet, cover, and let them rise for another 30 minutes.
- 8. Preheat the oven to 425°F (220°C).
- 9. Bake the loaves for 25-30 minutes, or until golden brown and hollow-sounding when tapped on the bottom.
- 10. Cool on a wire rack before serving.
Trending Now

Old-Fashioned Bread Pudding
Discover the classic charm of Old-Fashioned Bread Pudding - a timeless dessert com...
View Recipe
Classic Green Beans
Discover the timeless delight of Classic Green Beans, a simple yet flavorful side ...
View Recipe
Traditional Italian Bruschetta
Experience the authentic taste of Italian bruschetta, a perfect blend of fresh tom...
View Recipe
Traditional Crisp Coleslaw
A classic coleslaw recipe featuring finely shredded cabbage and carrots tossed in ...
View RecipeFrequently Asked Questions
- Can I use instant yeast instead of active dry yeast?
- Yes, you can substitute instant yeast for active dry yeast. Just remember that instant yeast doesn't need to be dissolved in water before using.
- Can I freeze the bread?
- Absolutely! Once the bread is completely cool, wrap it tightly and freeze. It’ll keep for up to three months.
Serving Ideas for Rustic Herbed French Bread
This bread pairs beautifully with a hearty soup or a fresh salad. Try serving it alongside a cheese platter for gatherings, or use it to make a scrumptious sandwich with roasted vegetables and goat cheese.
More Breads & Baked Goods Recipes

Traditional Italian Easter Bread
Savor the delightful taste of a classic Italian Easter bread, a sweet, soft, and s...
View Recipe
Old-Fashioned Pineapple Bread
A delightful and flavorful bread infused with juicy pineapple, perfect for breakfa...
View Recipe
Old-Fashioned Blueberry Muffins
Transport yourself to simpler times with these delightful old-fashioned blueberry ...
View Recipe
Strawberry Basil Scones
These tender scones combine the sweetness of fresh strawberries with a hint of pep...
View Recipe