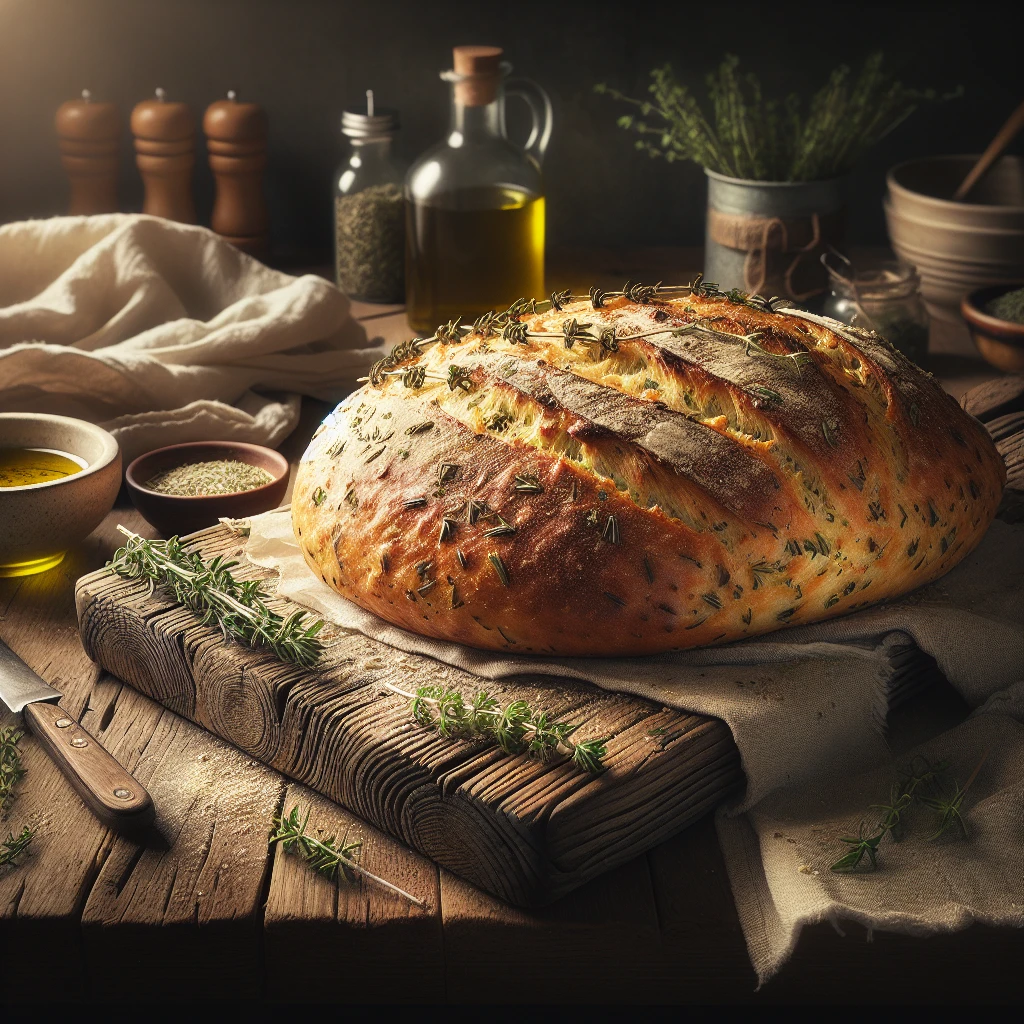
Rustic Herb-infused Bread
There's something incredibly satisfying about baking your own bread, and this Rustic Herb-Infused Bread is the perfect recipe to start with. Infused with fragrant herbs, it adds a delightful aroma and flavor to any meal. Perfect for beginners and seasoned bakers alike!
This post may contain affiliate links. As an Amazon Associate, we earn from qualifying purchases.
Ingredients for Rustic Herb-infused Bread
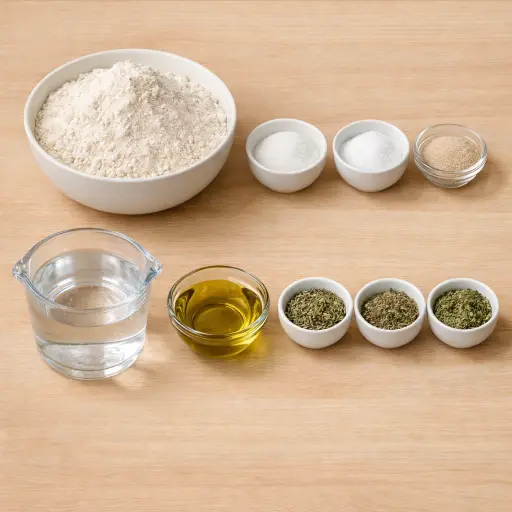
The backbone of any bread is, of course, flour. We use all-purpose flour here for its versatility and availability. Sugar helps to feed the yeast, giving the bread its rise. Speaking of yeast, you'll want active dry yeast for this recipe, which is easy to work with and reliable. A bit of salt balances out the flavors, making sure the herbs don't overpower. The trio of dried rosemary, thyme, and oregano gives the bread its signature herbal aroma and taste. Olive oil adds a subtle richness, while warm water (at about 110°F) is the magic ingredient that gets the yeast going.
Why This Rustic Herb-infused Bread Works
At the start, the dry flour, salt, sugar, and herbs get mixed so the seasonings are spread all through the dough instead of sitting in one spot. When the warm water wakes up the yeast, tiny bubbles start forming inside the dough. As the dough is kneaded, the flour and water join into long stretchy strands. That stretchy network traps those bubbles, so the dough can puff up instead of falling flat.
During the first rise, the yeast keeps eating the sugar and making gas, and the dough slowly swells and softens. Punching it down and shaping it into a loaf pushes the bubbles into smaller, more even pockets, which later turn into the crumb inside the bread. In the oven, the heat makes the trapped gas expand fast, then the dough firms up and sets around it. The outside dries first and becomes a crust, while the inside stays softer. The herbs warm up and spread their taste through the loaf, so every slice has the same herby bite.
Rustic Herb-infused Bread Tips & Tricks
- If your kitchen is cool, try letting the dough rise in an oven that's been slightly warmed and then turned off.
- For a crunchier crust, place a shallow pan of water on the bottom rack of the oven while baking.
- Ensure your yeast is fresh; expired yeast may not give the necessary rise.
Mistakes To Avoid
Using water that is too hot for the yeast often kills it before the dough even forms. The dough then sits heavy in the bowl, barely rising, and the finished bread comes out flat, dense, and gummy in the center instead of airy.
Cutting the kneading time short leaves the dough weak and uneven. The gluten never lines up properly, so the loaf spreads out instead of holding its shape and bakes up with a tight, uneven crumb and random heavy spots.
Letting the dough rise far past doubled size in either rise can cause it to collapse later. The yeast runs out of food, the dough turns slack and fragile, and the baked loaf comes out wide, pale, and a bit chewy instead of springy.
Packing the measuring cup with flour instead of lightly filling it leads to a dry, stiff dough. In the oven this kind of dough doesn’t expand well, so the bread bakes up hard, with a thick crust and a crumb that crumbles instead of tearing.
Equipment Used:
Ingredients
- 4 cups all-purpose flour
- 1 tbsp sugar
- 1 tbsp salt
- 1/4 oz active dry yeast
- 1 1/2 cups warm water (110°F)
- 2 tbsp olive oil
- 1 tbsp dried rosemary
- 1 tbsp dried thyme
- 1 tbsp dried oregano
Step-by-step Instructions
- 1. In a large bowl, mix the flour, sugar, salt, and herbs.
- 2. Dissolve the yeast in warm water, then add to the dry ingredients along with olive oil.
- 3. Knead the dough on a floured surface for about 10 minutes until smooth.
- 4. Place the dough in a greased bowl, cover with a damp cloth, and let it rise until doubled in size, about 1 hour.
- 5. Punch down the dough and shape into a loaf.
- 6. Place the loaf on a greased baking sheet, cover, and let rise again for 30 minutes.
- 7. Preheat the oven to 375°F (190°C).
- 8. Bake the bread for 30-35 minutes, or until the loaf sounds hollow when tapped.
- 9. Let cool on a wire rack before slicing.
Trending Now

Old-Fashioned Bread Pudding
Discover the classic charm of Old-Fashioned Bread Pudding - a timeless dessert com...
View Recipe
Classic Green Beans
Discover the timeless delight of Classic Green Beans, a simple yet flavorful side ...
View Recipe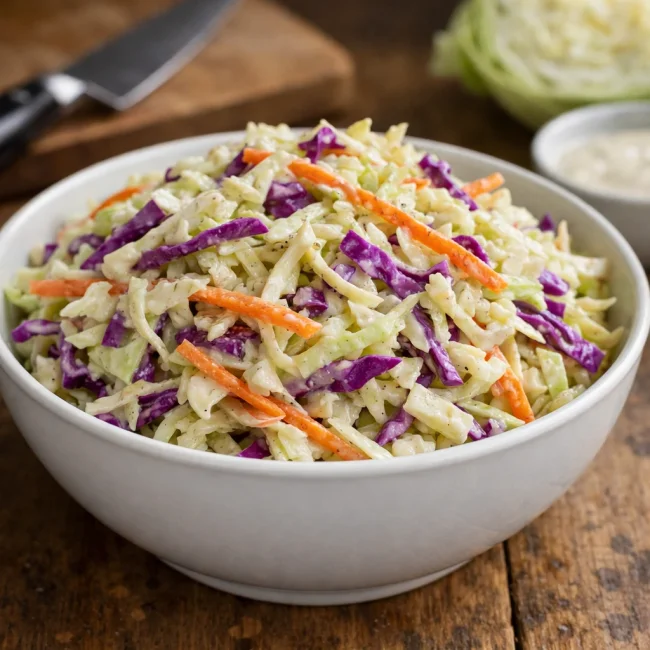
Traditional Crisp Coleslaw
A classic coleslaw recipe featuring finely shredded cabbage and carrots tossed in ...
View Recipe
Traditional Italian Bruschetta
Experience the authentic taste of Italian bruschetta, a perfect blend of fresh tom...
View RecipeFrequently Asked Questions
- Can I use fresh herbs instead of dried?
- Yes, you can use fresh herbs! You'll want to triple the amount since dried herbs are more concentrated.
- What if I don't have olive oil?
- You can substitute with another neutral oil like vegetable or canola oil, but olive oil adds a nice flavor.
- How do I store this bread?
- It's best stored in a bread box or wrapped in a towel to keep it from drying out. It can also be frozen for up to a month.
Serving Ideas for Rustic Herb-infused Bread
This bread pairs beautifully with creamy soups, like a roasted tomato bisque or a hearty chicken stew. It's also wonderful as a base for bruschetta — just add some fresh tomatoes, basil, and a drizzle of balsamic glaze. Or keep it simple with a spread of butter or olive oil.
More Breads & Baked Goods Recipes

Traditional Italian Easter Bread
Savor the delightful taste of a classic Italian Easter bread, a sweet, soft, and s...
View Recipe
Old-Fashioned Pineapple Bread
A delightful and flavorful bread infused with juicy pineapple, perfect for breakfa...
View Recipe
Old-Fashioned Blueberry Muffins
Transport yourself to simpler times with these delightful old-fashioned blueberry ...
View Recipe
Strawberry Basil Scones
These tender scones combine the sweetness of fresh strawberries with a hint of pep...
View Recipe