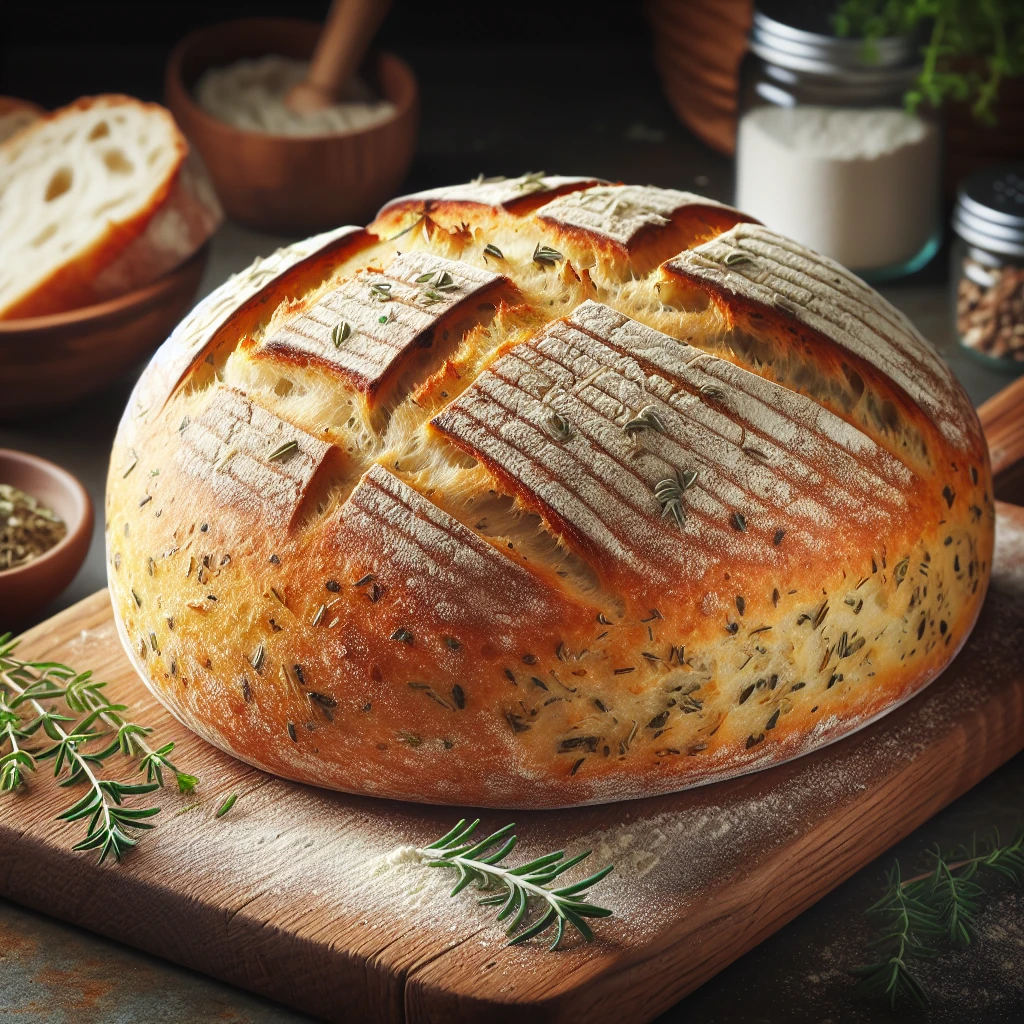
Rustic Herb Dutch Oven Bread
There's something truly special about homemade bread, especially when it's infused with the aromatic flavor of herbs. This Rustic Herb Dutch Oven Bread is not only easy to make, but it also brings a touch of warmth and comfort to any meal. Perfect for both novice and experienced bakers, this bread is set to become a staple in your kitchen.
This post may contain affiliate links. As an Amazon Associate, we earn from qualifying purchases.
Ingredients for Rustic Herb Dutch Oven Bread

All-purpose flour is the foundation of our bread, providing structure and texture. Salt enhances flavor and controls yeast fermentation, giving our bread that perfect rise. Yeast is the magic ingredient that makes the dough rise and develop its airy texture. Water hydrates the dough, helping the flour form gluten. Olive oil adds a subtle richness and helps keep the bread moist. Finally, dried rosemary and dried thyme bring aromatic, savory notes that elevate this bread to something extraordinary.
Why This Rustic Herb Dutch Oven Bread Works
During the long rest, the wet dough sits and slowly changes. The tiny bit of yeast has a lot of time to work, so the dough fills with little air pockets. Gluten in the flour stretches on its own without much kneading, so the dough becomes stretchy and strong enough to trap that air. The herbs sit in the wet dough for hours, so their taste spreads all through the bread instead of staying in one spot.
In the hot Dutch oven, the dough hits a blast of heat from all sides. The water in the dough turns to steam and pushes out, which makes the loaf rise quickly. Because the pot is covered at first, the steam stays around the dough and keeps the surface soft so it can expand. After the lid comes off, the outside dries out and browns, so the crust turns deep golden and crisp while the inside stays moist and chewy. The olive oil keeps the crumb tender and gives the crust a slight sheen instead of being dusty or tough.
Rustic Herb Dutch Oven Bread Tips & Tricks
- For extra flavor, add a clove of minced garlic to the dough.
- If you don't have a Dutch oven, a heavy pot with a lid works too.
- To check if the bread is done, tap the bottom. A hollow sound means it's ready.
- For a crispier crust, remove the lid earlier and bake longer.
Mistakes To Avoid
Letting the dough rise for only a few hours instead of the full long rise keeps the gluten weak and the air bubbles small. In the oven, the loaf doesn’t spring up much and stays tight and heavy. The finished bread comes out dense in the middle instead of light with big holes.
Putting the dough into a cold or barely heated Dutch oven stops the crust from forming fast enough. The bread spreads out before it can lift, so it bakes wide and flat. The bottom can also turn pale and soft instead of firm and crisp.
Skipping the rest after baking and slicing while it is still very hot lets the steam rush out too fast. The inside can smear onto the knife and compress, so the crumb turns gummy instead of airy. The slices end up squashed and sticky.
Adding a lot more water than listed makes the dough too loose and slack. In the oven, it can’t hold its shape, so it collapses and bakes into a low, chewy slab instead of a tall round loaf.
Equipment Used:
Ingredients
- 3 1/2 cups all-purpose flour
- 1 1/2 teaspoons salt
- 1/2 teaspoon yeast
- 1 3/4 cups water
- 2 tablespoons olive oil
- 1 tablespoon dried rosemary
- 1 tablespoon dried thyme
Step-by-step Instructions
- 1. In a large bowl, combine the flour, salt, and yeast.
- 2. Add water and olive oil, stirring until a shaggy dough forms.
- 3. Mix in rosemary and thyme thoroughly.
- 4. Cover the bowl with plastic wrap and let the dough rise for 12 to 18 hours at room temperature.
- 5. Preheat your oven to 450°F and place a Dutch oven inside to heat up.
- 6. Carefully transfer the dough to a floured surface and shape it into a ball.
- 7. Remove the Dutch oven from the oven, place the dough inside, and cover with the lid.
- 8. Bake for 30 minutes, then remove the lid and bake for an additional 15 minutes until the crust is golden brown.
- 9. Let the bread cool completely before slicing.
Trending Now

Classic Cucumber Salad
A refreshing and light cucumber salad featuring crisp cucumbers and a tangy vinaig...
View Recipe
Classic Banana Bread
Classic Banana Bread is a timeless dessert beloved for its moist texture and sweet...
View Recipe
Zesty Summer Squash Casserole
This delightful summer squash casserole combines vibrant garden-fresh vegetables w...
View Recipe
Traditional Dump Cake
Discover the timeless delight of the Traditional Dump Cake, a simple and scrumptio...
View RecipeFrequently Asked Questions
- Can I use fresh herbs instead of dried?
- Yes, you can use fresh herbs! Just double the amount since dried herbs are more concentrated.
- What if I don't have time for a long rise?
- If you're in a hurry, a 6-hour rise will still yield delicious bread, though the flavor won't be as developed.
- How should I store the bread?
- Store it in a paper bag at room temperature for up to three days. For longer storage, freeze it in a sealed plastic bag.
Serving Ideas for Rustic Herb Dutch Oven Bread
This bread pairs beautifully with a hearty vegetable soup or a creamy pasta dish. Try serving it with a platter of meats and cheeses for a rustic appetizer. It’s also fantastic simply dipped in olive oil and balsamic vinegar for a light starter.
More Breads & Baked Goods Recipes

Traditional Italian Easter Bread
Savor the delightful taste of a classic Italian Easter bread, a sweet, soft, and s...
View Recipe
Old-Fashioned Pineapple Bread
A delightful and flavorful bread infused with juicy pineapple, perfect for breakfa...
View Recipe
Old-Fashioned Blueberry Muffins
Transport yourself to simpler times with these delightful old-fashioned blueberry ...
View Recipe
Strawberry Basil Scones
These tender scones combine the sweetness of fresh strawberries with a hint of pep...
View Recipe