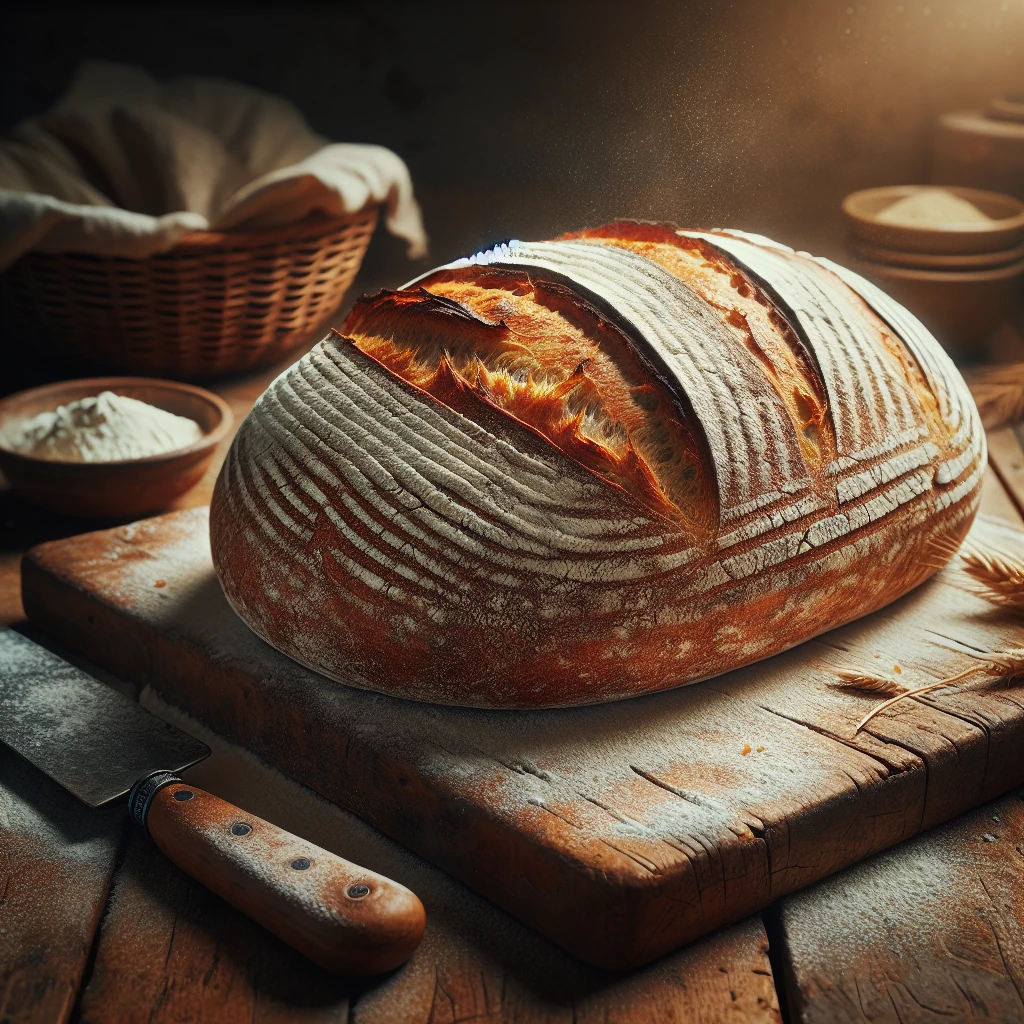
Rustic Farmhouse Bread
Rustic Farmhouse Bread is the kind of loaf that fills your kitchen with the comforting aroma of home. It’s simple, hearty, and just perfect for any meal, whether you're enjoying it fresh out of the oven or as a base for your favorite sandwiches.
This post may contain affiliate links. As an Amazon Associate, we earn from qualifying purchases.
Ingredients for Rustic Farmhouse Bread
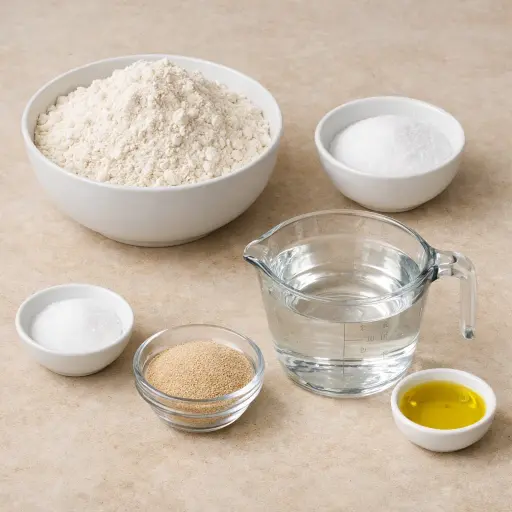
All-purpose flour is the backbone of our bread, providing structure and chew. It's versatile and gives the bread its rustic texture. Salt enhances the flavor, bringing out the natural taste of the wheat. Sugar is not just for sweetness; it helps activate the yeast, kickstarting the fermentation process. Active dry yeast is our leavening agent, responsible for the bread's rise and airy texture. Warm water at about 110°F is crucial for activating the yeast without killing it. Olive oil adds a touch of richness and helps keep the bread moist.
Why This Rustic Farmhouse Bread Works
At the start, the warm water wakes up the yeast. The sugar gives the yeast something to eat, so after a few minutes it starts to foam. That foam means the yeast is alive and making tiny gas bubbles. Once the flour and salt go in, those bubbles begin to spread through the dough.
During kneading, the flour and water are pressed and stretched together. Gluten strands form and line up, so the dough becomes smooth and stretchy instead of sticky and rough. That stretchy dough can trap the gas from the yeast. While the dough rests in the oiled bowl, the yeast keeps working and the gas pushes out in all directions, so the dough rises and gets full of air pockets.
In the hot oven, the water in the dough turns to steam and the gas bubbles expand fast, giving the bread its final lift. The outside dries first and firms up into a crust, while the inside sets around all those bubbles. By the time it sounds hollow when tapped, the loaf has a crisp shell and a soft, chewy center.
Rustic Farmhouse Bread Tips & Tricks
- If your kitchen is cold, let the dough rise in an oven with just the light on for some warmth.
- Use a bench scraper to help with kneading if the dough is sticking.
- For a more pronounced crust, place a small pan of water on the bottom rack of the oven during baking.
Mistakes To Avoid
Using water that is too hot kills the yeast before the dough even forms. The mixture may never get frothy, and the dough will rise very little, giving a flat, tight loaf that stays heavy in the center instead of airy.
Adding the salt directly on top of the dry yeast and letting it sit together can weaken the yeast. The dough then rises slowly and unevenly, so the bread bakes up dense with a gummy middle instead of a light crumb.
Kneading far less than the 10 minutes leaves the dough weak and sticky. In the oven, that kind of dough spreads outward instead of lifting up, and the loaf comes out flat with a rough, uneven texture inside.
Letting the shaped loaf rise too long the second time causes it to overproof. Once it hits the hot oven, it collapses instead of springing up, and the crust separates from the inside, giving a deflated, wrinkled loaf.
Baking at a lower temperature than 450°F makes the crust pale and tough while the inside dries out slowly. The bread may never get that firm, crackly outside and can feel dry and bready rather than chewy.
Equipment Used:
Ingredients
- 4 cups all-purpose flour
- 2 tsp salt
- 1 tsp sugar
- 1 packet (2 1/4 tsp) active dry yeast
- 1 1/2 cups warm water (110°F)
- 1 tbsp olive oil
Step-by-step Instructions
- 1. In a large bowl, combine warm water, sugar, and yeast. Let sit for 5 minutes until frothy.
- 2. Add flour and salt to the yeast mixture and mix until a dough forms.
- 3. Knead the dough on a floured surface for about 10 minutes until smooth and elastic.
- 4. Place the dough in an oiled bowl, cover, and let rise in a warm place for 1 hour or until doubled in size.
- 5. Preheat oven to 450°F (232°C).
- 6. Punch down the dough and shape it into a round loaf.
- 7. Place the dough on a parchment-lined baking sheet, cover, and let rise for another 30 minutes.
- 8. Slash the top of the loaf with a sharp knife and bake for 25-30 minutes until golden brown and sounds hollow when tapped.
Trending Now

Classic Banana Bread
Classic Banana Bread is a timeless dessert beloved for its moist texture and sweet...
View Recipe
Classic Cucumber Salad
A refreshing and light cucumber salad featuring crisp cucumbers and a tangy vinaig...
View Recipe
Zesty Summer Squash Casserole
This delightful summer squash casserole combines vibrant garden-fresh vegetables w...
View Recipe
Traditional Dump Cake
Discover the timeless delight of the Traditional Dump Cake, a simple and scrumptio...
View RecipeFrequently Asked Questions
- Can I use instant yeast instead of active dry yeast?
- Yes, you can substitute instant yeast, but remember that it doesn’t need to be dissolved in water first.
- How do I store leftover bread?
- Store it in a bread box or paper bag to maintain the crust. If you need to keep it longer, wrap it tightly and freeze.
- Can I add herbs or cheese?
- Absolutely! Mix in some fresh herbs or grated cheese with the flour for a flavorful twist.
Serving Ideas for Rustic Farmhouse Bread
This bread is a perfect match for a hearty soup or stew. It’s also fantastic with a simple spread of butter and a sprinkle of sea salt. Try it as a base for bruschetta or alongside a cheese platter at your next gathering.
More Breads & Baked Goods Recipes

Traditional Italian Easter Bread
Savor the delightful taste of a classic Italian Easter bread, a sweet, soft, and s...
View Recipe
Old-Fashioned Pineapple Bread
A delightful and flavorful bread infused with juicy pineapple, perfect for breakfa...
View Recipe
Old-Fashioned Blueberry Muffins
Transport yourself to simpler times with these delightful old-fashioned blueberry ...
View Recipe
Strawberry Basil Scones
These tender scones combine the sweetness of fresh strawberries with a hint of pep...
View Recipe