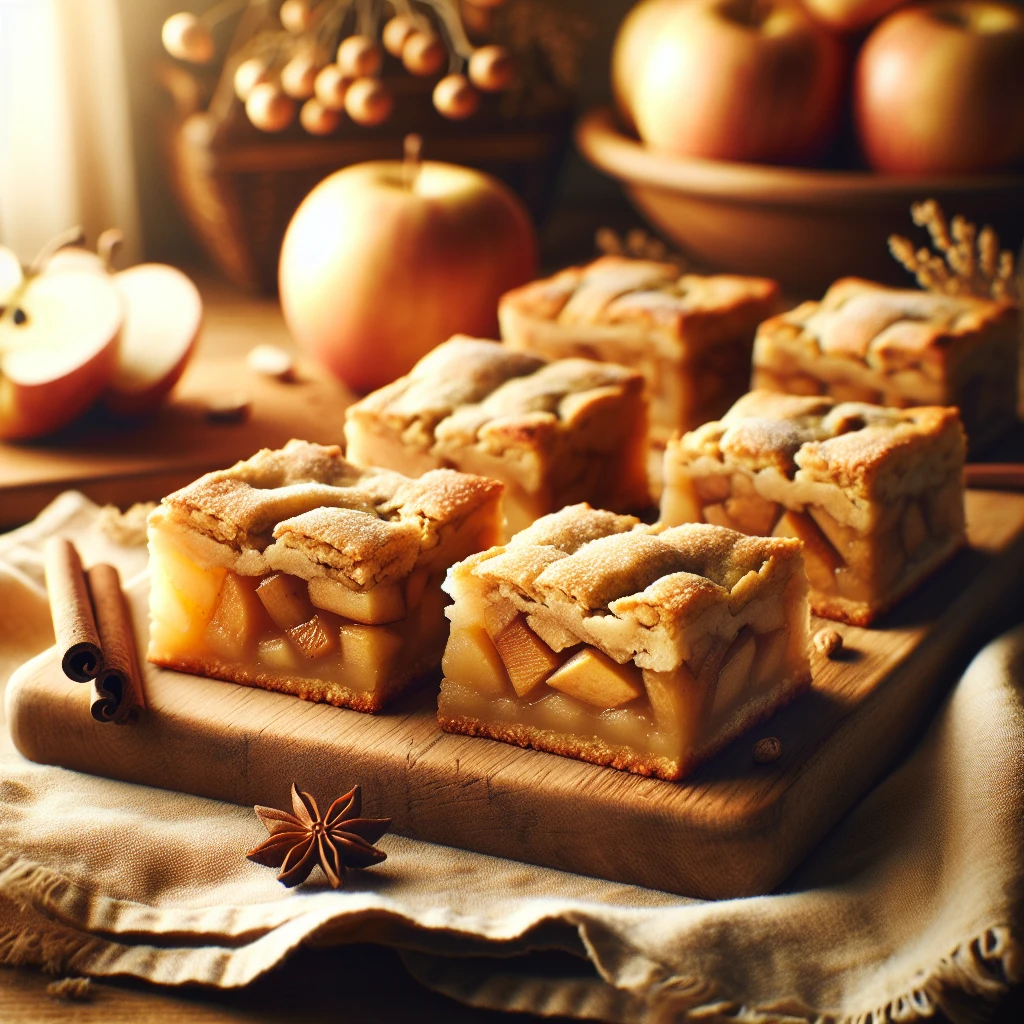
Rustic Apple Pie Bars
If you adore the comforting taste of apple pie but dread the fuss of rolling out dough, these Rustic Apple Pie Bars are your new best friend. With a buttery crust and a spiced apple filling, they capture all the flavors of a classic pie in a simple, hand-held form.
This post may contain affiliate links. As an Amazon Associate, we earn from qualifying purchases.
Ingredients for Rustic Apple Pie Bars
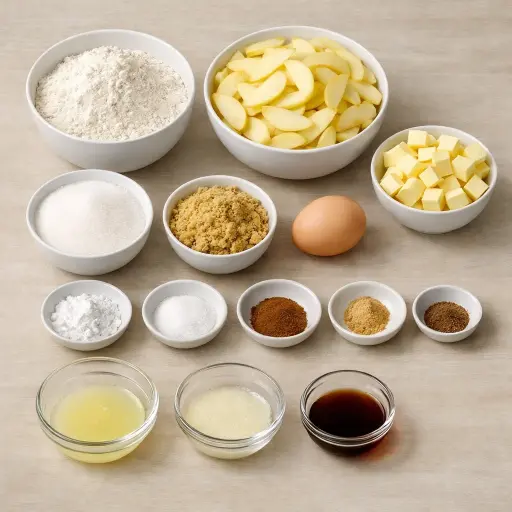
The foundation of our bars is a mix of simple pantry staples. All-purpose flour provides the structure, while granulated sugar and light brown sugar balance sweetness and add a hint of molasses. Baking powder gives a slight lift to the crust. A pinch of salt enhances all the flavors, and ground cinnamon and nutmeg bring warmth and spice. We use unsalted butter for richness, with a large egg helping to bind the dough. For the filling, tart apples offer a firm texture and a robust flavor that’s brightened with lemon juice and deepened by vanilla extract.
Why This Rustic Apple Pie Bars Works
During baking, the dough on the bottom and the apples in the middle change at the same time and end up holding each other in place. The flour, sugar, and cold butter start out as loose crumbs, but once the egg goes in and the pan hits the oven, that bottom layer firms up into a sturdy crust. It stays strong enough to support the soft apples, so the bars can be picked up instead of falling apart like pie.
Inside the pan, the apple slices slowly soften and shrink as they heat. The sugar around them melts, and the lemon juice and apple juices mix together, so the fruit sits in a thick, sticky layer instead of a runny one. While that happens, the crumbled dough on top bakes into a crisp, golden lid. By the time it cools, the crust has set, the apples have settled into a neat layer, and the top has hardened just enough to break cleanly into bars.
Rustic Apple Pie Bars Tips & Tricks
- Use a pastry cutter or fork for cutting in the butter to avoid warming it with your hands.
- For a more pronounced spice flavor, add a pinch more cinnamon or nutmeg as per your taste.
- Make sure the apples are sliced thinly and evenly for uniform cooking.
Mistakes To Avoid
Letting the bars bake too long can dry out both the crust and the apples. The top turns very dark and hard before the apples have any moisture left, so the bars end up tough and crumbly instead of soft in the middle with a light crunch on top.
Using warm or soft butter instead of chilled butter changes the base completely. The flour mixture turns into a paste instead of coarse crumbs, so the bottom crust bakes up dense and greasy instead of short and slightly crisp.
Packing all the dough on the bottom and leaving too little for the crumble causes uneven texture. The base becomes thick and heavy, while the top has bare apple spots that dry out and brown too fast.
Cutting the apples into thick chunks instead of thin slices keeps them from softening in time. The bars can look done on top, but the apples stay firm and a bit crunchy, and the layers don’t settle together into neat slices.
Skipping the cooling time makes the bars fall apart when sliced. The hot filling is still loose, so the crust breaks and the apples slide out, giving messy piles instead of clean bars.
Equipment Used:
Ingredients
- 2 1/2 cups all-purpose flour
- 1 cup granulated sugar
- 1/2 cup light brown sugar
- 1 teaspoon baking powder
- 1/2 teaspoon salt
- 1/2 teaspoon ground cinnamon
- 1/4 teaspoon ground nutmeg
- 1 cup unsalted butter, chilled and diced
- 1 large egg
- 5 cups tart apples, peeled, cored, and thinly sliced
- 2 tablespoons lemon juice
- 2 teaspoons vanilla extract
Step-by-step Instructions
- 1. Preheat your oven to 375°F (190°C) and grease a 9x13 inch baking pan.
- 2. In a large bowl, combine flour, granulated sugar, baking powder, salt, cinnamon, and nutmeg.
- 3. Cut in the chilled butter until the mixture resembles coarse crumbs.
- 4. Stir in the beaten egg to form a dough.
- 5. Press half of the dough into the bottom of the prepared pan.
- 6. In another bowl, toss the apple slices with lemon juice and vanilla extract.
- 7. Spread the apple mixture evenly over the crust in the pan.
- 8. Crumble the remaining dough over the top of the apples.
- 9. Bake for 45 minutes, or until the top is golden brown.
- 10. Let it cool before slicing into bars.
Trending Now

Classic Banana Bread
Classic Banana Bread is a timeless dessert beloved for its moist texture and sweet...
View Recipe
Classic Cucumber Salad
A refreshing and light cucumber salad featuring crisp cucumbers and a tangy vinaig...
View Recipe
Zesty Summer Squash Casserole
This delightful summer squash casserole combines vibrant garden-fresh vegetables w...
View Recipe
Traditional Dump Cake
Discover the timeless delight of the Traditional Dump Cake, a simple and scrumptio...
View RecipeFrequently Asked Questions
- Can I use a different type of apple?
- Absolutely! While tart apples like Granny Smiths are ideal, feel free to experiment with your favorites.
- How do I store the bars?
- Store them in an airtight container at room temperature for up to 3 days or in the refrigerator for up to a week.
Serving Ideas for Rustic Apple Pie Bars
These bars are delightful on their own, but for an extra treat, serve them warm with a scoop of vanilla ice cream or a dollop of whipped cream. They also pair beautifully with a drizzle of caramel sauce for a decadent dessert.
More Desserts Recipes

Rustic Vanilla Peach Cobbler
This rustic vanilla peach cobbler combines a rich, buttery crust with the sweet, v...
View Recipe
Traditional Lemon Curd
A classic, tangy lemon curd that is perfect for enhancing desserts, breakfast dish...
View Recipe
Traditional Cream Cheese Pie
A delightful and timeless dessert, Traditional Cream Cheese Pie offers a rich and ...
View Recipe
Timeless Cream Puff Delight
Indulge in a delectable Timeless Cream Puff Delight, a classic dessert featuring a...
View Recipe