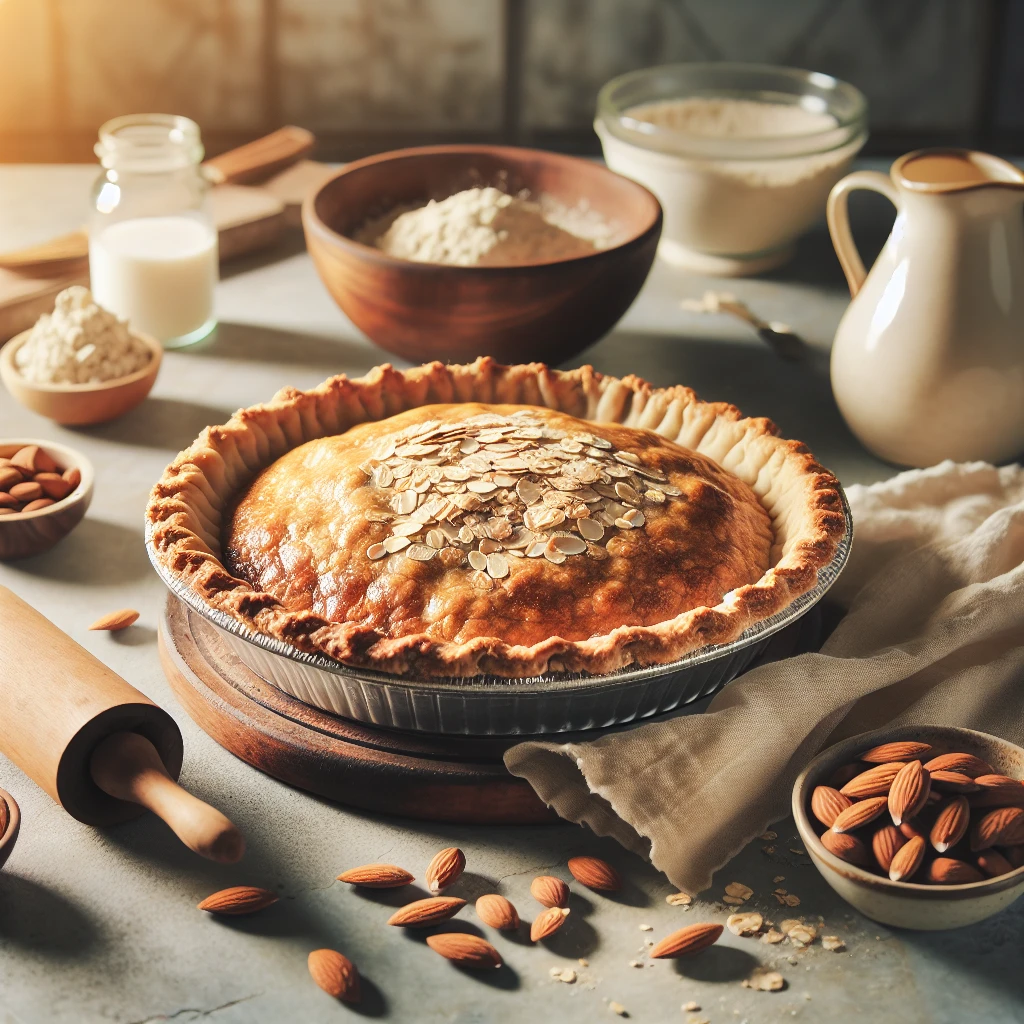
Rustic Almond & Oat Gluten-Free Pie Crust
Today, we're diving into a recipe that's both gluten-free and utterly delightful: a Rustic Almond & Oat Gluten-Free Pie Crust. It's a versatile base that suits both sweet and savory fillings, making it a perfect go-to for any pie enthusiast.
This post may contain affiliate links. As an Amazon Associate, we earn from qualifying purchases.
Ingredients for Rustic Almond & Oat Gluten-Free Pie Crust
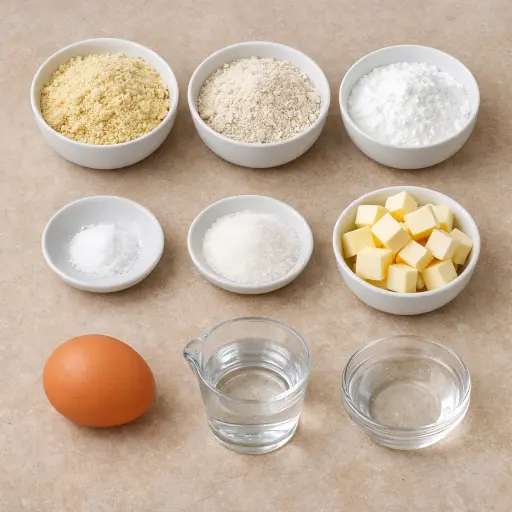
Almond flour brings a rich, nutty taste while keeping the crust gluten-free. Gluten-free oat flour adds a bit of heft and structure. The tapioca starch helps bind everything together, creating a pliable dough. A touch of salt enhances all the flavors, while sugar provides a subtle sweetness. Unsalted butter is crucial for that flaky, tender texture, and the egg adds richness and elasticity. Lastly, cold water ensures the dough stays cool and manageable.
Why This Rustic Almond & Oat Gluten-Free Pie Crust Works
Cold butter and the mix of almond flour, oat flour, and tapioca starch do most of the work here. When the butter is rubbed into the dry ingredients, little bits of fat stay coated in flour. In the oven, those bits of butter melt and leave tiny gaps, so the crust bakes up tender instead of hard and dense, even without regular wheat flour.
As the crust bakes, the egg and tapioca starch set and firm up. Egg proteins tighten with heat and grab onto the almond and oat flours, so the crust holds together in neat slices instead of crumbling apart. Tapioca starch swells and turns a bit chewy, which gives structure that almond flour alone doesn’t have.
During the rest in the fridge, the flours soak up the egg and water. The dough relaxes, stays easier to roll, and doesn’t crack as much. In the oven, the butter stays cold long enough to melt slowly, the starches finish swelling, and the crust ends up crisp at the edges and sturdy enough to hold a filling.
Rustic Almond & Oat Gluten-Free Pie Crust Tips & Tricks
- Keep your butter and water as cold as possible for the flakiest crust.
- If the dough cracks while rolling, just pinch it back together. It's forgiving!
- Use the parchment paper to help lift the dough into the pie pan – no more torn crusts!
Mistakes To Avoid
Rolling the dough without chilling it first makes the butter too soft, so it smears into the flours instead of staying in small bits. In the oven, this kind of dough melts into a greasy, dense layer instead of baking into a firm, crumbly crust that holds its shape.
Adding extra water to make the dough easier to handle often backfires. The almond and oat flours soak it up and the crust bakes up heavy and tough, and it can also shrink down the sides of the pan instead of staying up at the edges.
Letting the butter get warm while mixing with fingers or working the dough for too long causes the fat to melt into the mixture. The crust then bakes up flat and oily, with no light, slightly flaky texture and more of a pressed bar feel.
Skipping the parchment paper and rolling straight on the counter makes this gluten-free dough tear and crack badly. Extra flour gets worked in while patching it together, and the baked crust turns out dry and crumbly, with weak spots that can leak filling.
Equipment Used:
Ingredients
- 1 cup almond flour
- 1/2 cup gluten-free oat flour
- 1/4 cup tapioca starch
- 1/2 teaspoon salt
- 1 tablespoon sugar
- 1/2 cup unsalted butter, chilled and diced
- 1 large egg
- 2 tablespoons cold water
Step-by-step Instructions
- 1. In a medium bowl, whisk together the almond flour, gluten-free oat flour, tapioca starch, salt, and sugar.
- 2. Add the chilled, diced butter to the flour mixture. Using a pastry cutter or your fingers, work the butter into the flour until the mixture resembles coarse crumbs.
- 3. Beat the egg and cold water together in a small bowl and pour over the flour mixture. Stir until the dough comes together. If the dough is too dry, add one more tablespoon of cold water.
- 4. Shape the dough into a disk, wrap it in plastic wrap, and refrigerate for at least 30 minutes.
- 5. Preheat your oven to 350°F (175°C).
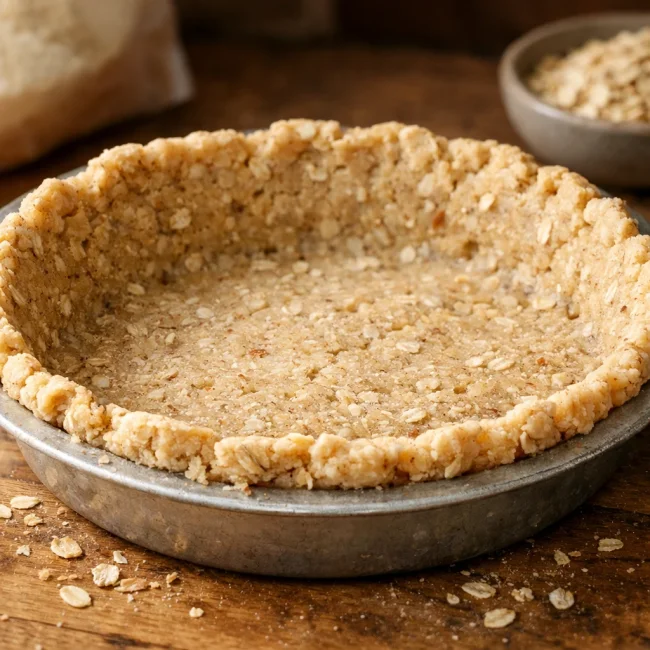
- 6. Roll out the dough between two sheets of parchment paper to fit a 9-inch pie pan.
- 7. Transfer the dough to the pie pan, trimming any excess. Crimp the edges as desired.
- 8. Bake the crust for 10-12 minutes if used for a pre-baked crust or proceed with filling if using for a filled pie.
Trending Now

Zesty Summer Squash Casserole
This delightful summer squash casserole combines vibrant garden-fresh vegetables w...
View Recipe
Classic Cucumber Salad
A refreshing and light cucumber salad featuring crisp cucumbers and a tangy vinaig...
View Recipe
Classic Banana Bread
Classic Banana Bread is a timeless dessert beloved for its moist texture and sweet...
View Recipe
Traditional Dump Cake
Discover the timeless delight of the Traditional Dump Cake, a simple and scrumptio...
View RecipeFrequently Asked Questions
- Can I make this dough ahead of time?
- Absolutely! You can prepare the dough up to two days in advance and keep it refrigerated until you're ready to use it.
- Can I freeze the dough?
- Yes, wrap it tightly in plastic wrap and place it in a freezer bag. It will keep for up to three months.
- What can I use instead of tapioca starch?
- Arrowroot powder or cornstarch can serve as substitutes if needed.
Serving Ideas for Rustic Almond & Oat Gluten-Free Pie Crust
This crust pairs beautifully with fruit fillings like apple or peach, and is equally fantastic with savory options such as quiche or pot pie. Consider serving with a dollop of whipped cream or a scoop of vanilla ice cream for sweet pies, or a simple side salad for savory creations.
More Desserts, Gluten-Free, Baking Recipes
Rustic Almond & Oat Gluten-Free Pie Crust
A rustic and nutty gluten-free pie crust made with almond flour and oats, deliveri...
View Recipe