Rainbow Sushi
If you’re looking to brighten up your sushi nights with a splash of color, this Rainbow Sushi is the perfect pick. It’s not just a feast for the taste buds but also a vibrant visual treat that’s sure to impress your family and friends.

This post may contain affiliate links. As an Amazon Associate, we earn from qualifying purchases.
Ingredients for Rainbow Sushi
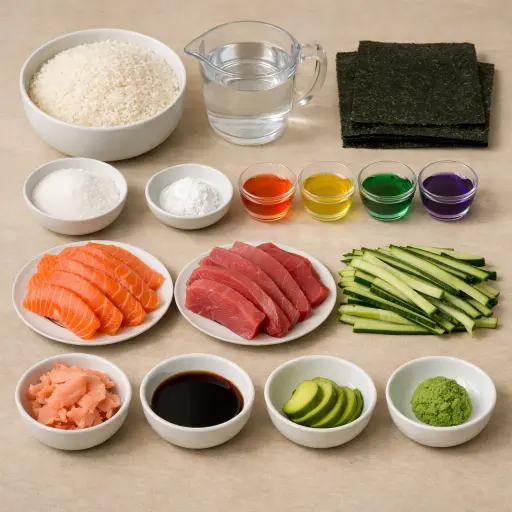
Sushi rice is the foundation of any good sushi roll, providing the perfect sticky texture to hold everything together. Rice vinegar, sugar, and salt are mixed to season the rice, giving it that essential sweet-tangy flavor. Food coloring is what turns this dish into a rainbow showstopper. Nori seaweed acts as the sturdy wrapper that holds the roll's shape. Sushi-grade salmon and tuna are your main proteins, offering a rich, savory taste. Avocado adds creaminess, while cucumber provides a refreshing crunch. Pickled ginger, soy sauce, and wasabi are classic accompaniments that enhance the flavor profile and offer a touch of heat.
Why This Rainbow Sushi Works
Rinsing the sushi rice washes off extra starch on the outside, so the grains cook up sticky but not gluey. In the rice cooker, the grains soak up just enough water to swell and stay soft in the center. While the rice is still warm, the vinegar, sugar, and salt mixture slides between the grains. The warm rice drinks it in, so the seasoning spreads evenly instead of sitting in patches.
Once the rice cools a bit, it firms up just enough to hold its shape. At this stage the food coloring can be mixed in without smashing the grains. Each portion of rice takes on a bright color but still clumps together when pressed. That sticky texture is what lets the rice grab onto the nori sheet.
When the fish and vegetables go in the middle and the roll is tightened with the mat, the rice acts like soft glue around the fillings. The nori wraps around everything and seals with a little water, so the roll stays tight and can be sliced cleanly into neat, rainbow pieces.
Rainbow Sushi Tips & Tricks
- Use a sharp knife dipped in water to cut the rolls cleanly without squishing them.
- Experiment with different fillings to suit your taste.
- Keep a damp cloth nearby to wipe the knife clean between cuts.
Mistakes To Avoid
Rinsing the rice only once or twice leaves extra starch on the grains. During cooking this starch turns the rice gummy and clumpy, so it sticks in heavy chunks instead of light, separate grains that can be spread easily on the nori.
Skipping the cooling step and mixing in the vinegar while the rice is still very hot makes the grains break and turn mushy. The rice then packs into a dense paste, so the colored rice layers smear together and the roll squeezes out of the sides when sliced.
Adding too much food coloring at once can make the rice wet and slippery. The extra liquid loosens the grains, so the rice doesn’t grip the nori and the fillings slide around instead of staying in a tight rainbow spiral.
Cutting the fish in thick, uneven strips means the roll can’t close cleanly. The fat pieces push against the nori, so the roll cracks or opens at the seam and the slices look squashed instead of round.
Equipment Used:
Ingredients
- 1 lb sushi rice
- 2 cups water
- 1/2 cup rice vinegar
- 1/4 cup sugar
- 1 tsp salt
- Food coloring (red, orange, yellow, green, blue, purple)
- 4 sheets nori seaweed
- 1/2 lb sushi-grade salmon, sliced
- 1/2 lb sushi-grade tuna, sliced
- 1 avocado, sliced
- 1 cucumber, julienned
- 1/4 cup pickled ginger
- 2 tbsp soy sauce
- Wasabi to taste
Step-by-step Instructions
- 1. Rinse the sushi rice under cold water until the water runs clear.
- 2. Add the rice and 2 cups of water to a rice cooker and cook according to the rice cooker instructions.
- 3. While the rice is cooking, mix the rice vinegar, sugar, and salt in a small saucepan over low heat, stirring until the sugar dissolves.
- 4. Once the rice is cooked, transfer it to a large bowl and let it cool slightly. Gradually fold in the vinegar mixture.
- 5. Divide the rice into six equal portions and dye each with a few drops of different food coloring (red, orange, yellow, green, blue, purple). Mix until the color is evenly distributed.
- 6. Place a sheet of nori on a bamboo sushi mat, shiny side down. Press a thin layer of colored rice onto the nori, leaving a 1-inch border at the top.
- 7. Arrange slices of salmon, tuna, avocado, and cucumber in a line across the center of the rice.
- 8. Using the bamboo mat, roll the sushi tightly from the bottom, applying gentle pressure to shape the roll.
- 9. Seal the edge with a little water. Repeat with the remaining ingredients.
- 10. Use a sharp knife to slice each roll into 8 pieces.
- 11. Serve with pickled ginger, soy sauce, and wasabi.
Trending Now
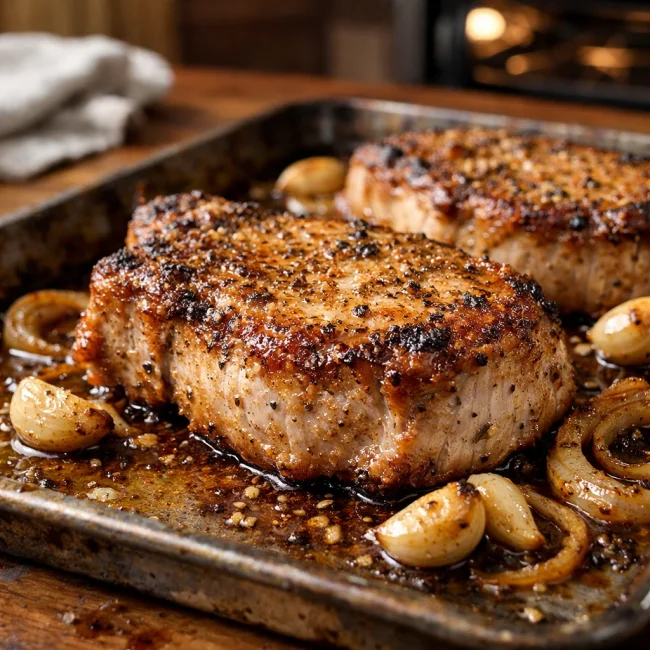
Oven-Baked Pork Chops
Enjoy a delightful dinner with these tender and juicy oven-baked pork chops, seaso...
View Recipe
Traditional Corn Casserole
A delightful corn casserole dish that embodies the comforting flavors of sweet cor...
View Recipe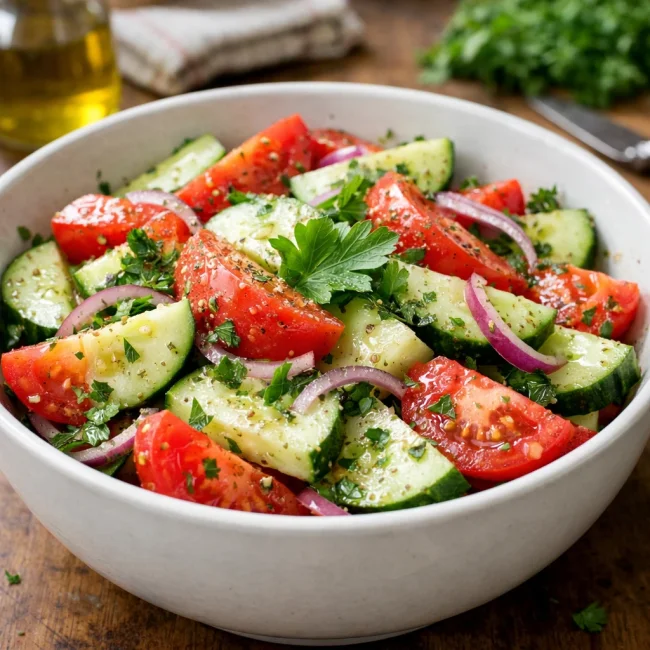
Traditional Cucumber and Tomato Salad
A refreshing and simple salad combining crisp cucumbers and juicy tomatoes, season...
View Recipe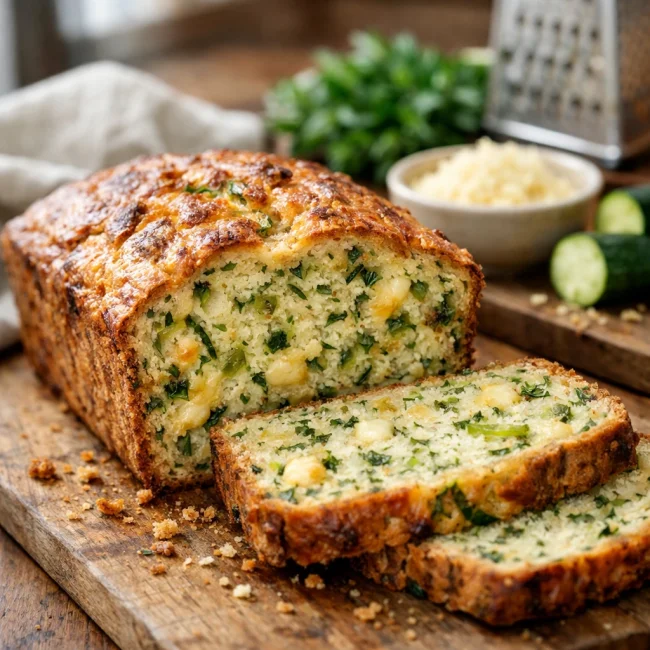
Savory Zucchini Bread
Savory Zucchini Bread is a delectable twist on traditional zucchini recipes, combi...
View RecipeFrequently Asked Questions
- Can I use regular rice instead of sushi rice?
- While it's possible, sushi rice is recommended for its sticky texture that holds rolls together.
- How do I know if my fish is sushi-grade?
- Look for fish labeled specifically as sushi-grade or sashimi-grade at reputable seafood markets.
More Main Dishes Recipes
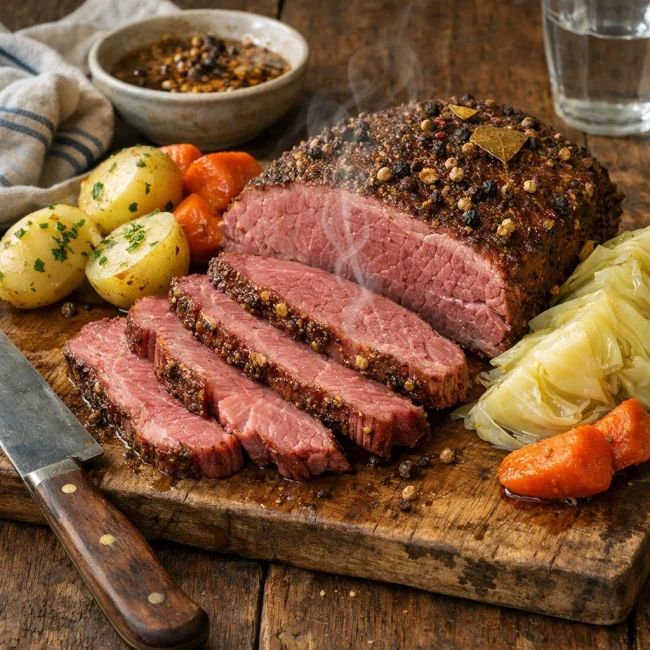
Unique Homemade Corned Beef
Discover the ultimate homemade corned beef recipe that balances rich flavors and t...
View Recipe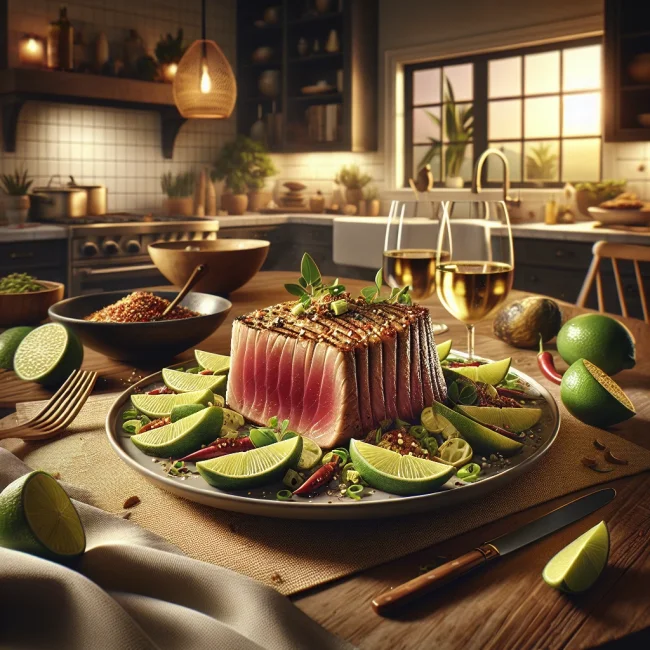
Spicy Lime Seared Ahi Tuna
Experience a burst of flavor with our Spicy Lime Seared Ahi Tuna, a perfect fusion...
View Recipe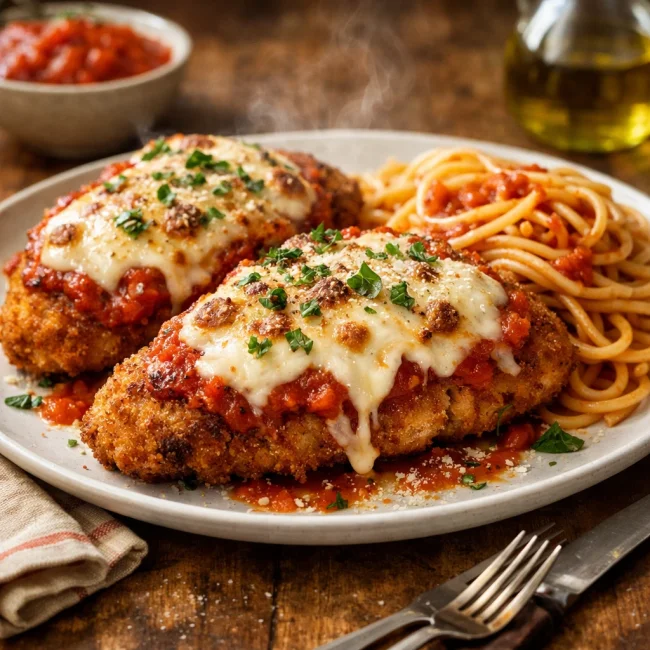
Traditional Chicken Parmesan
Savor the authentic taste of Italian cuisine with our Traditional Chicken Parmesan...
View Recipe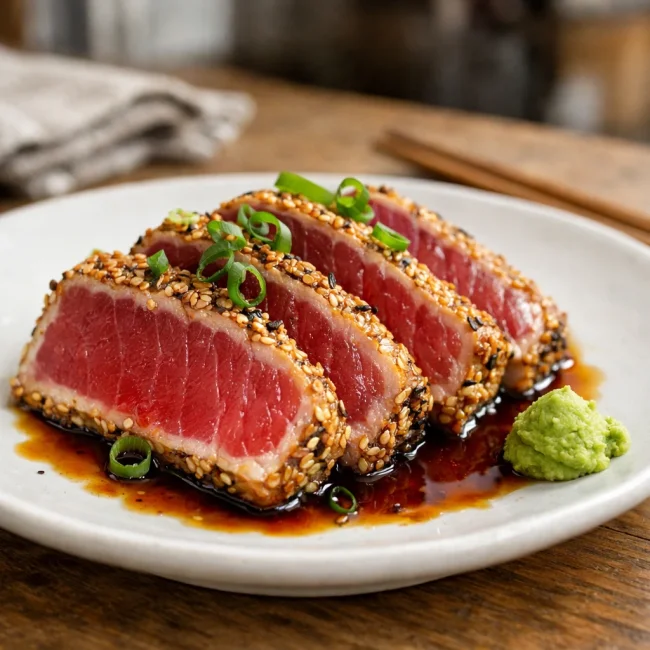
Seared Ahi Tuna
Experience the sublime taste of seared Ahi tuna, a Japanese-inspired dish that hig...
View Recipe